|
|
Post by davet on Mar 26, 2016 14:58:56 GMT
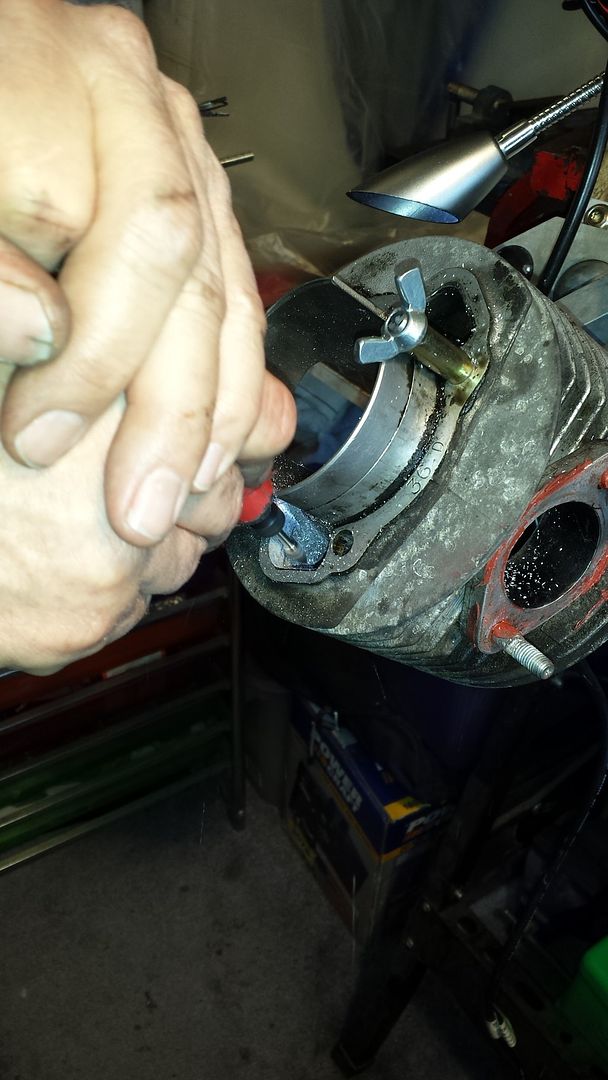
Just stripped the TS1 down to do some work on the barrel. I had the assistance of an experienced fettler and his box of tricks. First the set up including a neat barrel holder which was multi adjustable. I'm not after a mad powered engine just something with some power to cruise and overtake when needed. Before this mild work it produced 22 on the dyno, using 32 VHSA and Franspeed race exhaust.
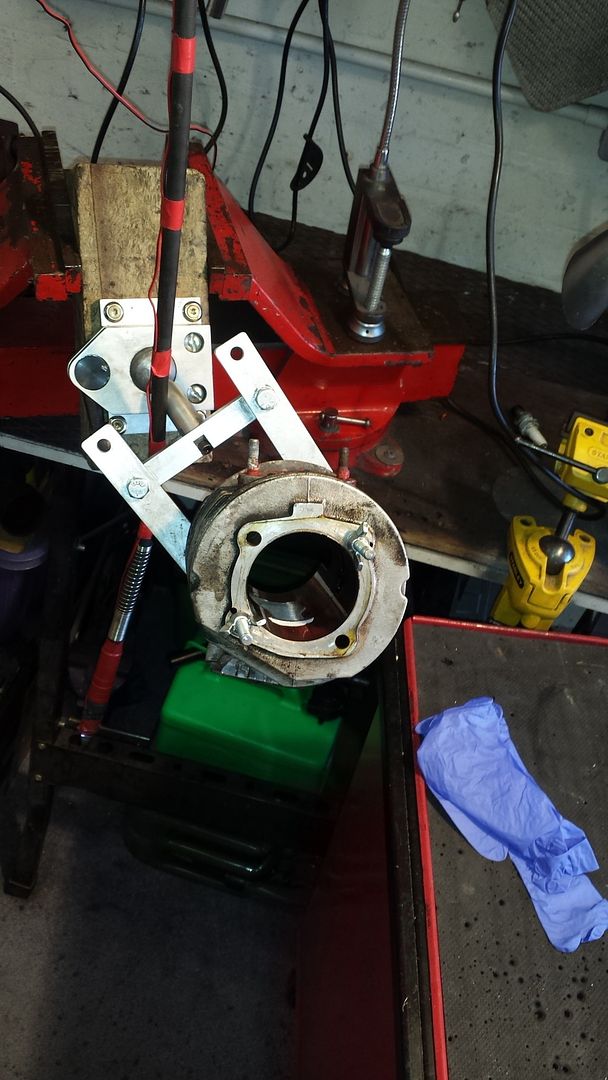
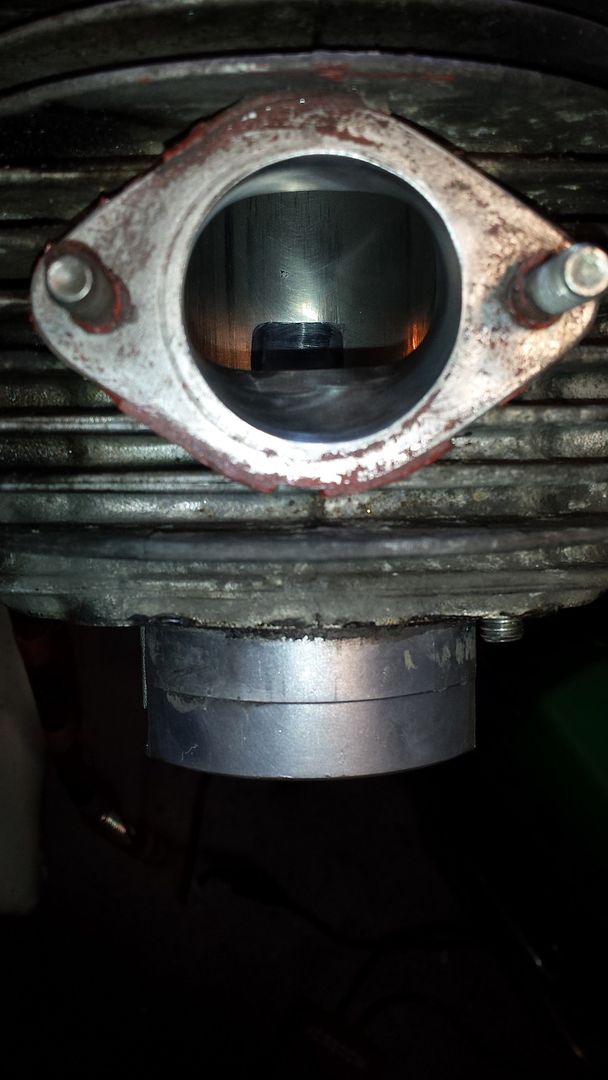
I'm reliably informed the boost port on TS1 225's is not in the right place due to it originally being a 200 barrel casting which is bored for the 225 thus putting back the boost port. This needed moving to our desired place, so the barrel was marked with tipex and scribed at the desired point.
Start of work on the boost port using a diamond cutter in a straight flexdrive. I added a small led to the head of the flexdrive which makes it easier to see where you're going. You can see the rather nice right angled handpiece in the picture.
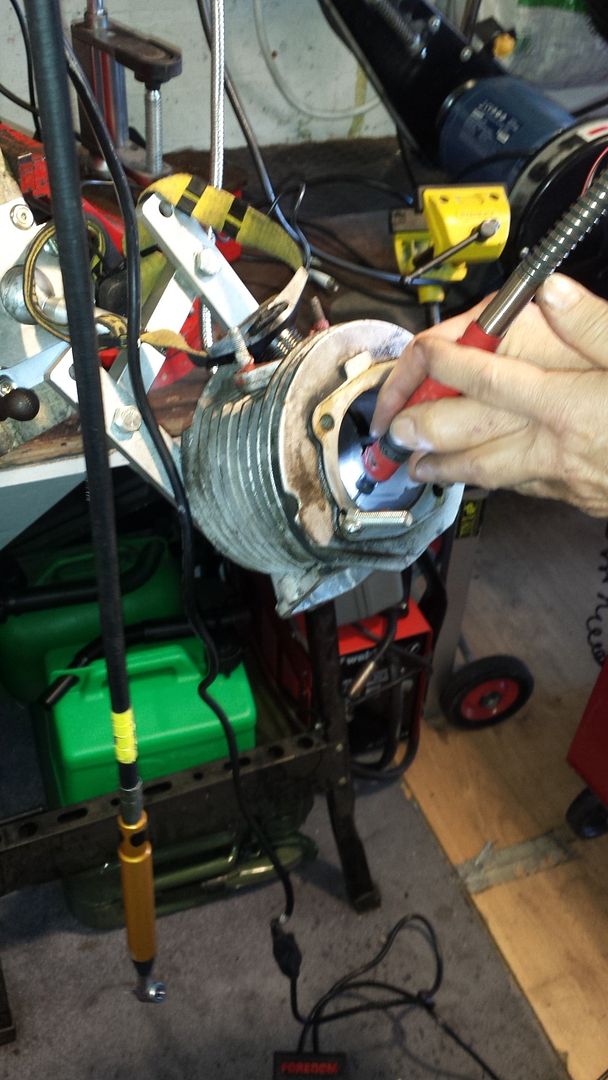
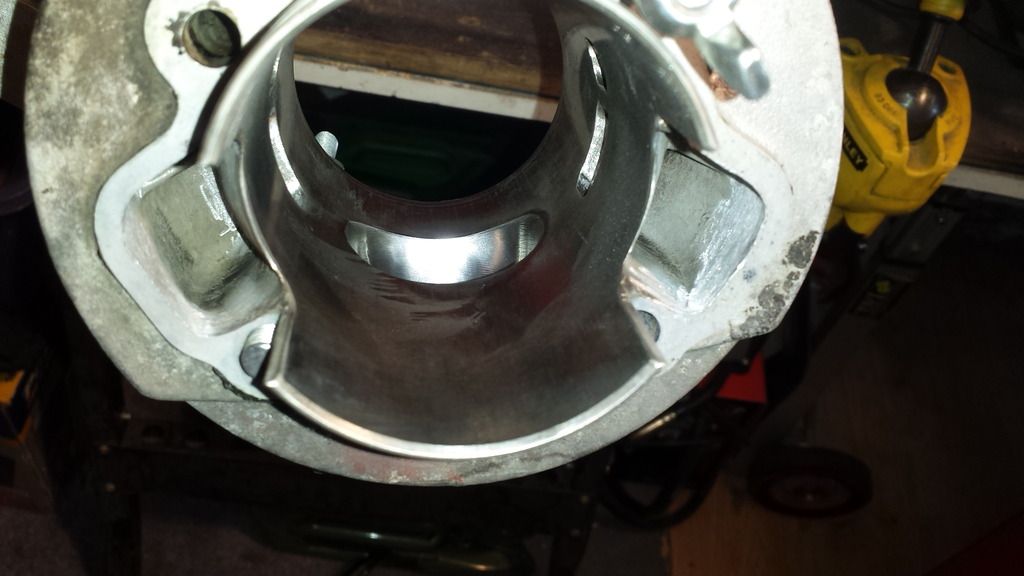
With the boost port roughing out done, the small transfer was next. Both small transfers are different sizes with one being restricted by the stud casting. some careful work is needed to bring this transfer up to the same size and flow of the other. This is difficult as the cutter wants to bounce around the port, so the right angle handpiece is used in both directions of cut, clockwise and anti clockwise rotation. We used some light oil (WD40 type) to lubricate the diamond cutter. Diamond cutters are kinder on nicasil, as tungsten can chip the coating away from the bore.
Next some work on the transfers, casing end. Just to match them to the casing, so small adjustment rather than big holes. This time using a tungsten cutter as there's no nicasil this end.
As you can see nothing drastic here just slight adjustment. Also worked the exhaust and gave it a nice polish.
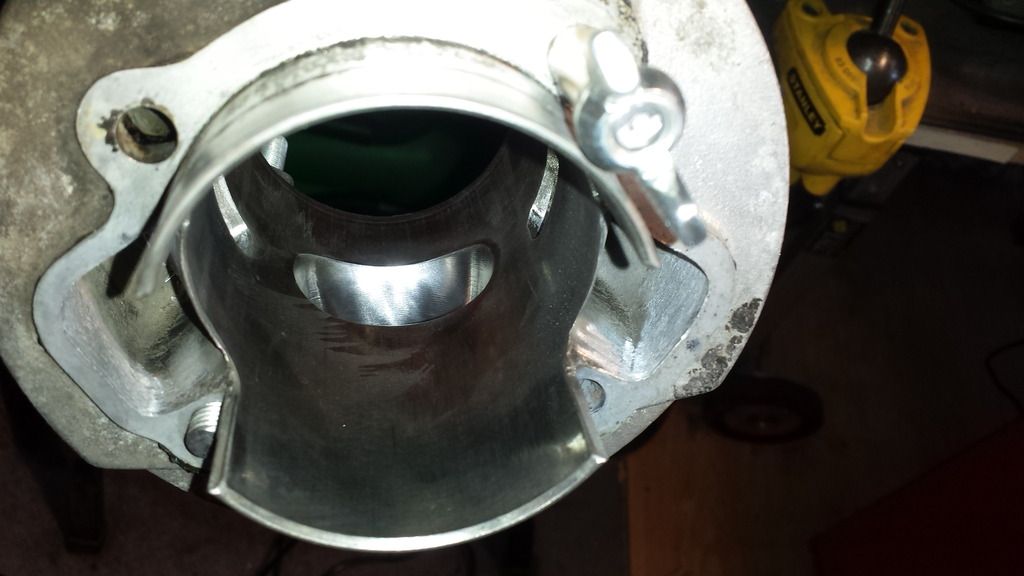
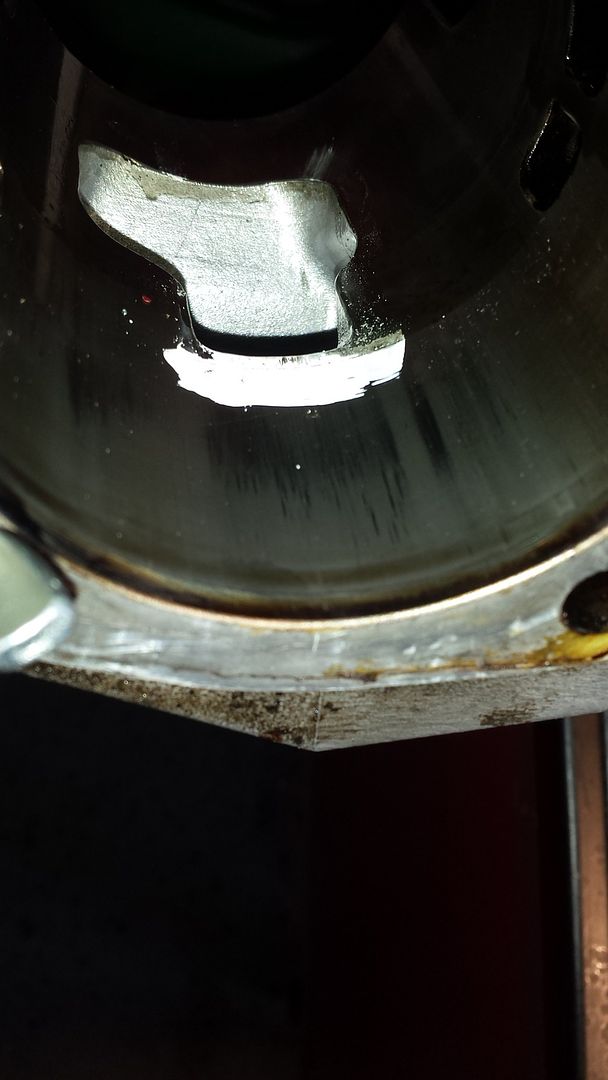
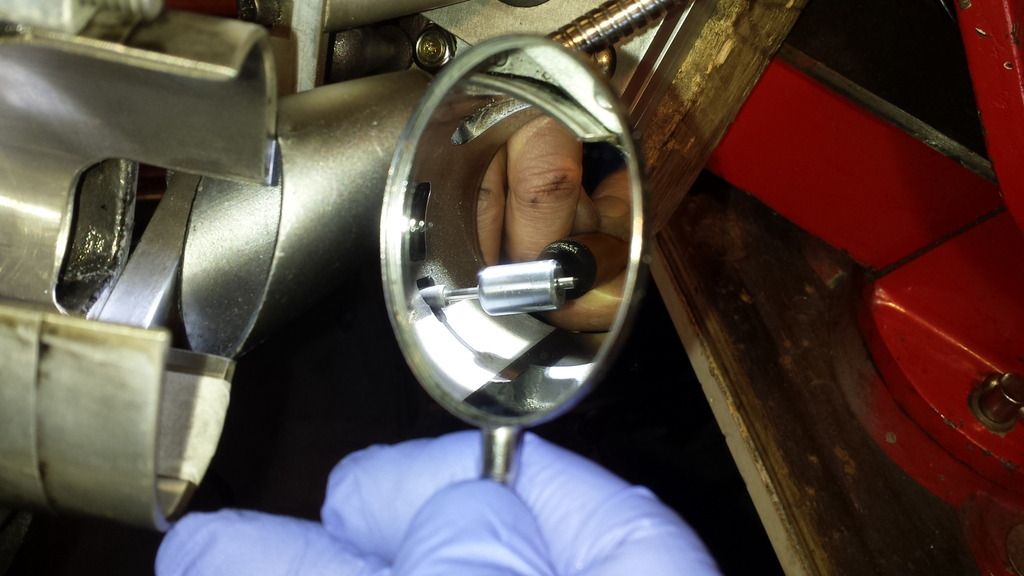
Finished off boost port.
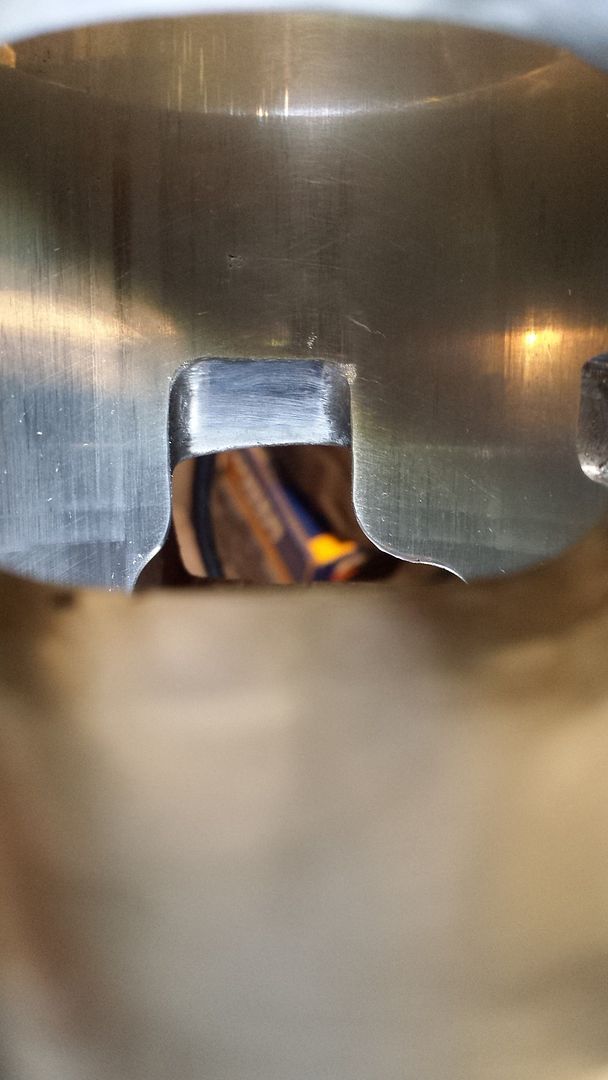
Seen through the exhaust port and in line with other transfers. There are different views on when boost ports open and the different benefits. We're just following a tried and tested approach for location and timing of opening.
Now need to rebuild and have trip to dyno to see fruits of the labour. Big thanks to JMS for the direction, pro handpieces and guidance.
|
|
|
|
Post by dazzz on Mar 26, 2016 17:33:25 GMT
Yet again Davet some informative, quality work , it still amazes me the vast knowledge of people on this forum.
|
|
|
|
Post by Juan on Mar 26, 2016 18:27:46 GMT
I'll be intrested to hear your "seat of the pants" thoughts rather than comparing dyno graphs.
|
|
|
|
Post by davet on Mar 26, 2016 19:31:30 GMT
Yes Juan good point, that comes first. Dyno is never be all and end all, Mr. wind resistance takes care of that. I think it's too risky to totally rely on dyno's for jetting, unless they're ones that can replicate hills and such like.
|
|
|
|
Post by davet on Mar 28, 2016 18:38:06 GMT
I thought I'd provide some background to the scooters' use before Fettling Part 2 - Machining the cylinder head. The scooter was totally standard TS1 with 32VHSB, Franspeed Avanti (exhaust blended to stub manifold) and AF lightened flywheel. It has been used for Euro trips and coast to coast runs. Four of us have roughly the same set up including long range tanks. Mine's different with a pacemaker gearbox compared to their 5 speeds. Our usual cruising speed is 55mph (Sat Nav speed) with some spells up to 65 and the very odd blast up to 75 ish. Our riding plan is to usually follow the HGV's and try to catch the next one up. At a steady 55 we usually get 10 miles to the litre, which means 120 miles between fill ups on a 250 mile day. When you do 200+ miles days you'd be surprised how hot the scooters get, so long blasting at high speeds is avoided. Gearing wise I think it's set up for 10 mph per 1000 revs. So when fettling I didn't want to spoil the scooters rideability. But moving from the Franspeed Avanti to the race, my trusty advisor said we should do something with the head, especially if I'm going to run a variable ignition. Like I said I didn't want a balls out racer, jst something which had a little more umph. So machining the head it was to be. First we (this is of course the royal 'WE' meaning the clever boffins guide and do some work and I'm allowed to do the less dangerous stuff!!!)had to tap the head so it could be bolted to the mandrel holder. 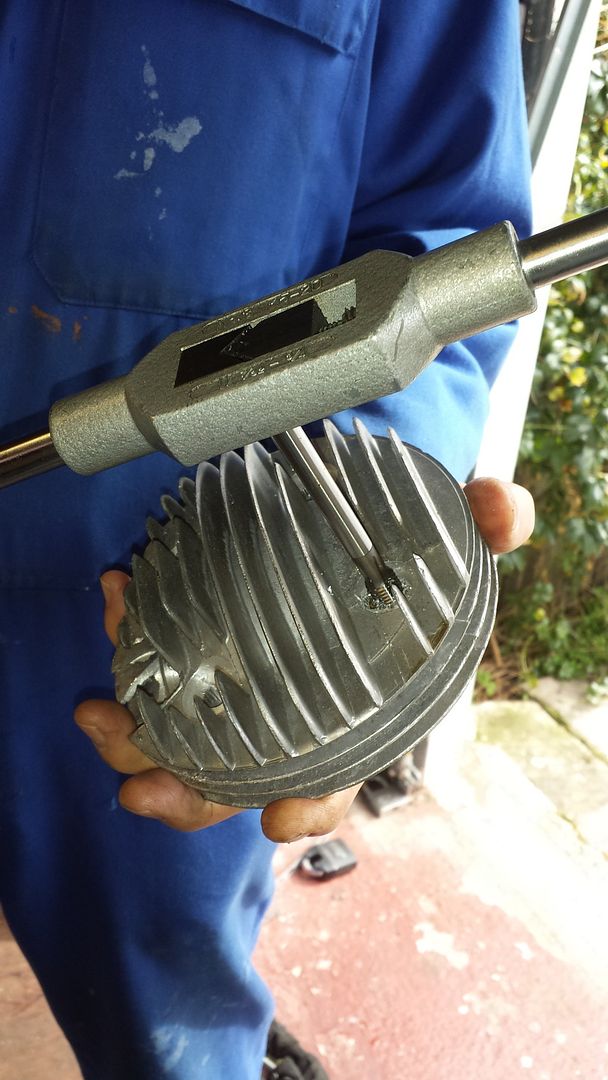 This is the mandrel, made especially for the stupid Lambretta stud spacing. 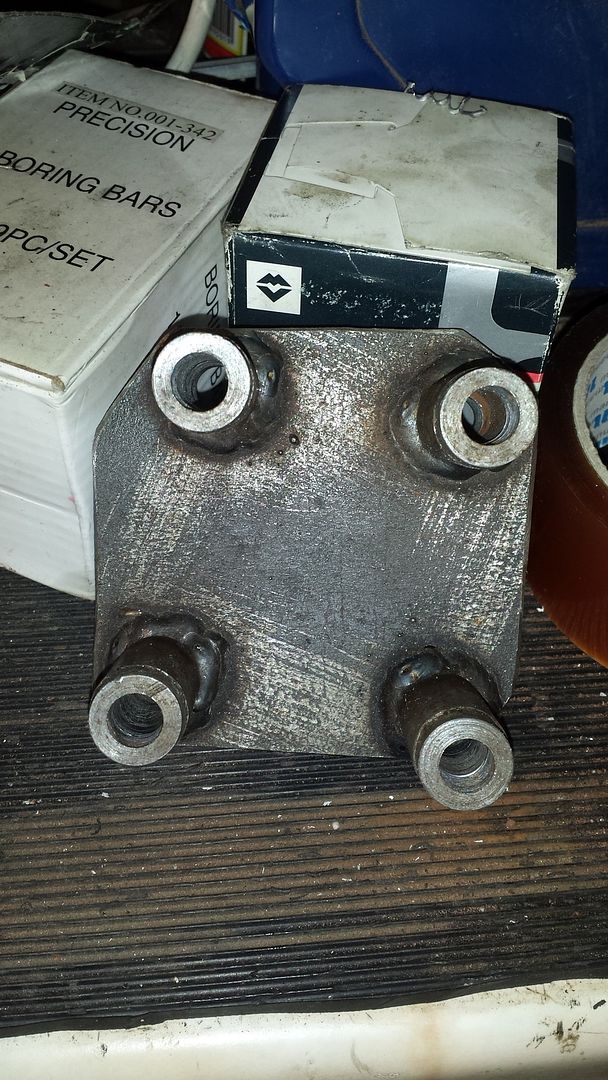 It's going in this, bought with lots of pocket money saving. 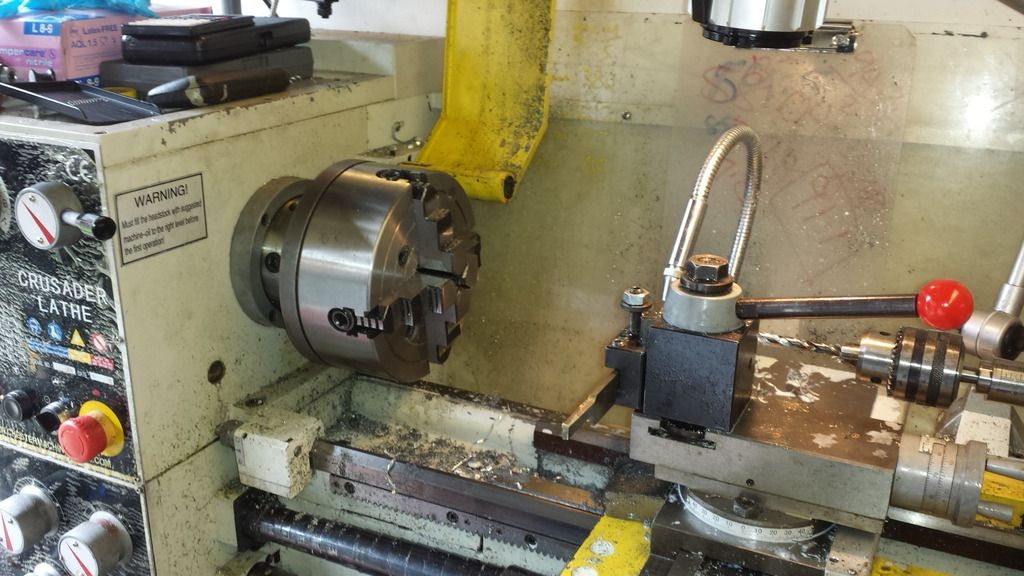 More later, my pie is ready. |
|
|
|
Post by davet on Mar 28, 2016 19:42:24 GMT
Back after a rather nice Steak and Ale pie, washed down with a bottle of craft ale. Anyway the first step before getting near the lathe is to take some measurements. Top and side of piston height. 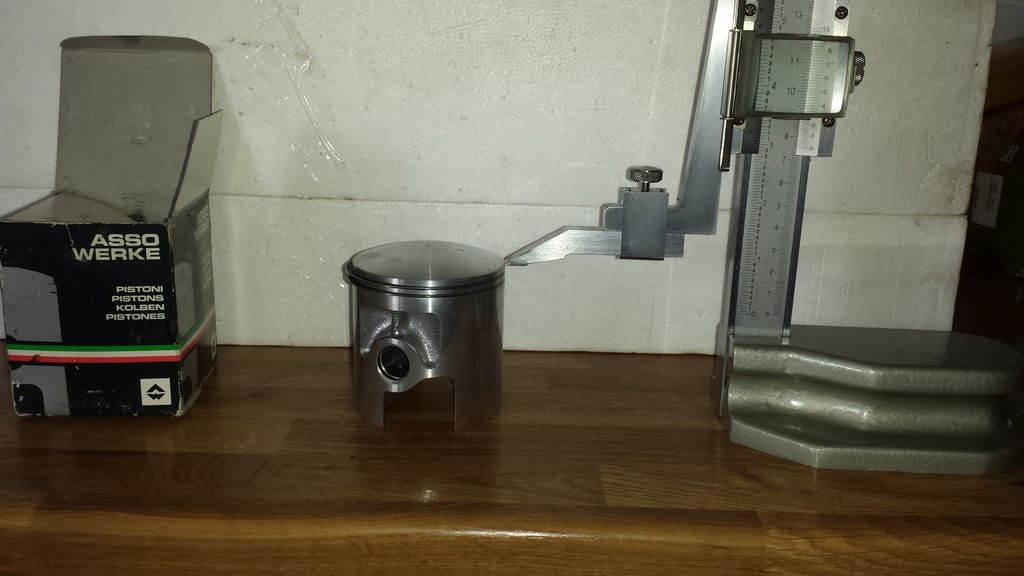 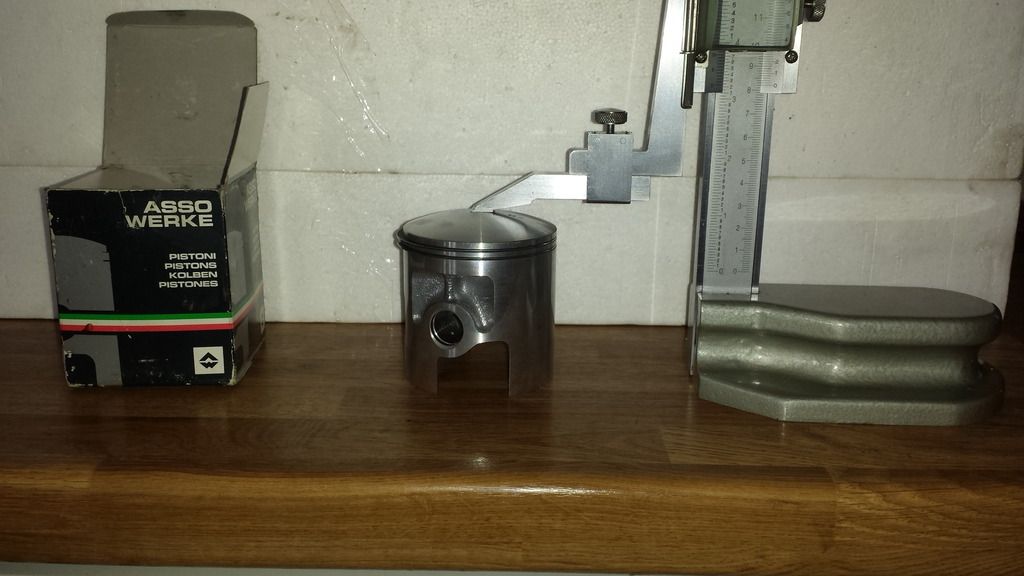 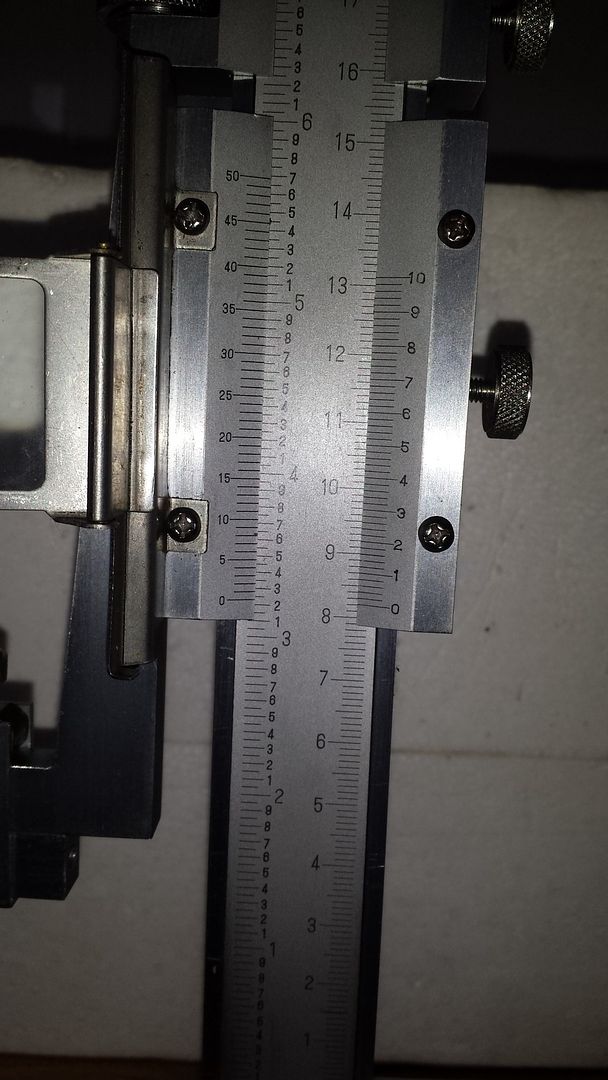 Need these to work out the curve of the piston crown to ensure this is reflected on the cylinder head. Head now attached to the mandrel. 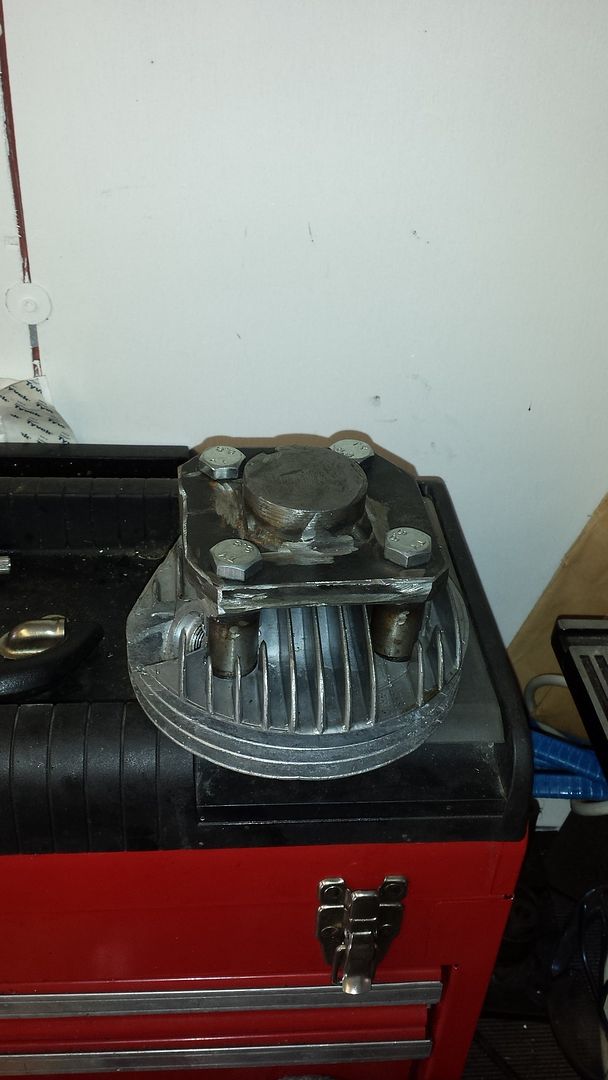 The magic formula. Basically if you imagine a huge circle, a small part of the circumference is the piston crown, so you need to calculate the size of the circle and work out the curve from that.  Part two of the sum.  One part of the genius team guiding me through it. TZSteve was the other.  A wooden block was placed in the lathe as a practice piece to see if the profile was ok. The piston could be put against this to gauge it.  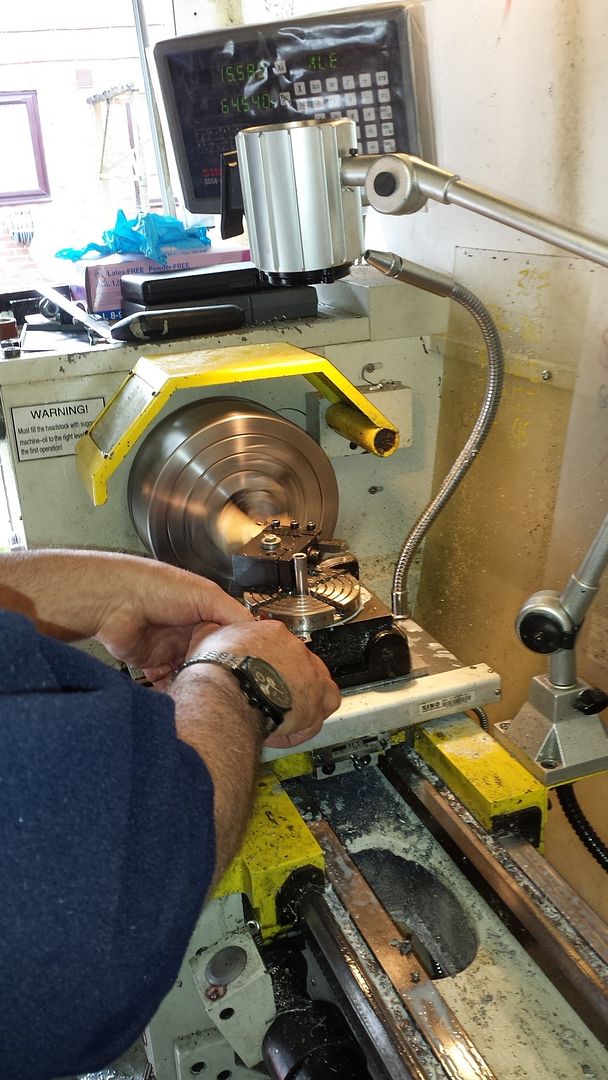 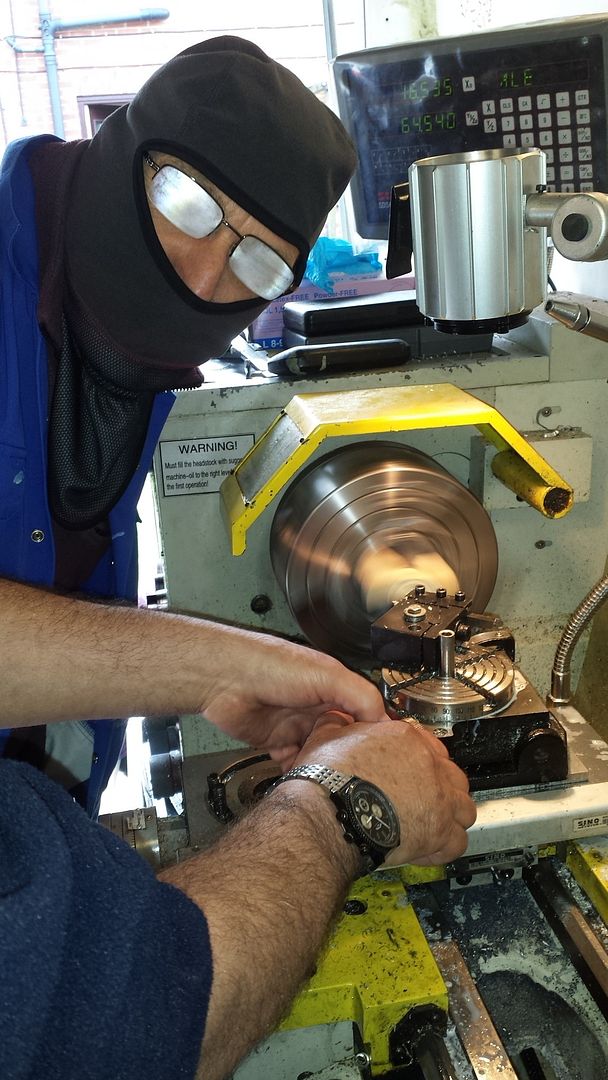 They actually share the same mother! 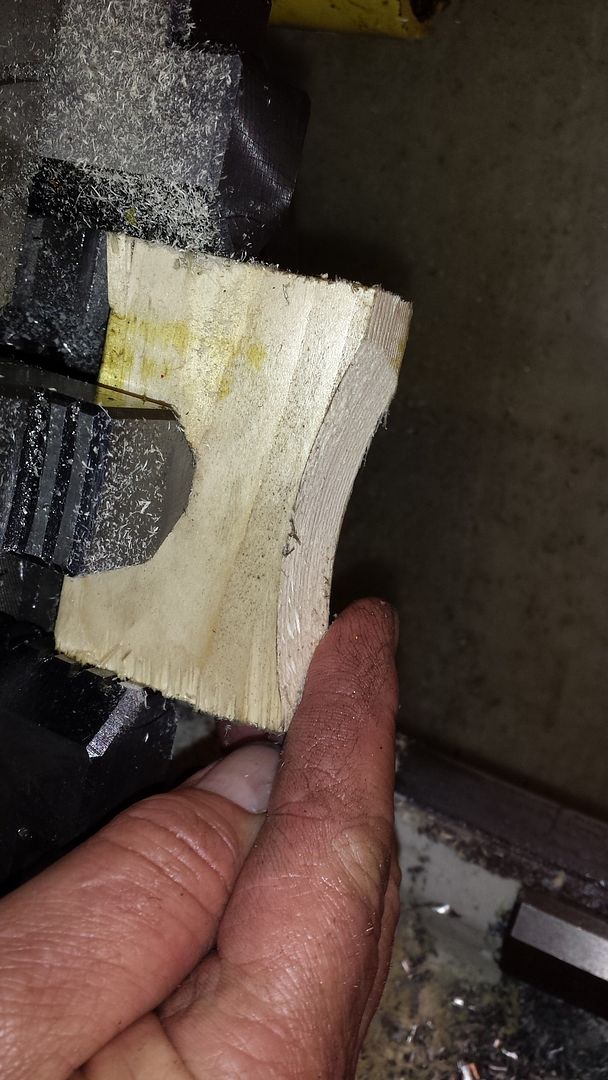 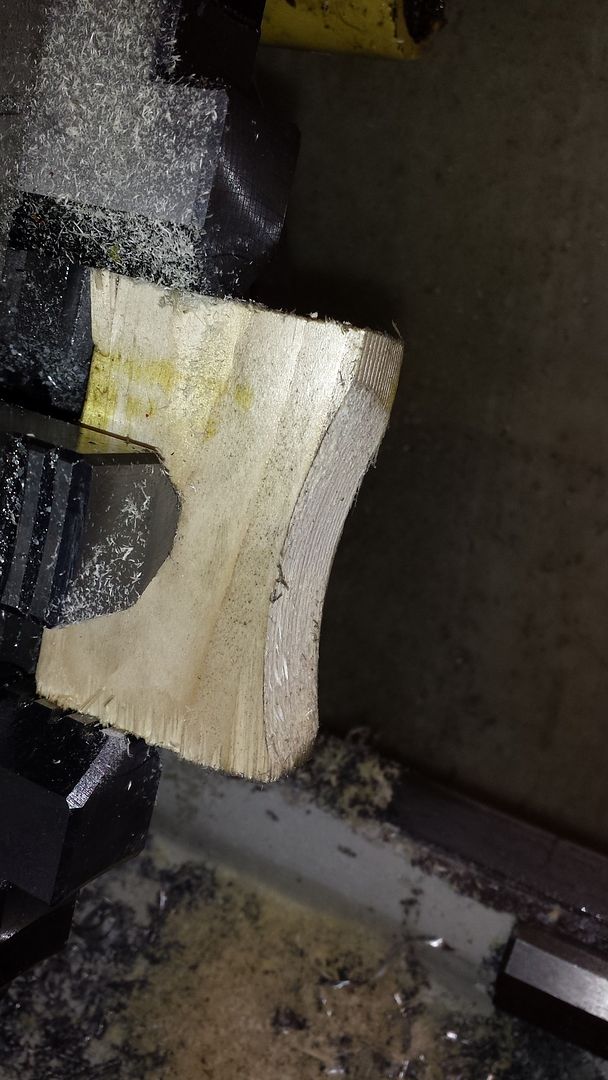 Part way through, changing lathe speed. 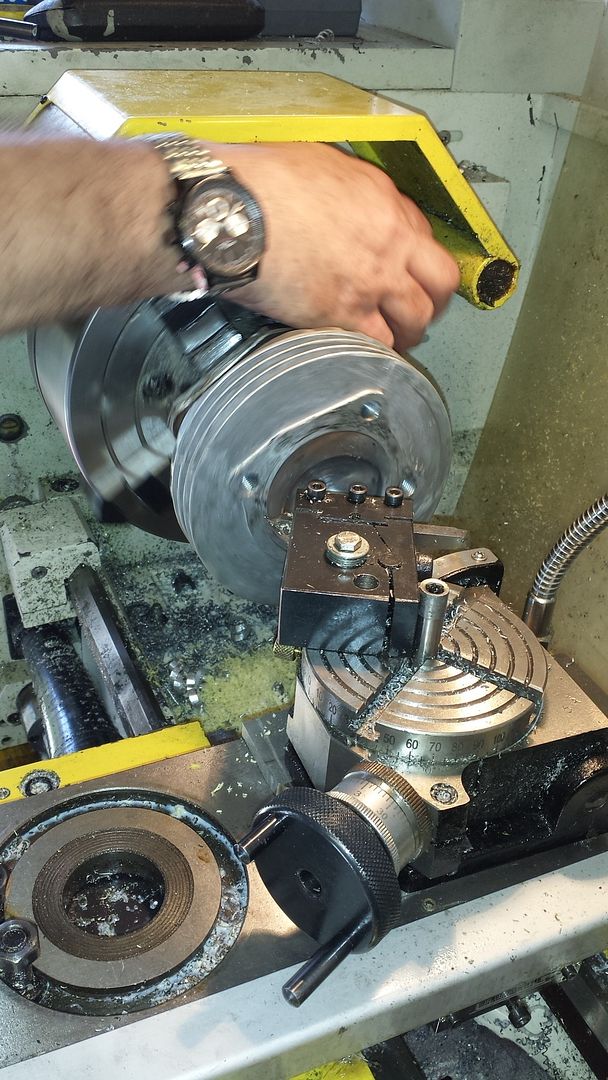 Profile finished. 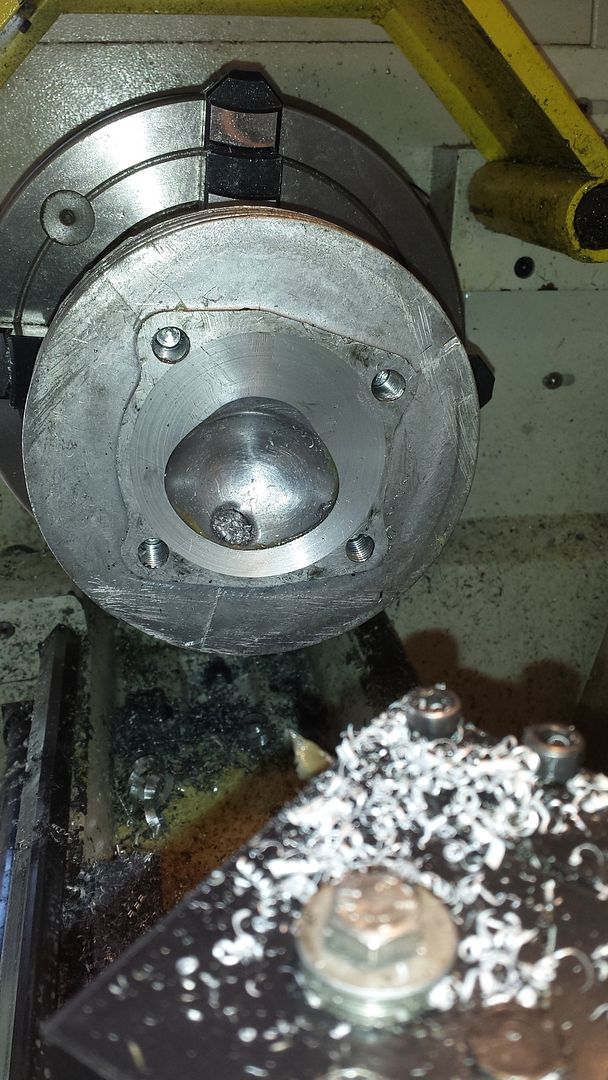 Next to re-machine the gasket face, taking care to keep the distance to plug hole at a premium. 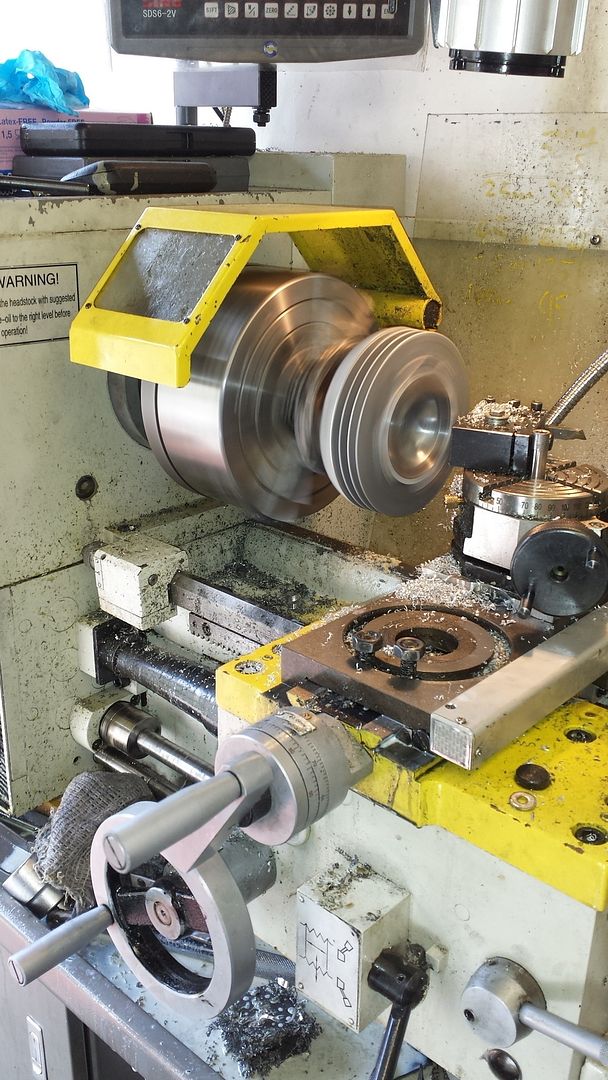 Here's me having a go. The finished article. 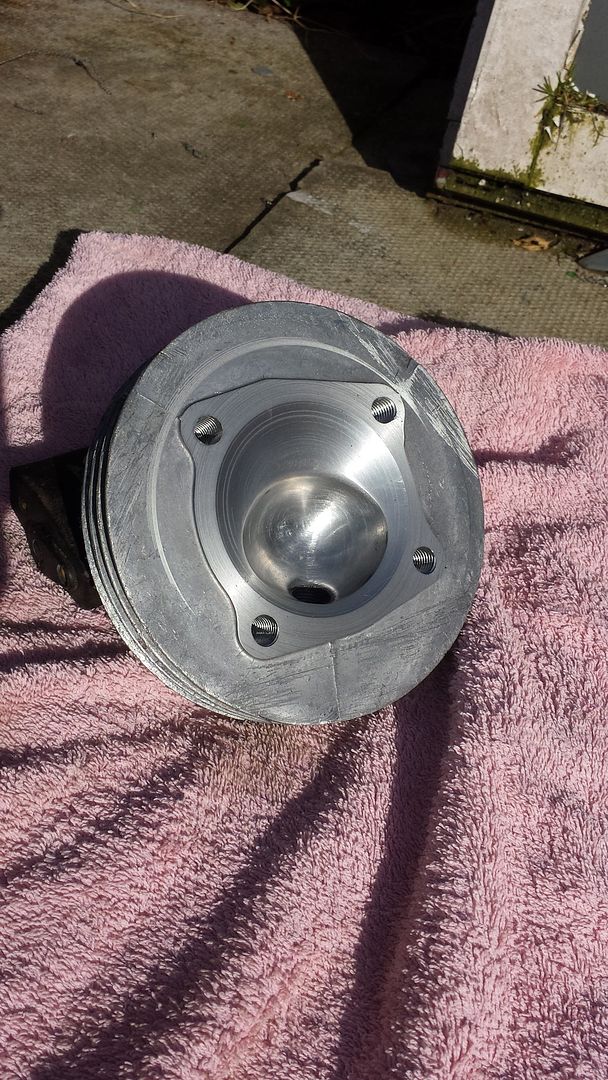 A big thanks to the chuckle brothers TZSteve and Pugwash for their advice, guidance, mathematical brains and piss taking! |
|
|
|
Post by kev on Mar 28, 2016 21:01:46 GMT
I like the idea of using the rotary table to replicate the radius in the head .
|
|
|
|
Post by davet on Mar 29, 2016 13:33:03 GMT
It worked well, not being an engineer, it was interesting to see from calculation to finished article. You've also got the spare time, whereas workshops time is precious and they sometimes just bang things off. We've seen it in the variable '9.5:1' heads from scooter shops.
I also saw Steve setting up for 3speedgareths barrel, from machining a huge piece of steel down to 57.5mm to fit in the barrel before shortening. Lots of swarf!
|
|
|
|
Post by henri on Mar 29, 2016 16:27:33 GMT
nice work , jealous of the lathe ,no longer got the space to have one , use to love machining stuff .concentrating real hard an ya in a "zen" zone ,hours flash by . H
|
|
|
|
Post by tzsteve on Mar 30, 2016 15:06:08 GMT
nice photo`s dave, the problem now is that the normaly elusive pugwash has now had his identity revealed
|
|
|
|
Post by sugarlump on Apr 9, 2016 9:02:44 GMT
Great thread chaps, thouroughly interesting. Thanks for sharing.
|
|
|
|
Post by davet on Apr 16, 2016 19:41:25 GMT
Finally got around to doing some more work on the head. Next step was to measure the volume of the cylinder with the new head. This involved using a burette with 60/40 oil/fuel filling the cylinder and head. When we measured this it worked out a bit high for what I needed. Some calculations showed I needed to create an extra 1cc of volume to reduce the compression ratio. So I fitted a block of Perspex over the head to measure the volume before further grinding. It was 31.2 which meant I needed to aim for 32.2. Back to the grinding and fettling. Here's the set up. 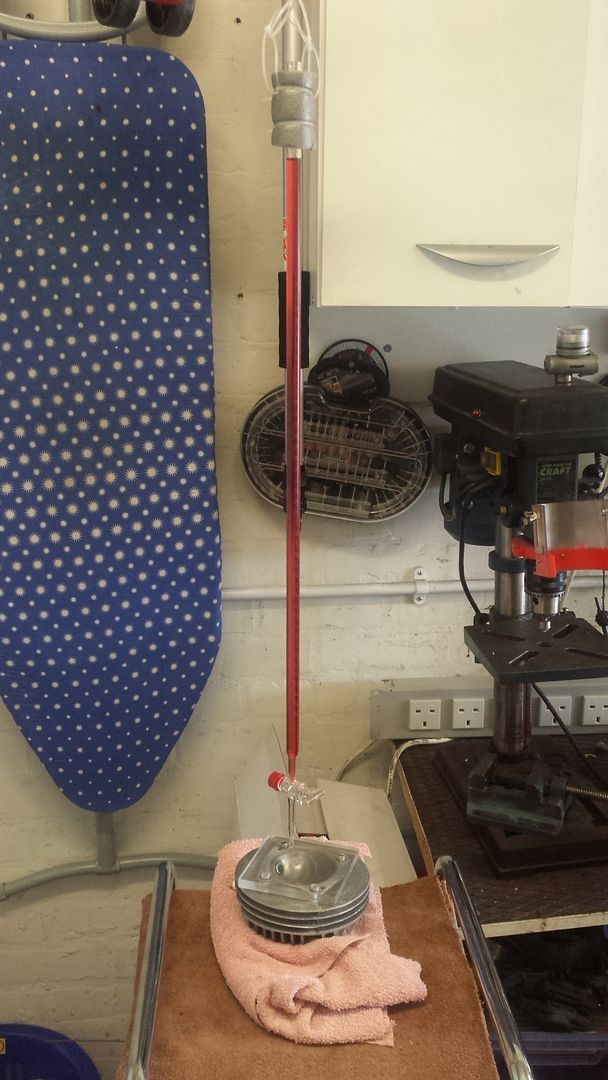 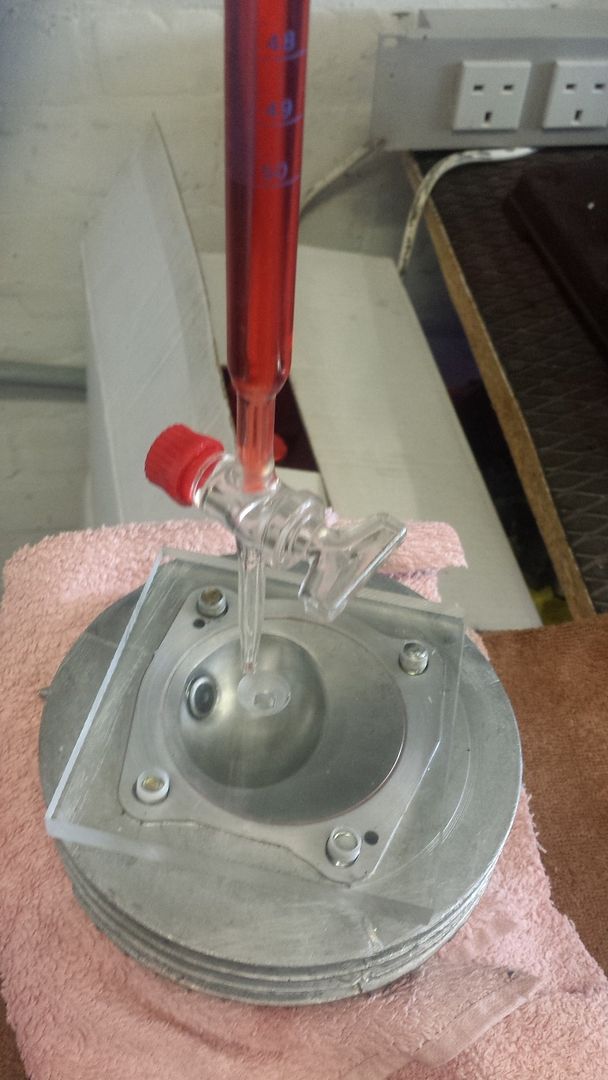 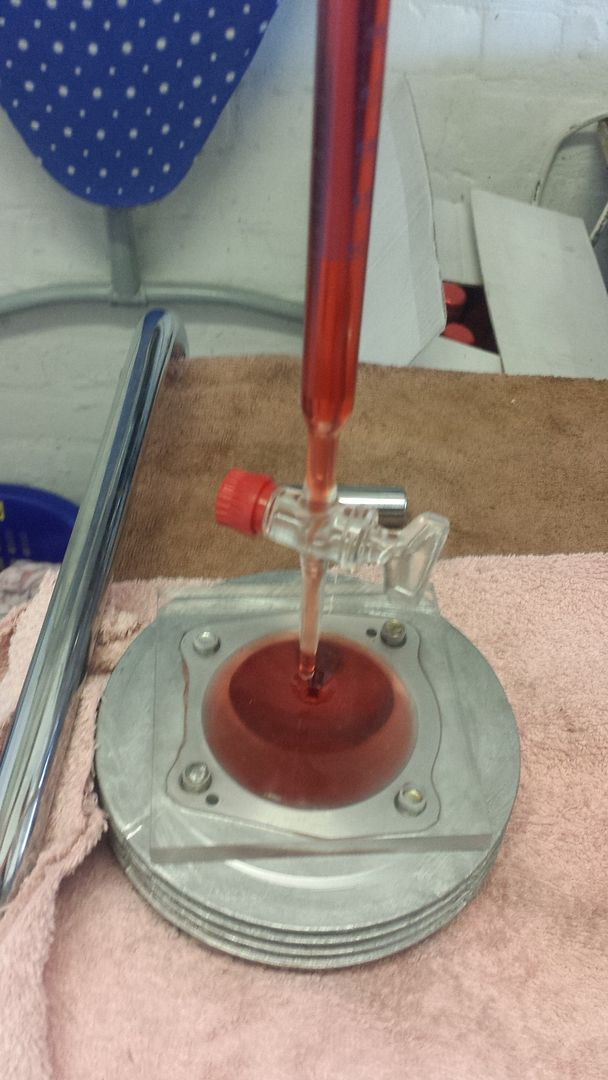 I was using my flex drive with a cutting disc which matched the shape of the combustion chamber, a flap wheel, polishing bobbin and some great polish for final finishing. 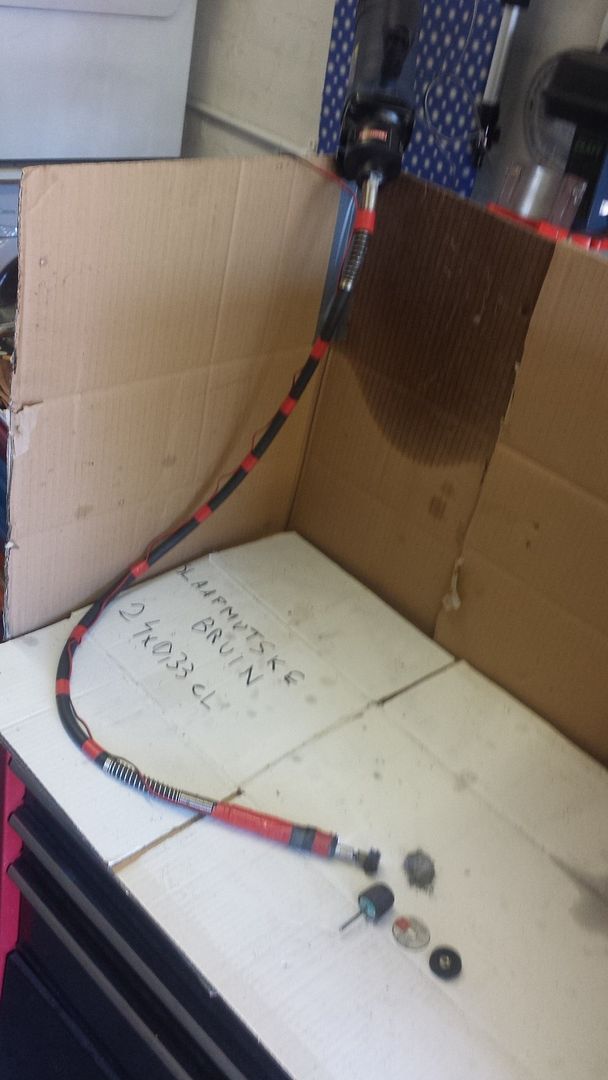 A close up showing the aluminium removed. 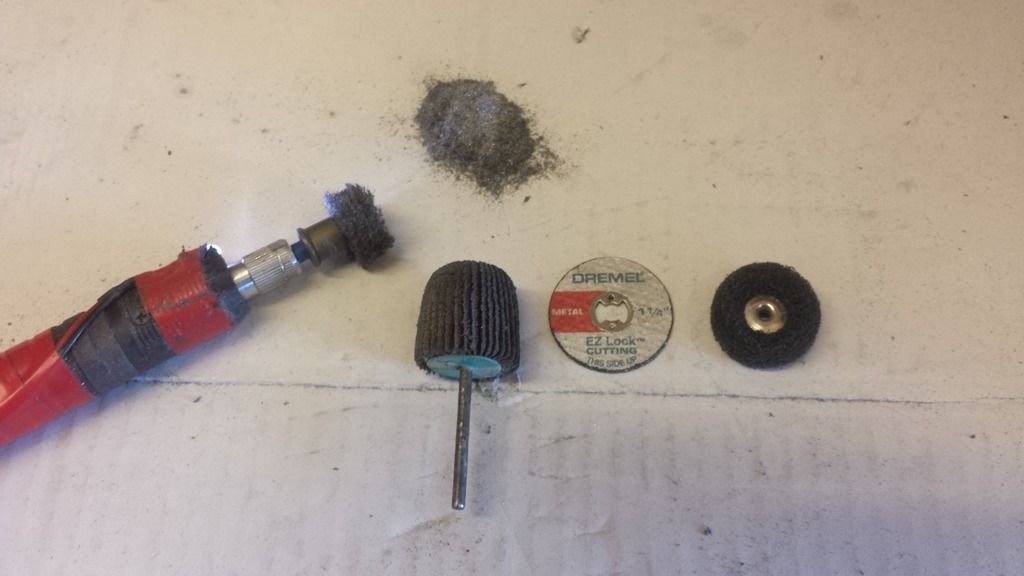 Before removal. 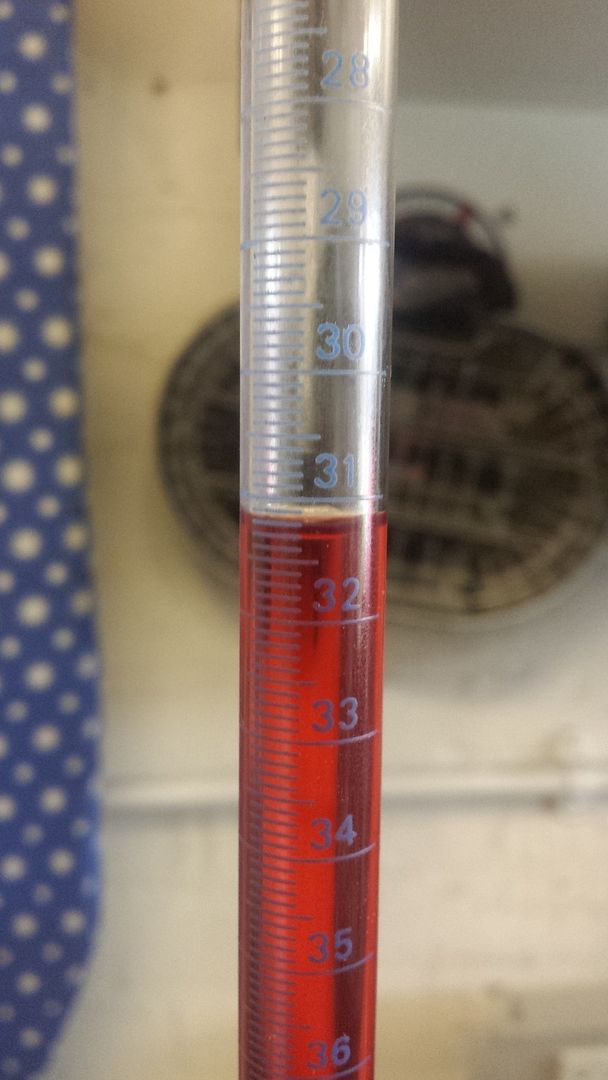 After. I actually removed 1.1 but it's still ok for what I need. 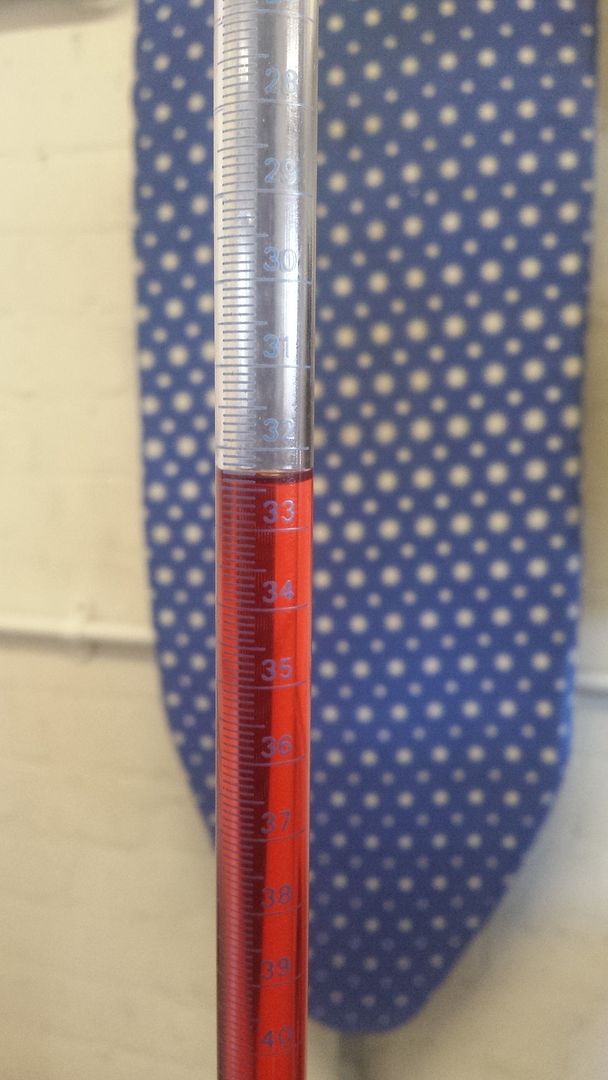 The finished, polished head. About an hours work. It's bit porous. Thanks to Pugwash as usual. 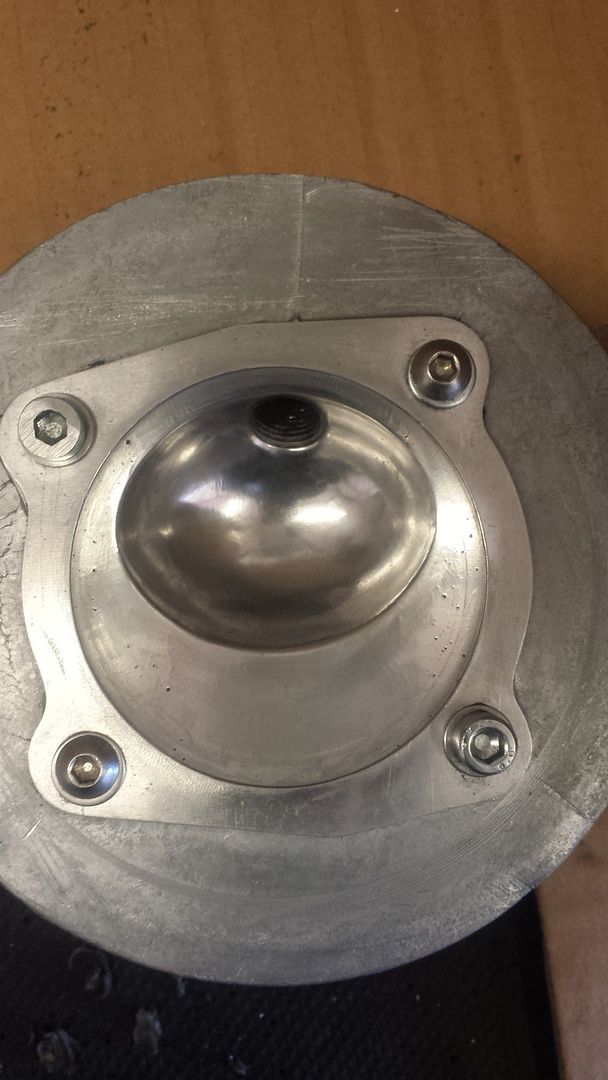 |
|
|
|
Post by tzsteve on Apr 16, 2016 20:12:23 GMT
nice pics again dave,
i think we all agree that a few little pinpricks in the head won`t make any differance.
|
|
|
|
Post by bikegrim on Apr 17, 2016 7:56:39 GMT
Ace work
|
|
|
|
Post by davet on Apr 30, 2016 13:33:37 GMT
So it's back together and back from a 700-ish mile trip to the south downs run. We ended up with an exhaust timing of 191. Seat of the pants showed a marked difference in acceleration. Power comes in with a bit more of a rush and it stays in power longer. Four of us set off and after stopping to replace a broken gear cable we set off and settled into a 55mph average run to our first coffee stop. Sat nav memory showed a 56 average with a maximum of 65.
To be honest my jetting still needs sorting around 4500 revs as it is quite rich, but I'm happy with that as everywhere else it seems to be ok. I made and fitted a power jet for the VHSA as well. This was set at 3/4 of a turn out. Where there is little SOP difference is in climbing hills. I'm the only one in the group with a 4 speed and it showed as I slowly went backwards going up hills compared to the others. However it coped quite well in third revving a lot higher than theirs, which resulted in my fuel consumption being 10% worse than the 5 speeds.
Our second stint went a little faster with a sat nav average of 65 for one stint with a maximum of 78. At these revs I'm nicely in the powerband so slight hills were no problem.
So overall it feels a little more powerful, with a decent spread of power, helped no doubt by the casatronic ignition with some long stints at 65 plus, without the slightest hint of pinking. Coming back my fuel averaged out to the same as the other two (one sadly came home in a van after a stator issue).
Some work to do on the dyno now to sort out the power jet. My VHSA is now running 55 slide, dq265, K5 needle top clip, 35 pilot and 160 main, which is probably too large. The hard work and calculations paid off as I have a faster, only slightly less fuel using, long distance scooter.
I'm now going to completely rewire it (not too different to what I've got now) similar to how I did Gareth's S2, with a main relay switching all of the electrics, supported by a lightweight lithium Ion battery. I'll be running full DC electrics including, rev counter, fuel gauge, voltmeter, twin alpine horns, spotlight and satnav/phone charger. Whole system uses three relays and six fuses.
|
|
|
|
Post by tzsteve on Apr 30, 2016 14:36:01 GMT
dave, i have a couple of R-clips for you i`ll leave them with the wise old owl for you to collect
|
|
|
|
Post by henri on May 1, 2016 7:54:59 GMT
nice job , agree with tz them pinpricks wont matter ,will soon carbon fill an not be seen anymore .
on the southdowns run , bout 1ish on the friday ,were you in the group of 4 lammies on the side of slip road from A3(m) into petersfield ,thought i recognised the 2nd from front from on here .maybe grims , sorry couldnt stop ,i was the loon waving from the front seat of a stretch jag mourners car .looked like it was a map read/fag break rather than a break down . well jealous n would of swapped places in a heartbeat . H
|
|