|
|
Post by henri on Nov 26, 2023 10:21:03 GMT
got a scoot in at mine ,a perfect example of why you dont store a scooter outside with rubber floor mats , especially after some bad welding which wasnt sealed afterwards  IMG_3098 IMG_3098 by henri briggs, on Flickr  IMG_3099 IMG_3099 by henri briggs, on Flickr  IMG_3100 IMG_3100 by henri briggs, on Flickr . as its a spanish super with the wider legshields ,an damage goes further forward than a floor repair panel will cover . its going to be leggys off ,repair centre tunnel ,off to john for jigging . an then getting a new primavera legshields an floor an horncast fitted ,then probably powder coated rather than painted .H |
|
|
|
Post by henri on Nov 28, 2023 7:45:27 GMT
time to investigate what lurks under the filler at bottom of apron .  IMG_3116 IMG_3116 by henri briggs, on Flickr . what can only be described loosely as "welding" ,very bad welding from the stevie wonder school of welding .  IMG_3117 IMG_3117 by henri briggs, on Flickr . nxt its a rapid weight loss diet program ,an start the removal of leg shields .  IMG_3118 IMG_3118 by henri briggs, on Flickr . much easier to get into the shed an work around now .H |
|
|
|
Post by henri on Dec 1, 2023 8:31:41 GMT
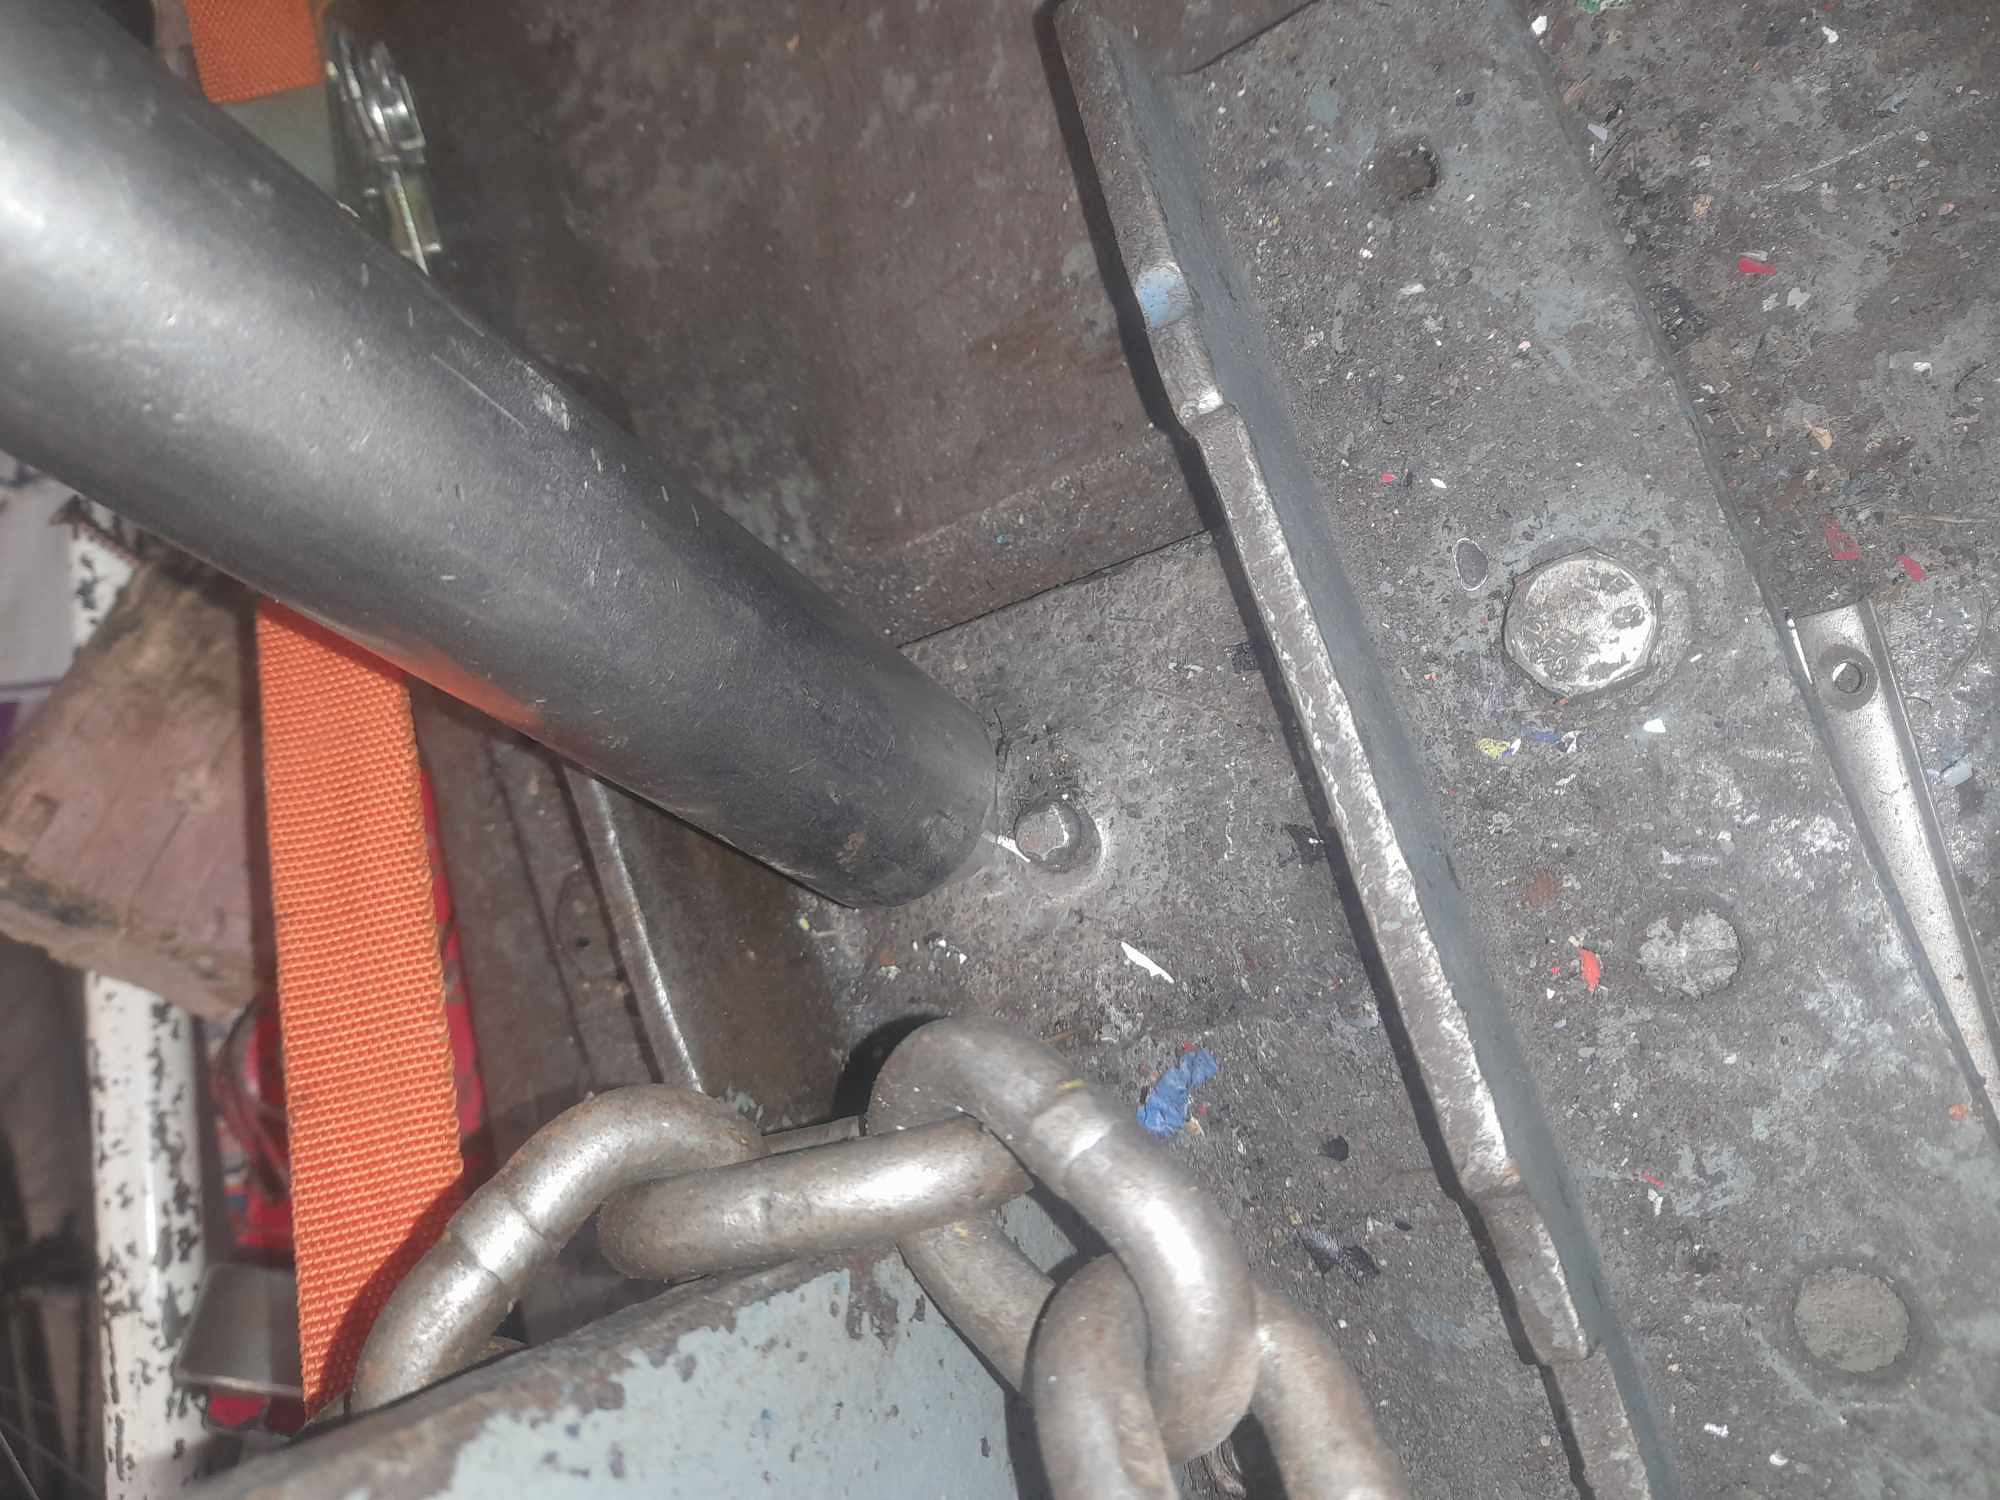
so out with spot weld cutter ,start at the back an work forward .  IMG_3129 IMG_3129 by henri briggs, on Flickr . a bit of grinding to remove the badly welded plate underneath , to reveal this ,the reason it was welded on i guess .  IMG_3127 IMG_3127 by henri briggs, on Flickr . more grinding to remove the plate bodged on the apron , then spotweld cutter along an all the old leggies are gone .  IMG_3130 IMG_3130 by henri briggs, on Flickr 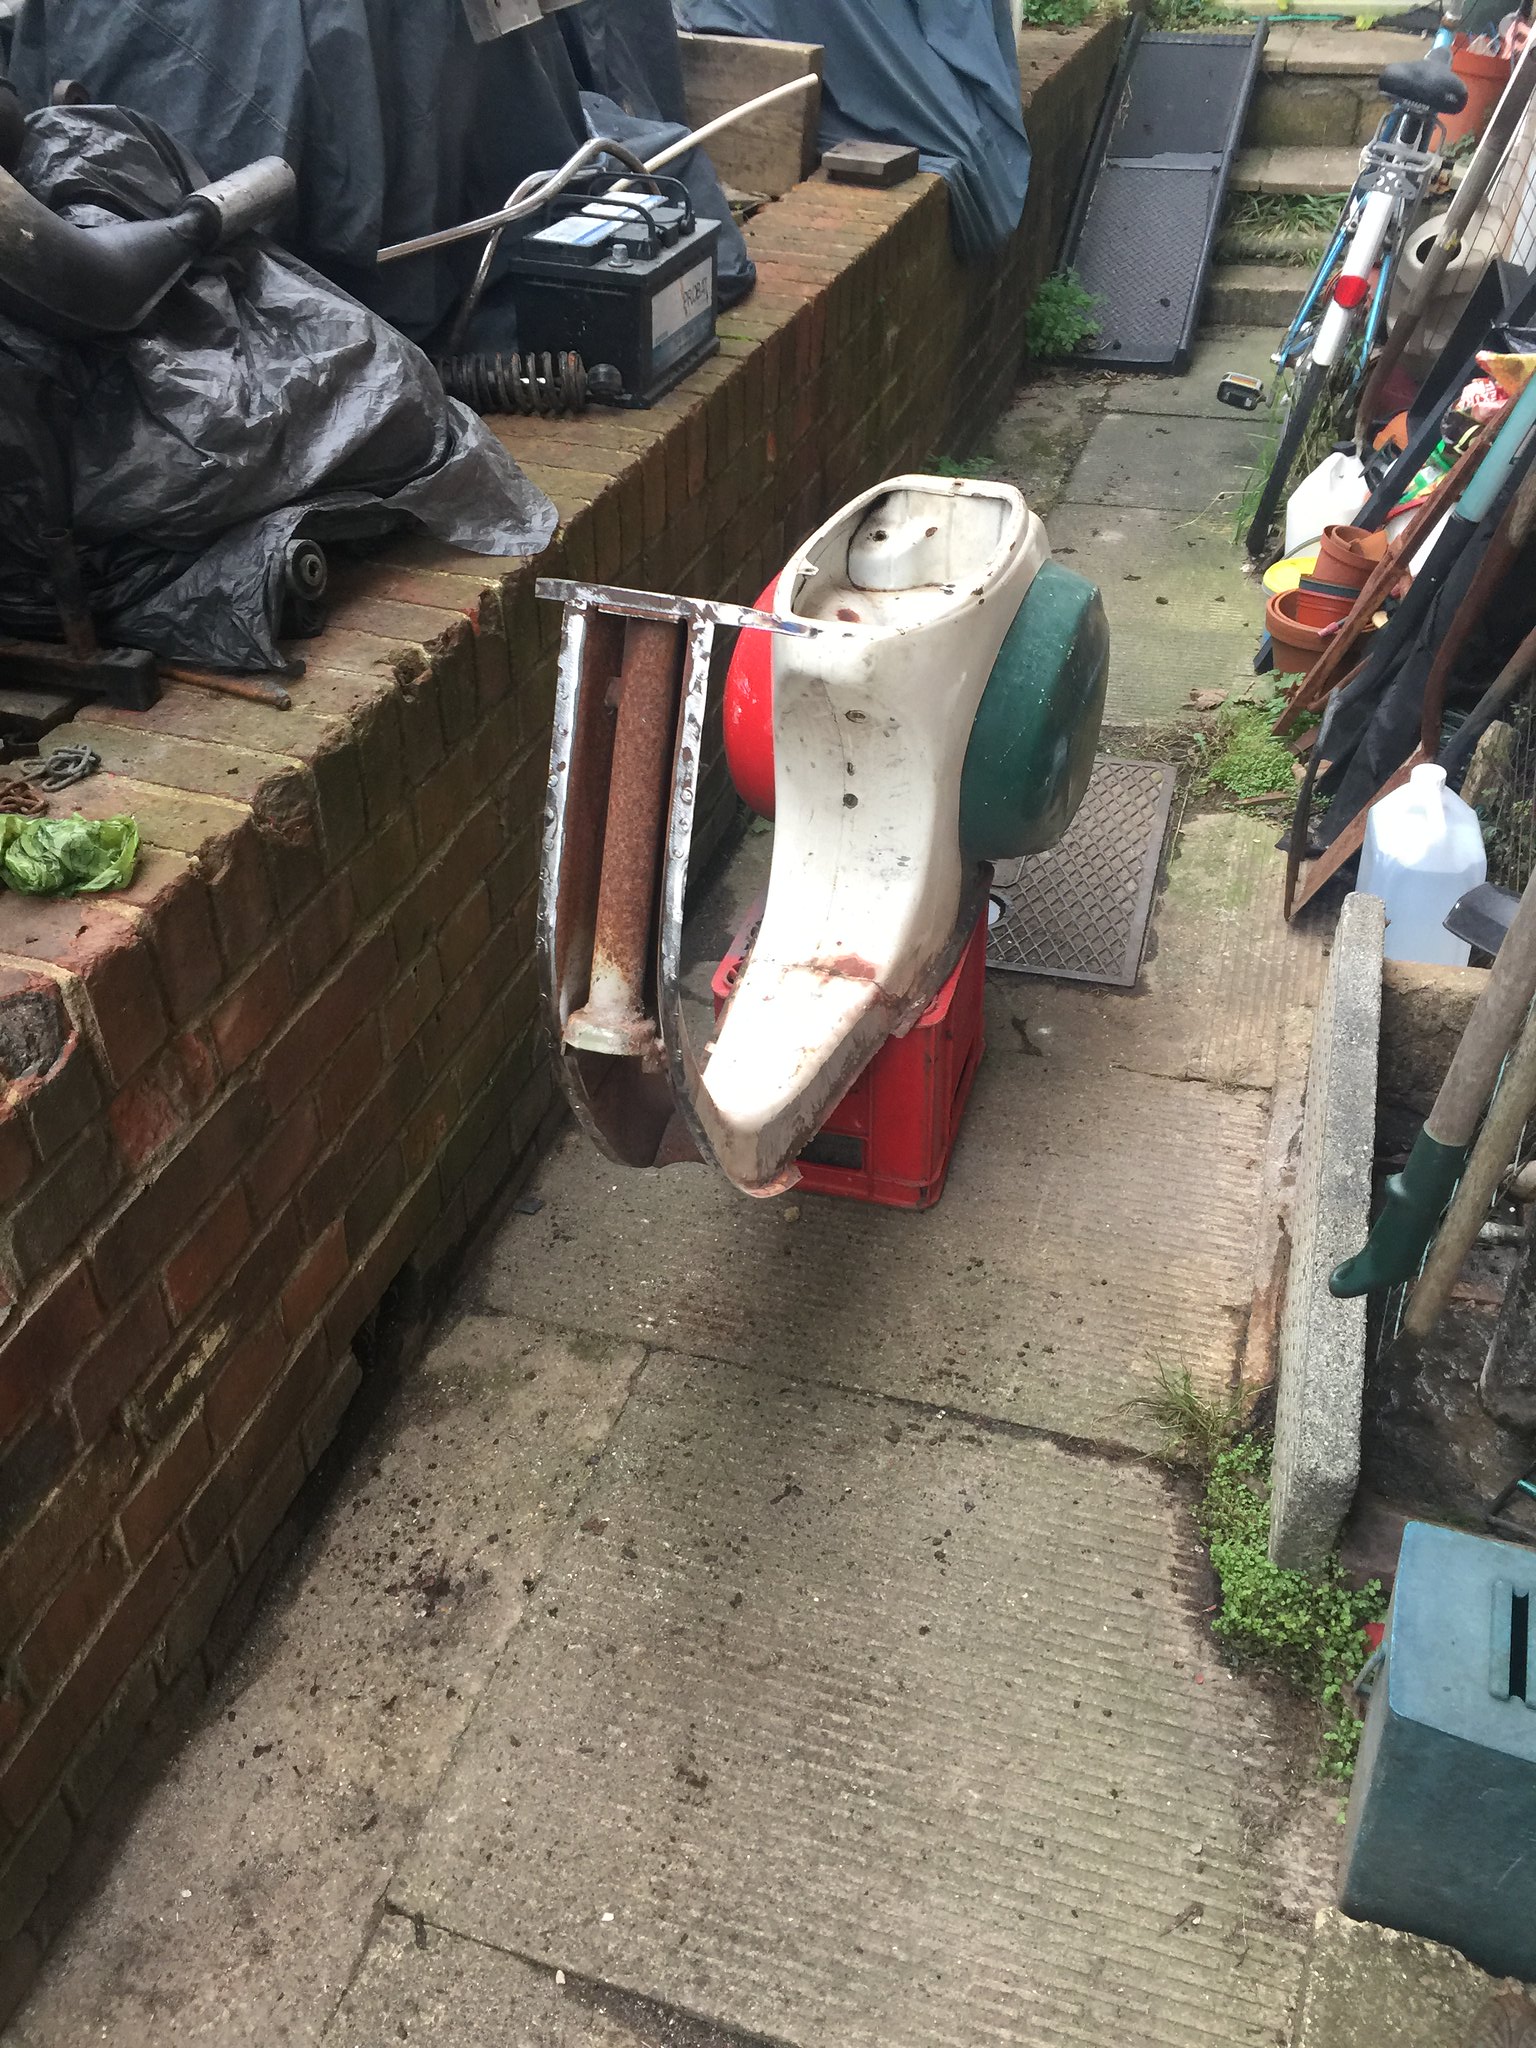 IMG_3131 IMG_3131 by henri briggs, on Flickr . next its start the derusting process an get internals sealed an painted ,an do the welding repairs . 2 splits in rear bubble an about 9 inches along the bottom of centre tunnel is missing the lip .H |
|
|
|
Post by henri on Dec 4, 2023 8:56:58 GMT
quite weekend at mine ,wire wheeling inside the frame ,then getting a few coats of hydrate80 rust killer on .  IMG_3134 IMG_3134 by henri briggs, on Flickr . an whilst that does its job ,unseize an strip the rear brake pedal . 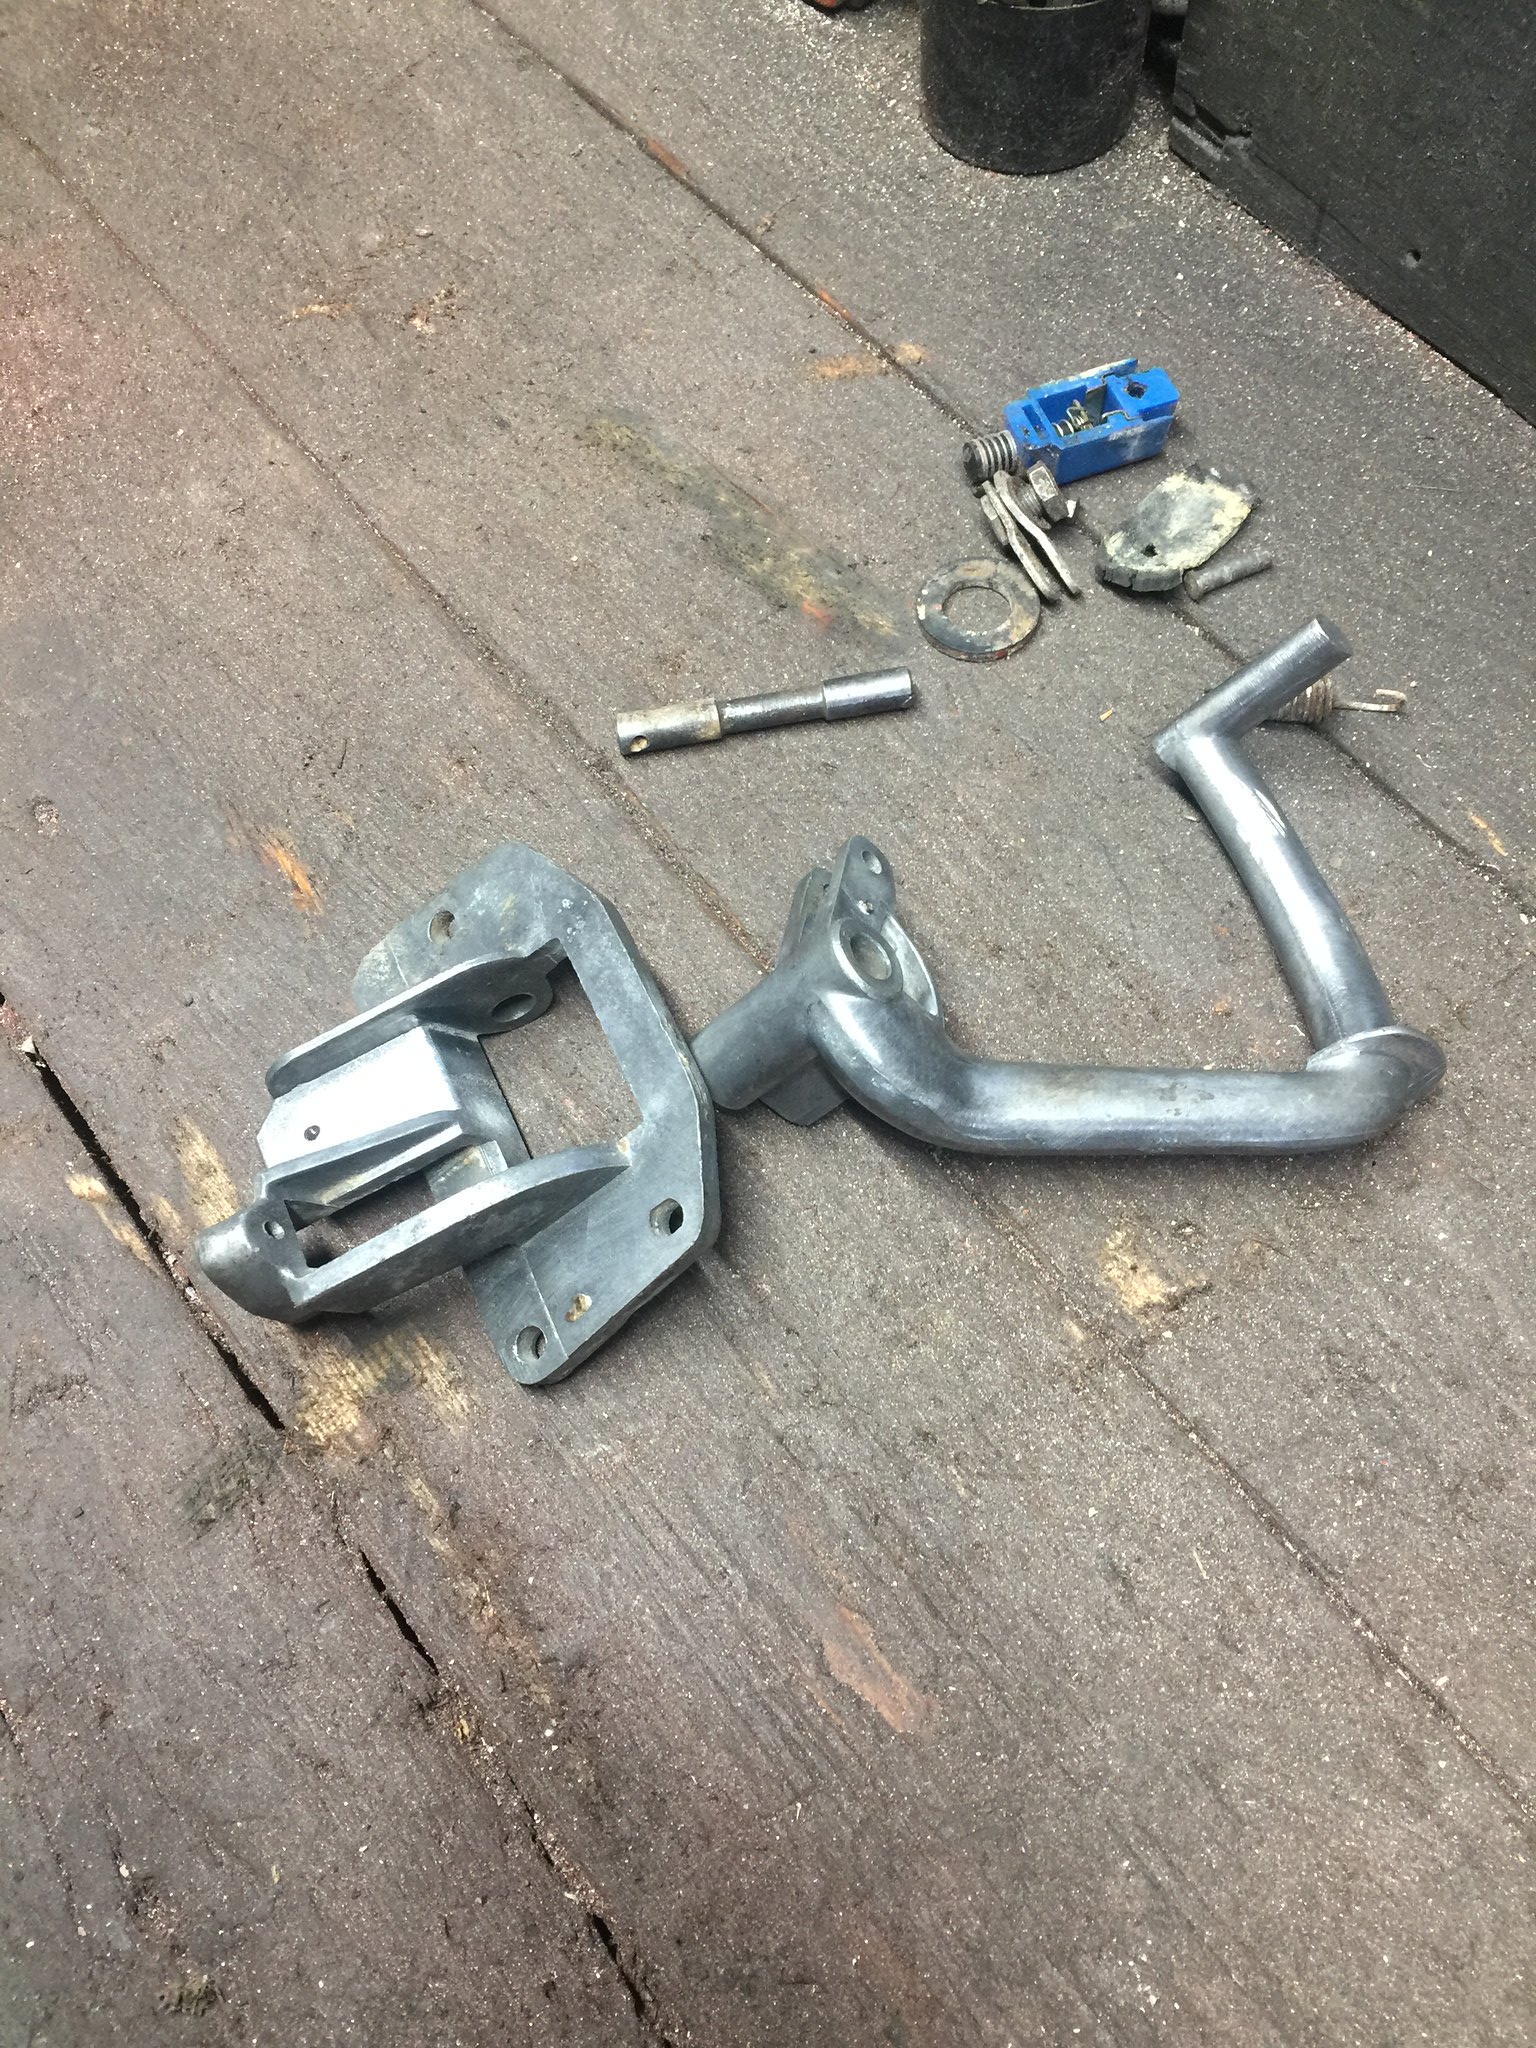 IMG_3135 IMG_3135 by henri briggs, on Flickr . a quick clean up an grease then re-assemble  IMG_3141 IMG_3141 by henri briggs, on Flickr . can get stashed away now ,ready for when scoots being built .H |
|
|
|
Post by henri on Dec 6, 2023 8:38:34 GMT
not a good day monday , got the rot cut out an area cleaned up back to shiny .  IMG_3142 IMG_3142 by henri briggs, on Flickr . made a repair piece up an some reinforcing gussets to overlap the joint , an thats when my welder decided to die on me .  IMG_3144 IMG_3144 by henri briggs, on Flickr . it was 20 years old ,an had had a hard life an a lot of use , so after a afternoons welder shopping plumped for this one as a quick replacement .  IMG_3143 IMG_3143 by henri briggs, on Flickr . not quite the type i wanted ,an was tricky to learn the new set ups ,but after a hours practise on scrap cracked on with frame .  IMG_3150 IMG_3150 by henri briggs, on Flickr . an the 2 splits in rear bubble aswell . 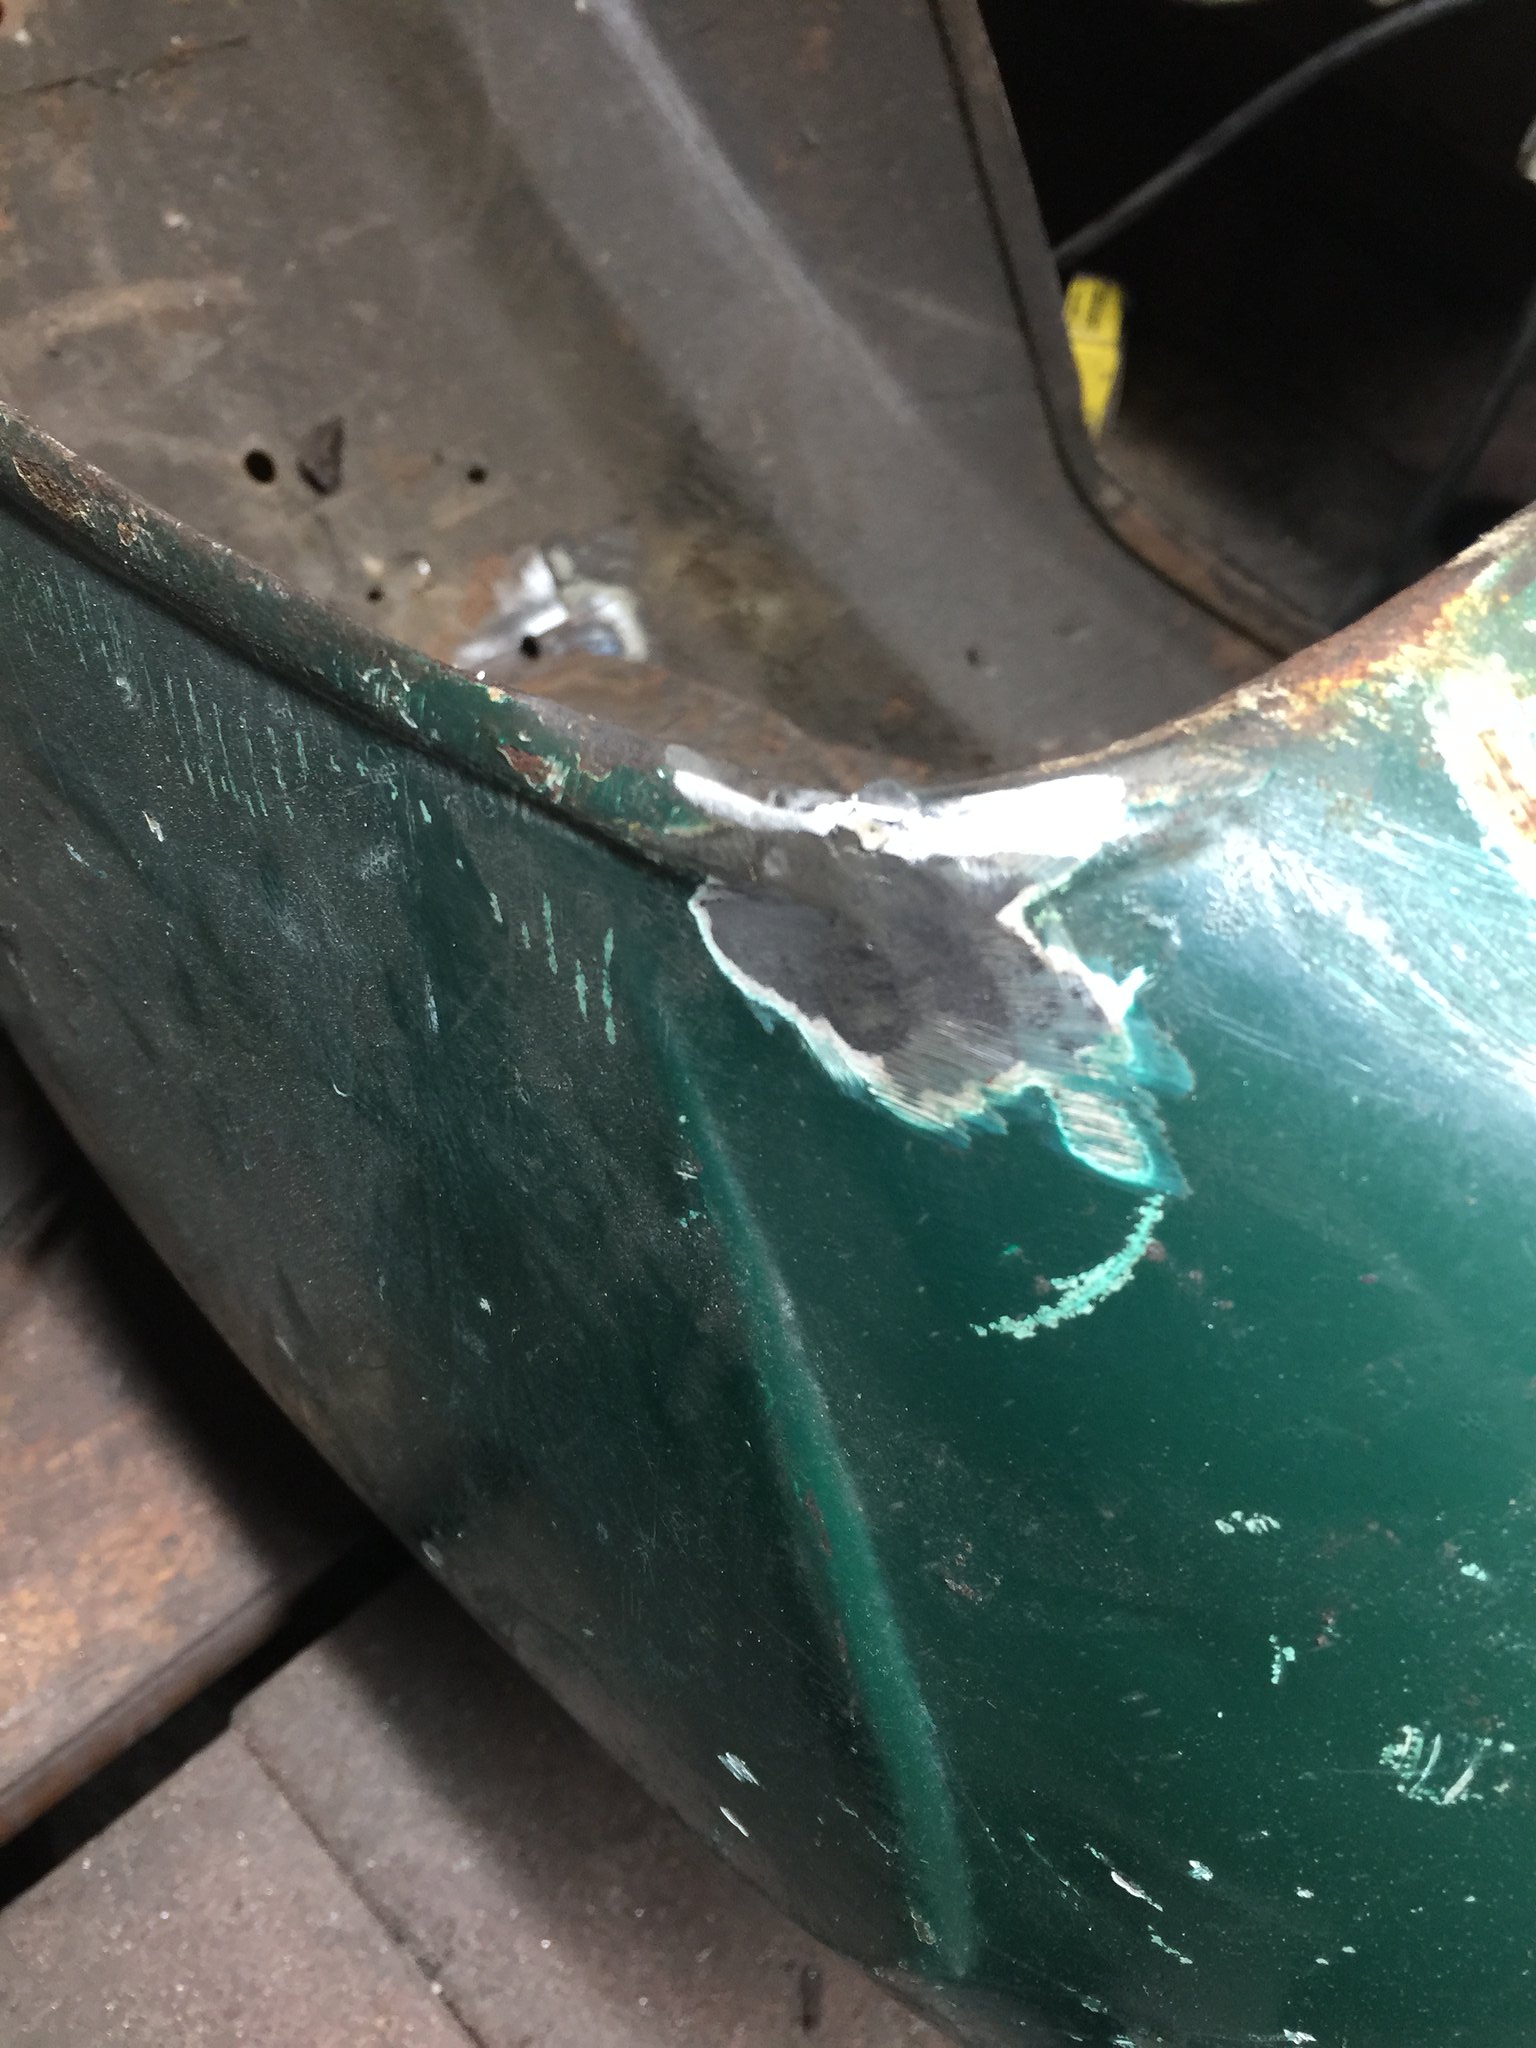 IMG_3148 IMG_3148 by henri briggs, on Flickr . now to organise getting it to john to jig .H |
|
|
|
Post by gugne on Dec 18, 2023 16:22:51 GMT
Nice work H.
|
|
|
|
Post by clampett on Dec 19, 2023 3:37:17 GMT
Out of my league, but I love watching others achieve results.
|
|
|
|
Post by henri on Dec 21, 2023 7:43:40 GMT
whilst waiting for frame to be picked up to go to be jigged i started on the forks .on checking as i was suspicious of there straightness ,they where found to be badly bent .so quick hunt around an another leg found .  IMG_3195 IMG_3195 by henri briggs, on Flickr . new needle bearings in an strip the link an off to my other shed to get painted .  IMG_3199 IMG_3199 by henri briggs, on Flickr  IMG_3200 IMG_3200 by henri briggs, on Flickr . few days to harden off for the paint ,then all new bearings an seals ,oodles of grease an a new "carbone" shock fitted .  IMG_3206 IMG_3206 by henri briggs, on Flickr . now to be stashed away in safety ,ready for when scoots being built ,engine nxt.H |
|
|
|
Post by henri on Dec 23, 2023 13:20:59 GMT
|
|
hrvespa
ETS
 1981 50 special, 1977 primavera, 1964 GL 150, 1975 125 TS (early P200 engine)
Posts: 164
|
Post by hrvespa on Dec 23, 2023 15:04:58 GMT
That'll all come out in the wash!
I'm sure it will be looking all shiny and new by next week.
Looking forward to seeing the results....
|
|
|
|
Post by mark on Dec 24, 2023 12:58:25 GMT
OMG
That looks rank inside 😀
Hopefully after your magic touch it will gleaming.
|
|
|
|
Post by henri on Dec 26, 2023 12:09:47 GMT
made a start on cleaning the inside of cases , an the loose gears .they have come up good so far ,no damage or rust pitting so will go again .  IMG_3216 IMG_3216 by henri briggs, on Flickr . cant say the same for the output shaft i'm afraid ,  IMG_3217 IMG_3217 by henri briggs, on Flickr . an had to get medieval on some of the bearings to extract them .  IMG_3215 IMG_3215 by henri briggs, on Flickr . the tree bearing needed a slide hammer bit welding to it an loads of heat to extract .an the outer race of 2 part fly bearing was staked in an not shifting .so cut the ends off a large frame cruciform an weld it in an drive bearing out .H |
|
|
|
Post by henri on Jan 22, 2024 9:32:51 GMT
|
|
|
|
Post by henri on Jan 30, 2024 7:00:48 GMT
whilst waiting on frame returning made a start on the engine .  IMG_3313 IMG_3313 by henri briggs, on Flickr . bearings an seals in , primary in . an a dry build on the shaft/gears to check the endfloat an shimming .H |
|
|
|
Post by henri on Jan 31, 2024 8:50:29 GMT
bit more on engine .  IMG_3316 IMG_3316 by henri briggs, on Flickr . crank into flywheel side ,inlet on , breather an oil drain screws fitted ,an now stalled . when i cleaned up the gear selector fork the shaft was a bit worn an wobbly in cases .so i ordered a new 2 o-ring one to fit ,an with a oversize o-ring hopefully keep the engine oil tight in use . but its been hung up in uk customs for 5 days ,so wont be here this week probably .H |
|
|
|
Post by henri on Feb 3, 2024 9:43:12 GMT
got the frame back from being jigged an having new leggys welded on .  IMG_3320 IMG_3320 by henri briggs, on Flickr . but there was a problem with the horncasting ,it would never fit so been returned to supplier . 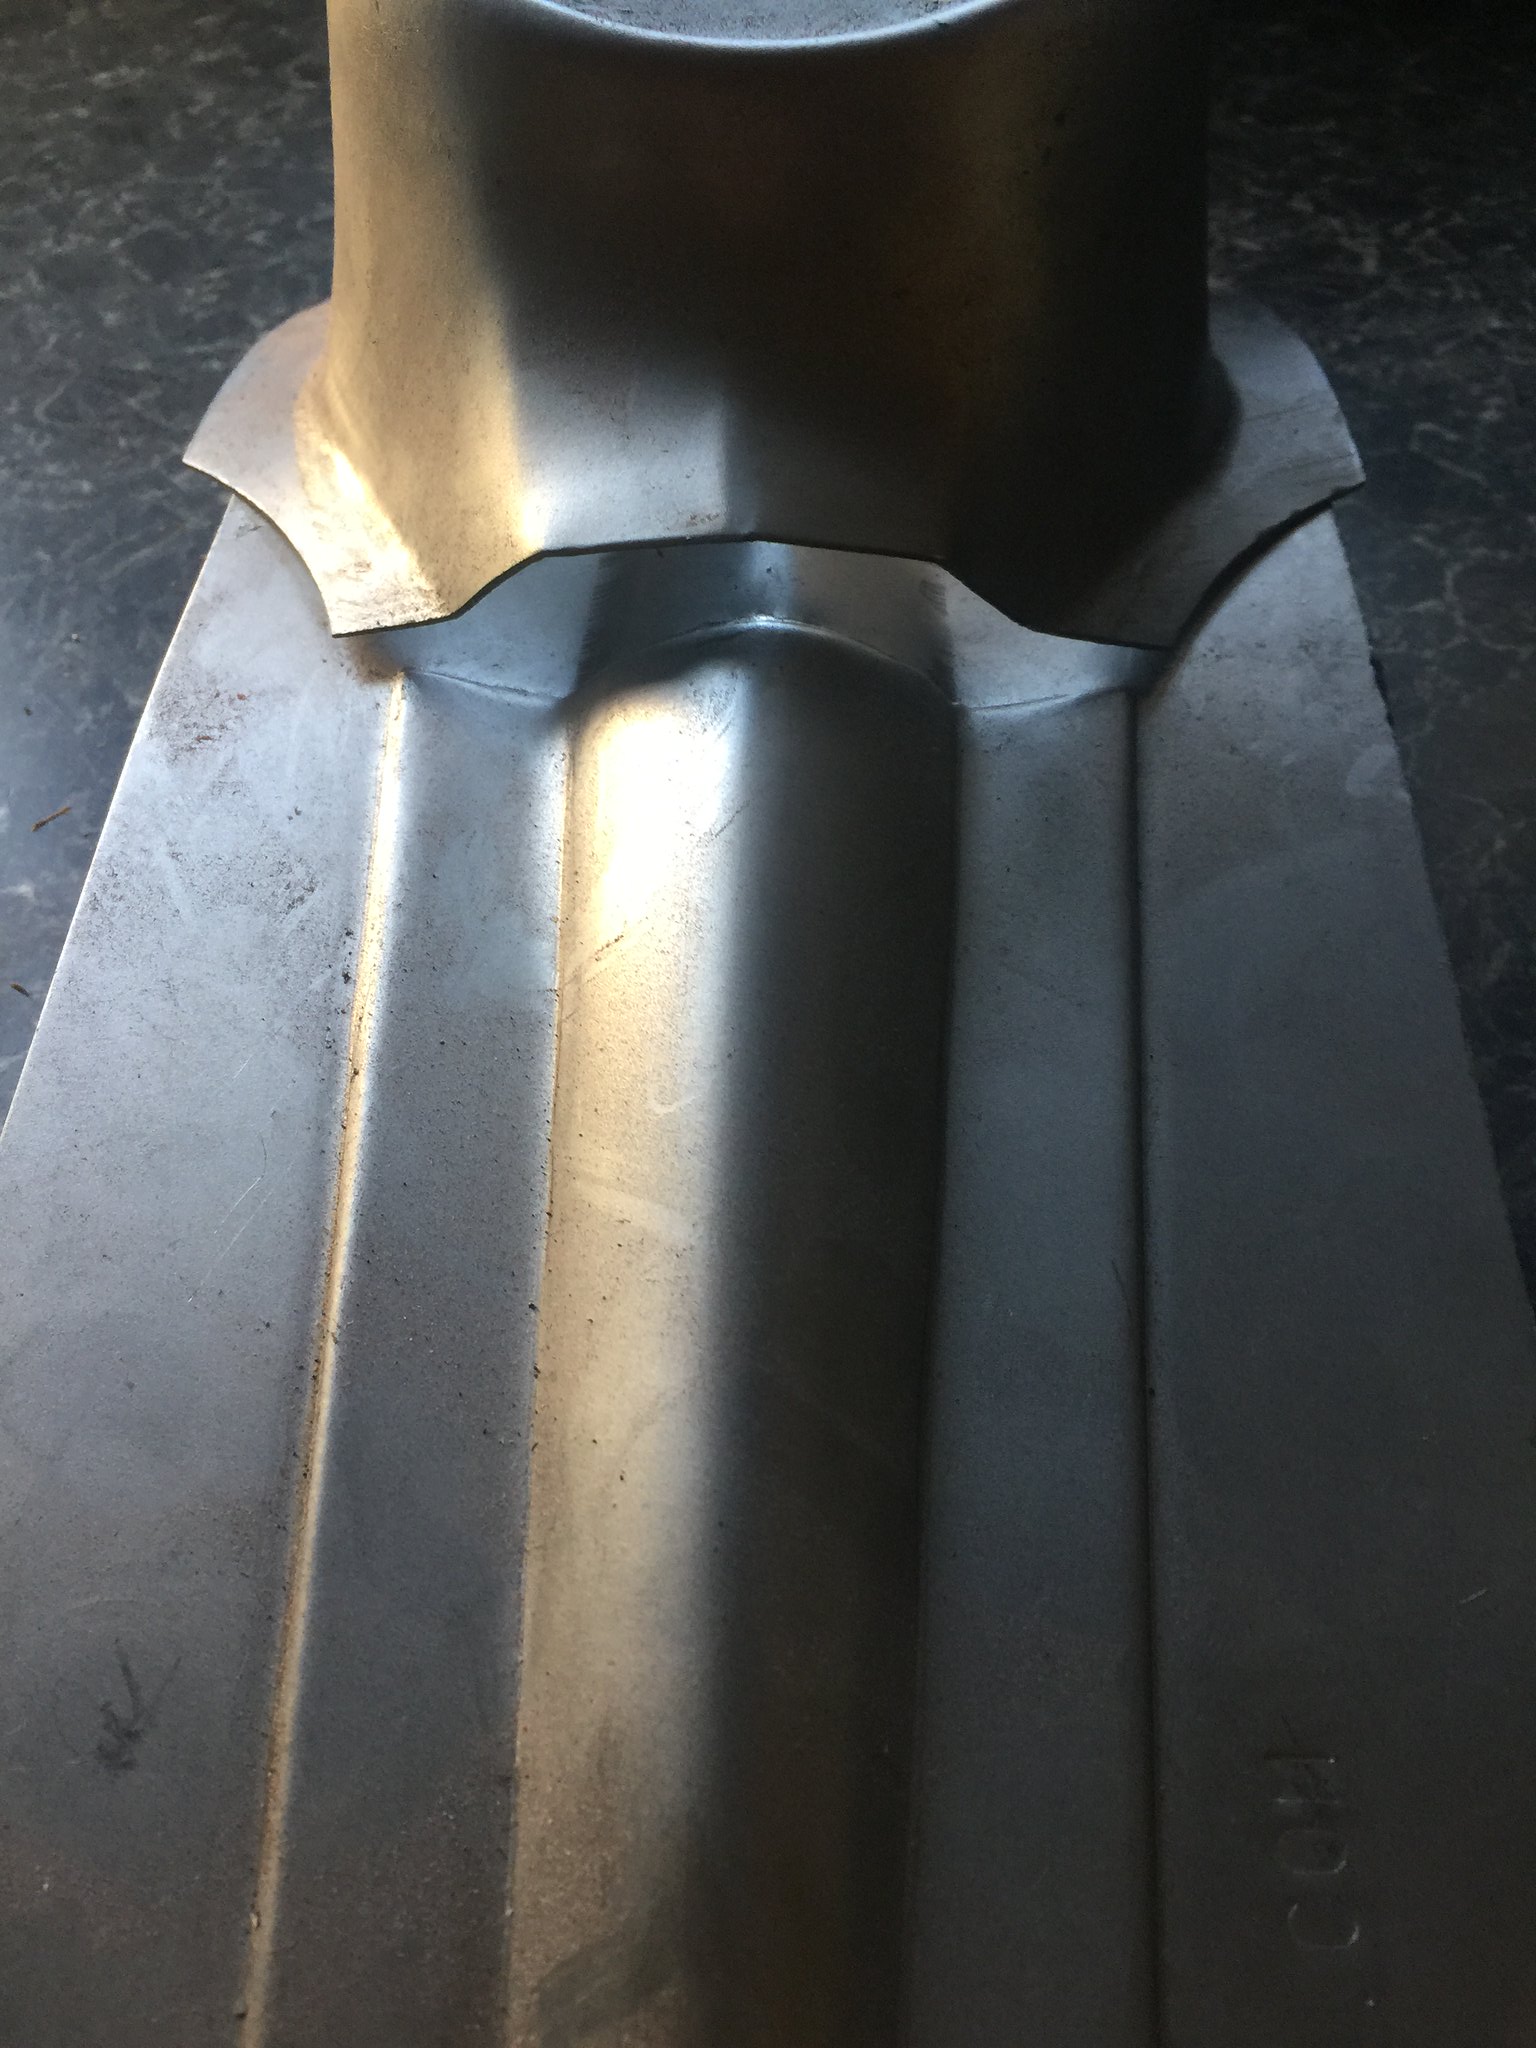 IMG_3323 IMG_3323 by henri briggs, on Flickr . so new one ordered from sip . 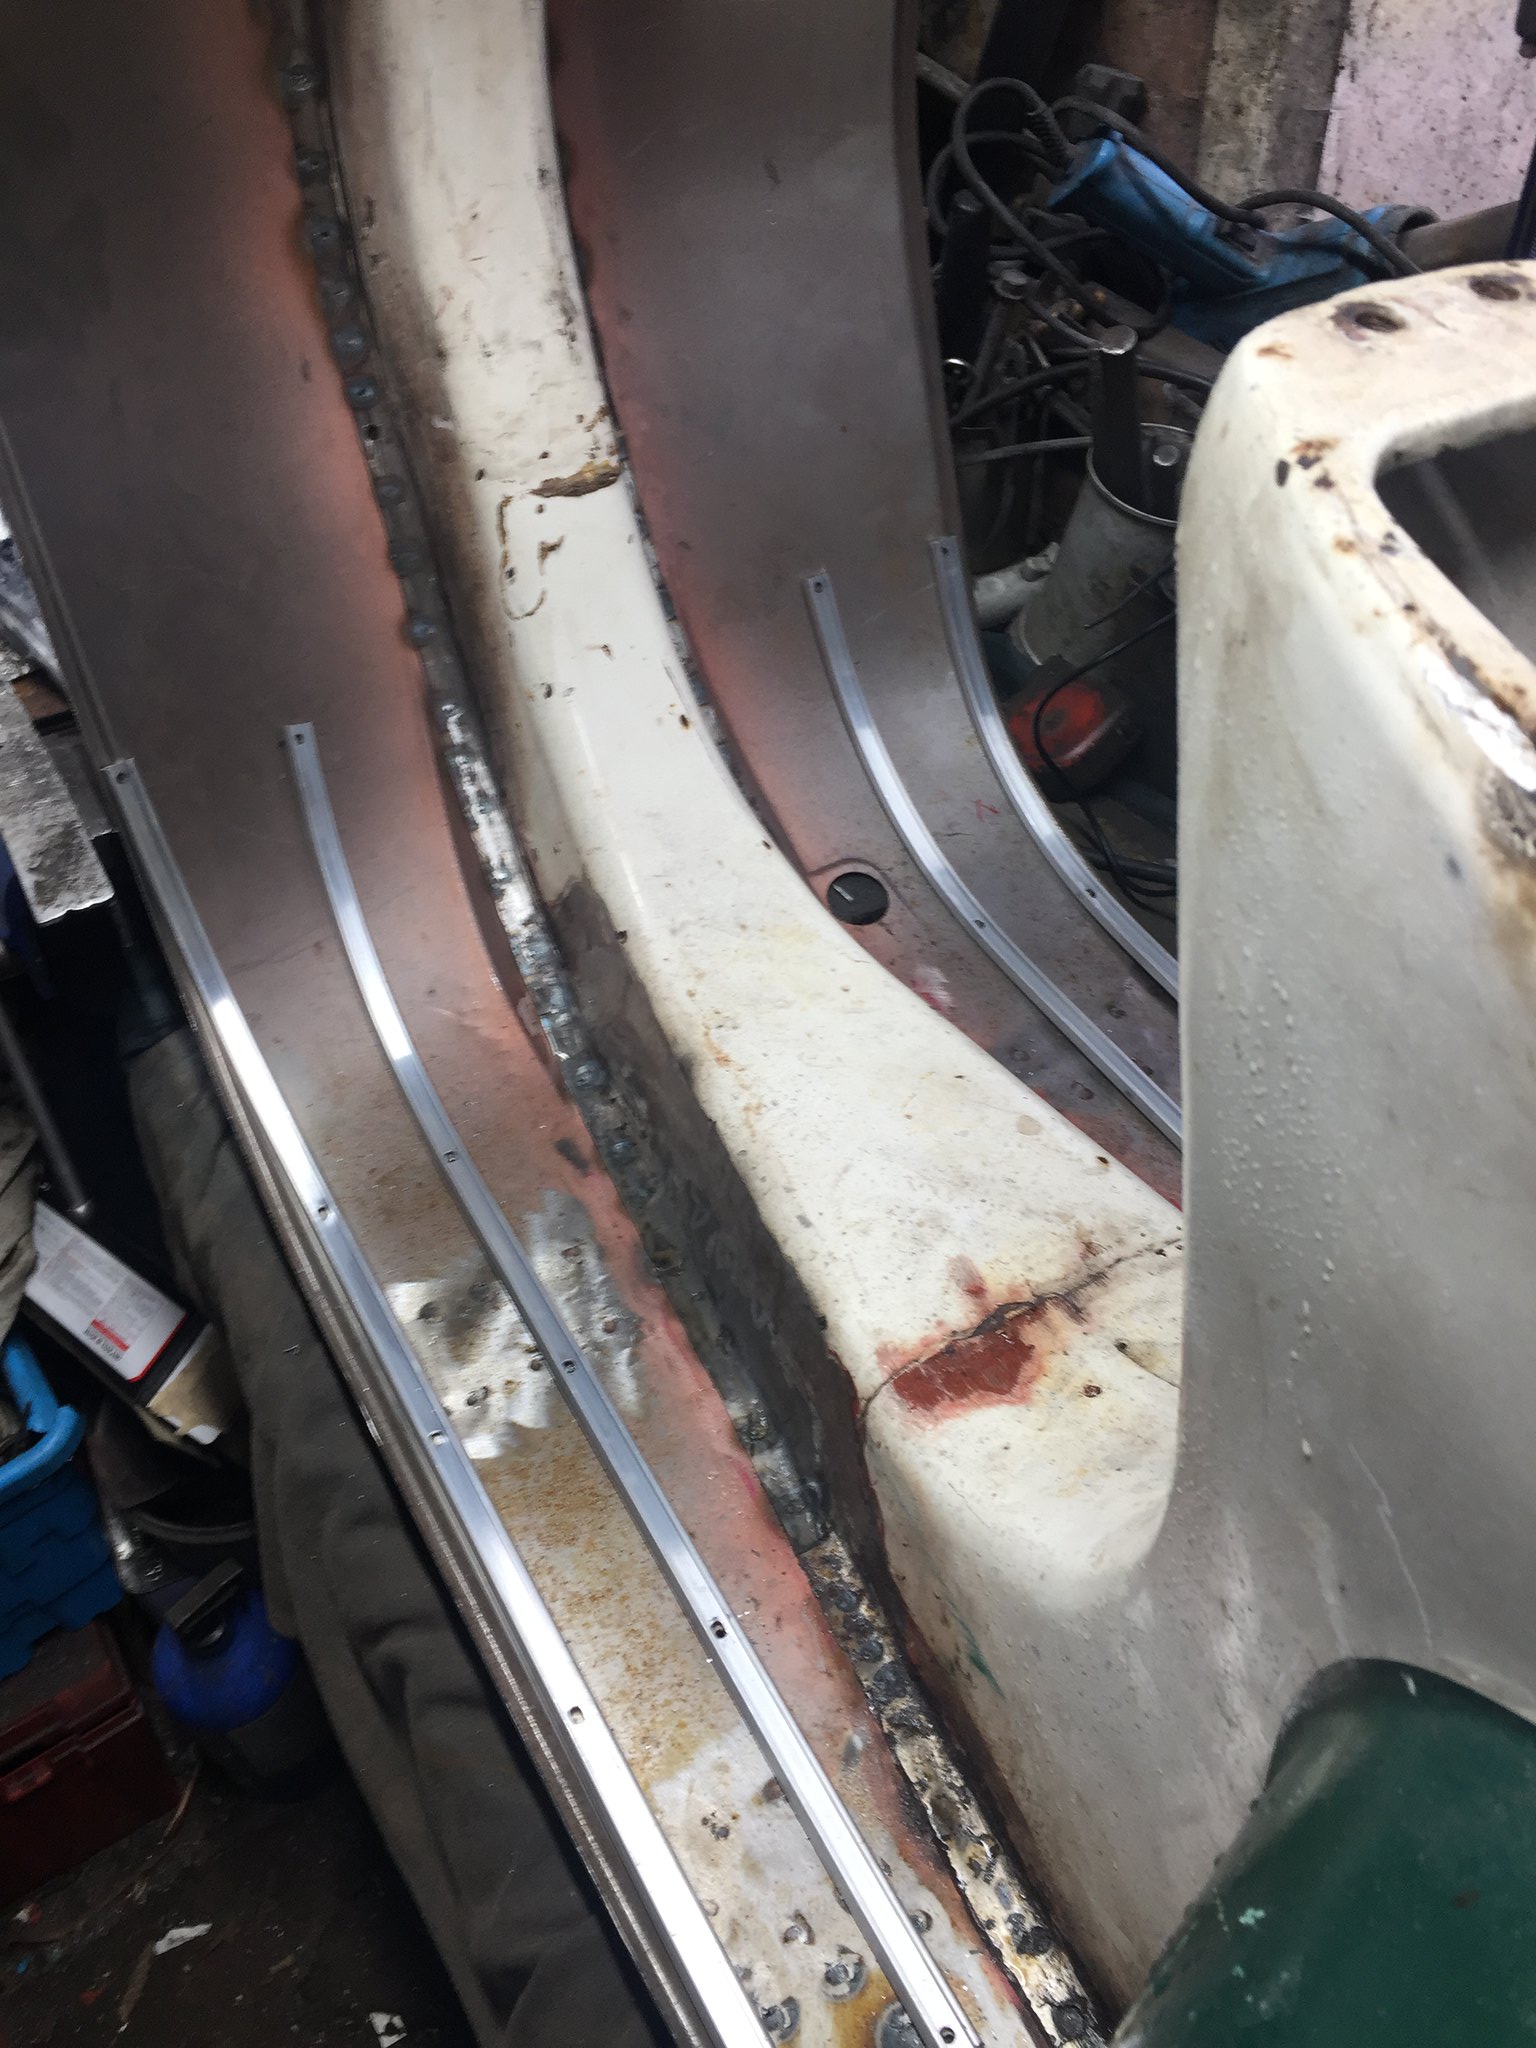 IMG_3325 IMG_3325 by henri briggs, on Flickr . so got on with redrilling brake block an centre stand holes ,an floor runner holes so its ready to go off for powder coating .H |
|
|
|
Post by simonar on Feb 5, 2024 17:07:17 GMT
Wow great work
|
|
|
|
Post by henri on Feb 9, 2024 8:01:05 GMT
the new horncast arrived , nice an solid construction so hopefully will last . will go an check the fit today .  IMG_3348 IMG_3348 by henri briggs, on Flickr . an in same parcel was the part ive been waiting for the engine .  IMG_3349 IMG_3349 by henri briggs, on Flickr . so got on an finished the bottom end , an prepped top end to go on today . quick hone of the bore to break the glaze ,an set the ring gaps ,an decoke the piston an its ready .H |
|
|
|
Post by henri on Feb 11, 2024 9:55:59 GMT
always the last bolt to tighten is the one that shears ,in this case the exhaust manifold one ,sheared of flush with barrel.  IMG_3354 IMG_3354 by henri briggs, on Flickr . i'll leave the fun of extracting that to a later time . had a dry day so put it in the stand ,an it was a 1st kick starter .  IMG_3363 IMG_3363 by henri briggs, on Flickr . click twice on video to see it .H |
|
|
|
Post by henri on Feb 14, 2024 7:42:18 GMT
barrel off , drill an retap exhaust stud an fit a new stud ,an barrel back on .  IMG_3370 IMG_3370 by henri briggs, on Flickr . then it was take the frame an parts off to the powder coaters for blasting an coating .H |
|