|
|
Post by snails on Mar 27, 2015 19:29:28 GMT
Just looking to split the casing apart. Do I loosen all the 7 or so nuts on the fly wheel side. I've been watching the home workshop dvd thingy but its based on a lardy engine and it seems they only have 3 nuts near the flywheel. Ok that was a pretty dumb question with a obvious answer, but at least no one can say I'm afraid of asking dumb questions! Anyway i've moved on and removed all the d bolts and nuts and the nuts around flywheel housing - bar one where the thread is stripped. Unfortunately its not in a very easy to access location. Is my only option to hacksaw the nut off? Looks a right pain. Also once its off is the area circled in green intended to be punched to split the two halves of the case? 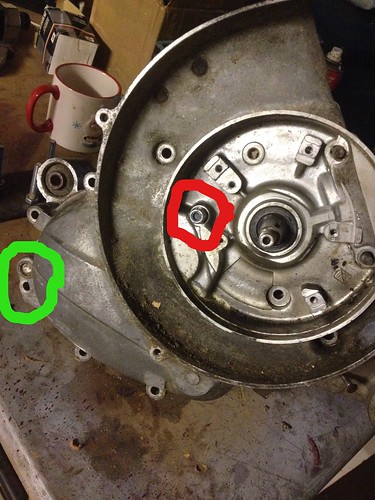 |
|
|
|
Post by Rally 180 on Apr 11, 2015 19:39:40 GMT
Hi Snails I changed over my V90 hubs to 5 stud 125 hubs, look much better. I'll try and find the page with all the details how to do it, which is very detailed and full of photos. Similar to you I hadn't had a smallie for years, but fun to work on  Rich |
|
|
|
Post by triffid on Apr 14, 2015 9:20:07 GMT
green bit is just a locating pin.
|
|
|
|
Post by snails on Apr 19, 2015 21:54:28 GMT
 I have the two parts of the casing apart. Next up the crank and gearbox. I'm told its best to take the gearbox apart before trying to free the layshaft from the bearing. |
|
|
|
Post by snails on Apr 19, 2015 21:55:28 GMT
Hi Snails I changed over my V90 hubs to 5 stud 125 hubs, look much better. I'll try and find the page with all the details how to do it, which is very detailed and full of photos. Similar to you I hadn't had a smallie for years, but fun to work on Rich That would be interesting if you can. I kind of assumed it would just be a simply swap of one for the other...... |
|
|
|
Post by snails on Feb 24, 2017 9:44:33 GMT
So now the engine is nearly done I'm thinking of doing a bit of dry build first.
I still want to swap the hubs from 90 type to 125 style. What's involved with this anyone?
I'm also pretty sure I will swap the headstock for one of the spare primmy ones I have. Is there anything I need to do for this other than just swap it over?
After the dry build ideally I would get it sand blasted and powder coated but my concern is that the place I normally take them does both things at the same time and if there is any damage to the body work I wont know until after its too late. That makes me think I might be better stripping the paint myself - but that is not an idea that fills me with joy.
When I do strip down the scooter what should I do about the cables? Is there anything I can do to make it easier to re route the replacements? I'm also worried that they may leave something behind in the frame when I remove them. Is this likely? Can I do anything to prevent it if so?
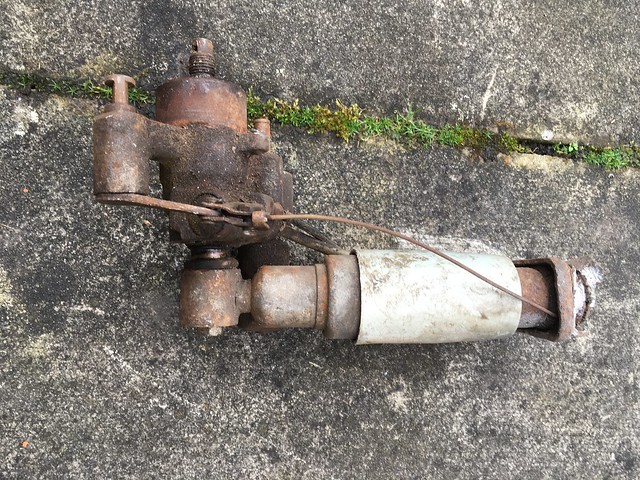
Lastly for now, although I have no recent experience of what Vespa suspension is like I'm of a mind to modernise it from the old standard stuff I have. Any advice on my options here would be appreciated. I'd like to purchase and fit these as part of the dry build.
|
|
|
|
Post by triffid on Feb 24, 2017 11:08:17 GMT
Hi Snails, if you are going to powdercoat then your bodywork will need to be perfect or as near to it as you can. They will blast it and remove all filler and such like as powder coating needs to go direct onto the metal. So any imperfections will be there to stay. So if you are worried about this then strip it yourself so you can see what will need doing bodywork wise.
If keeping standard brakes and suspension then up-rate shocks and maybe fit anti-dive kit on the front. As with everything, it depends on how much you want to spend.
|
|
|
|
Post by snails on Feb 24, 2017 12:09:18 GMT
Yes
I'm keeping the standard brakes. So is there anything on the market that offers significant suspension improvements at around the £70 - £80 mark for each shock? I know nothing about these so any recommendations welcome. If you could only do one or the other would it be the front to start with?
I saw a discussion on an anti dive unit on Facebook, something about a design original made somewhere in Europe. Looked quite a simply modification if you bought the kit. Not sure what it was called or who sells them?
I agree about the paint stripping. I was thinking of starting with the mudguard, side panels and floor boards as these are the main areas that need repair and then see how the land lies..think I will do this after my dry build though..
|
|
|
|
Post by potatopl on Feb 24, 2017 15:47:14 GMT
|
|
|
|
Post by tzsteve on Feb 24, 2017 18:32:19 GMT
re the frame; cables etc.
fitting new cables and wiring into a bare frame is quite straight forward.
wires first ( drag them through ny taping them to some 3mm steel wire from B&Q ),
then the cables,
clutch cable goes down the side of the frame opposit to the lever.
fit the brake pedal and rear brake cable after the rest of the build is done.
if the frame is getting sand blasted make sure that you cover the fork bearing tracks with PLENTY of gaffa tape.
no one will blast a frame with old cables or wiring in place as any grease on these will contaminate the balsting sand and they will not be able to reuse the sand
|
|
|
|
Post by tzsteve on Feb 24, 2017 18:37:54 GMT
fitting the cables can be a little frustrating as there are a couple of plates on the inside of the frame so it`s a case of bouncing the cables up and down till they magicaly slip past these plates ( it`s practice )
the cables tend to be awkward just below the horn and just infront of the engine bolt holes, have a look and you will see what i mean
|
|
|
|
Post by Juan on Feb 24, 2017 19:36:46 GMT
|
|
|
|
Post by snails on Feb 25, 2017 18:19:41 GMT
Thanks for the advice on the cables. Yes it is frustrating fitting them - Its one of the things that I found most annoying about my old 50 Special> I guess I will just have to try channel my inner calmness when I do it Also thanks for the link on the hub conversion. I've been in garage this morning to dig out some of the parts but it looks like I better go and find some more having read the instructions now. Its annoying I just serviced the back plate for the old four stud and now will have to find the five stud one and do it again. Oh well I intend to one day build up my 90 engine into a spare so it may be of use in the end. I also have some spare forks knocking about so hopefully one of these is the one with the axle for the five stud hub. Not sure how I would identify it as such though. The anti dive kit links were interesting too, still mulling that one over. I could do with knowing the condition of my existing suspension before I decide but don't have any idea how'd I be able to find that out |
|
|
|
Post by snails on Feb 27, 2017 9:28:00 GMT
|
|
|
|
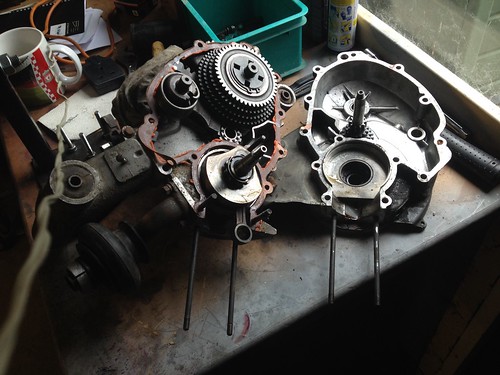
Post by snails on Feb 27, 2017 9:35:12 GMT
I cant see any difference in the two plates I have so I assume that they are both 4 stud? 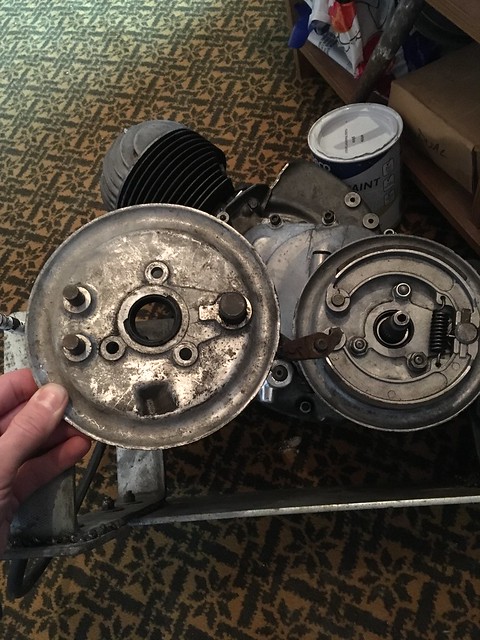 The 'spare' is damaged in any case so I assume fit for the bin?  |
|
|
|
Post by triffid on Feb 27, 2017 11:04:18 GMT
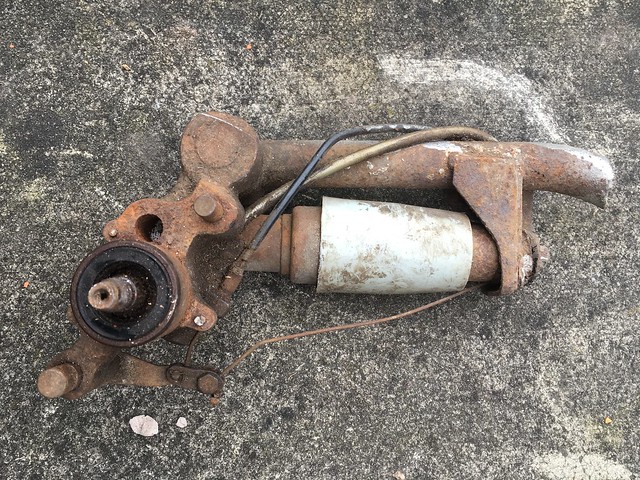
It looks like there is a big bit missing from forks B!!
|
|
|
|
Post by snails on Feb 27, 2017 14:14:13 GMT
Damn! Is there? I was looking forward to fitting them! |
|
|
|
Post by dazzz on Feb 27, 2017 15:42:03 GMT
Primmy brake shoes and primmy rear hub will fit without changing the back plate. I think. It's the pk back plate that the lugs are a little wider on.
|
|
|
|
Post by snails on Feb 27, 2017 16:11:47 GMT
Oh good. Thanks
|
|
|
|
Post by snails on Feb 28, 2017 8:24:01 GMT
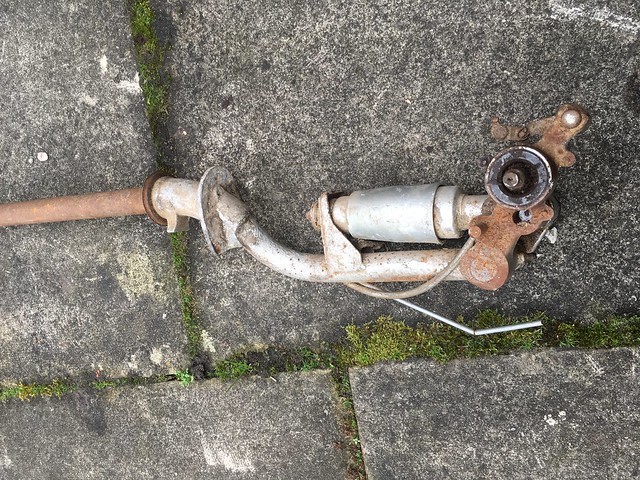
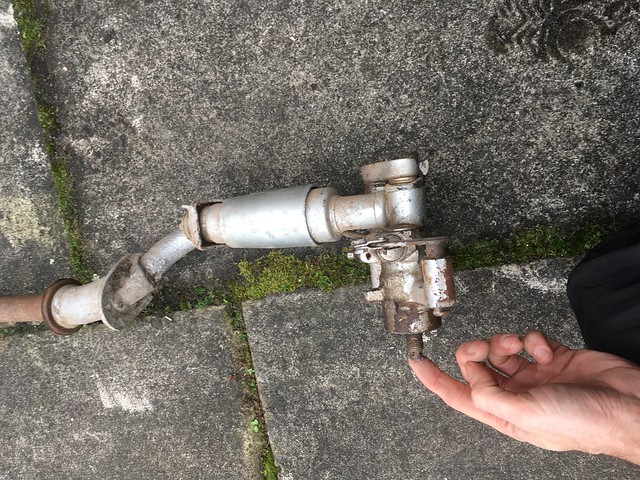
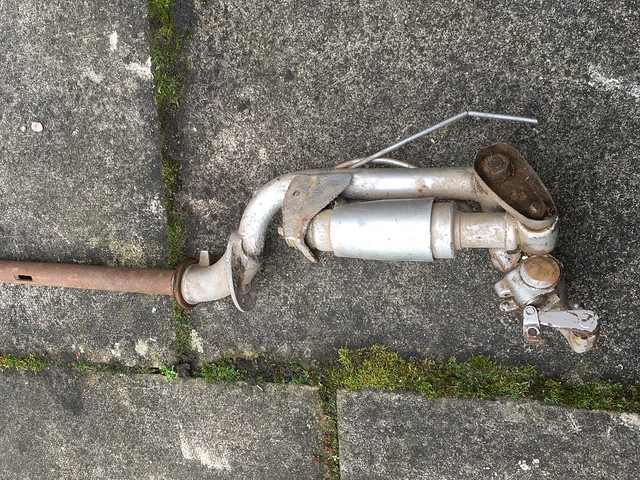
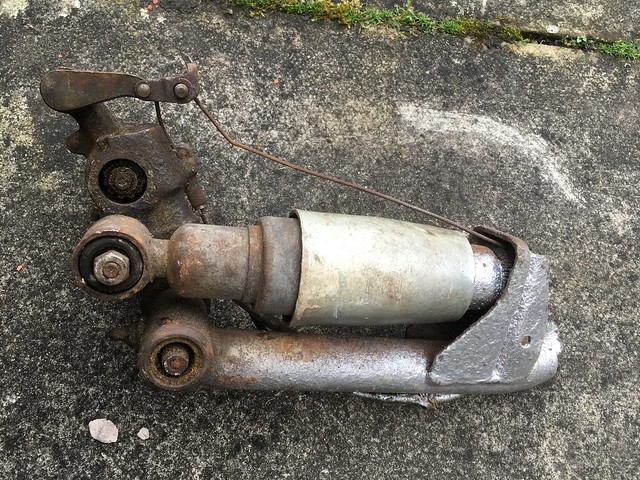
Okay, I suspected that visual id of the forks would be difficult. Plan B is to strip the axle off the spare forks and compare with the one fitted to the V90 and hopefully the fact that they are different in some way (hopefully something easy like being a different length) will confirm that they are primmy axles. Now, for a dumb question, I offered up my primmy hub to my engine and it seems to bottom out against the clutch cover. What am I missing to space this away from the engine casing? 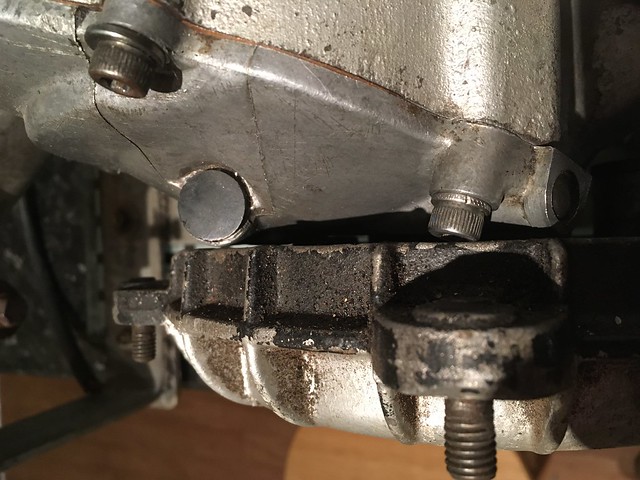 |
|