|
|
Post by henri on Jun 15, 2020 10:20:56 GMT
 v50 001 v50 001 by henri briggs, on Flickr . after trial fitting my t5 barrel experiment in a full frame an realising major body adjustments would be needed , i sourced a pk frame as theres more room in them . then this badboy came up for grabs , a v50 been butchered to take a p range lardy-lump an had "wide-boy" chequer plate leggies added , badly .  v50 002 v50 002 by henri briggs, on Flickr . 2 minutes with a hammer an 8 minutes with a dust pan n brush an i was no longer ashamed to have it at my house .  sunday 006 sunday 006 by henri briggs, on Flickr . nxt day was start a mock up an a to do list .pk forks/px disc conversion/xl2 bars "drooped" /shortened bitubo px shock . 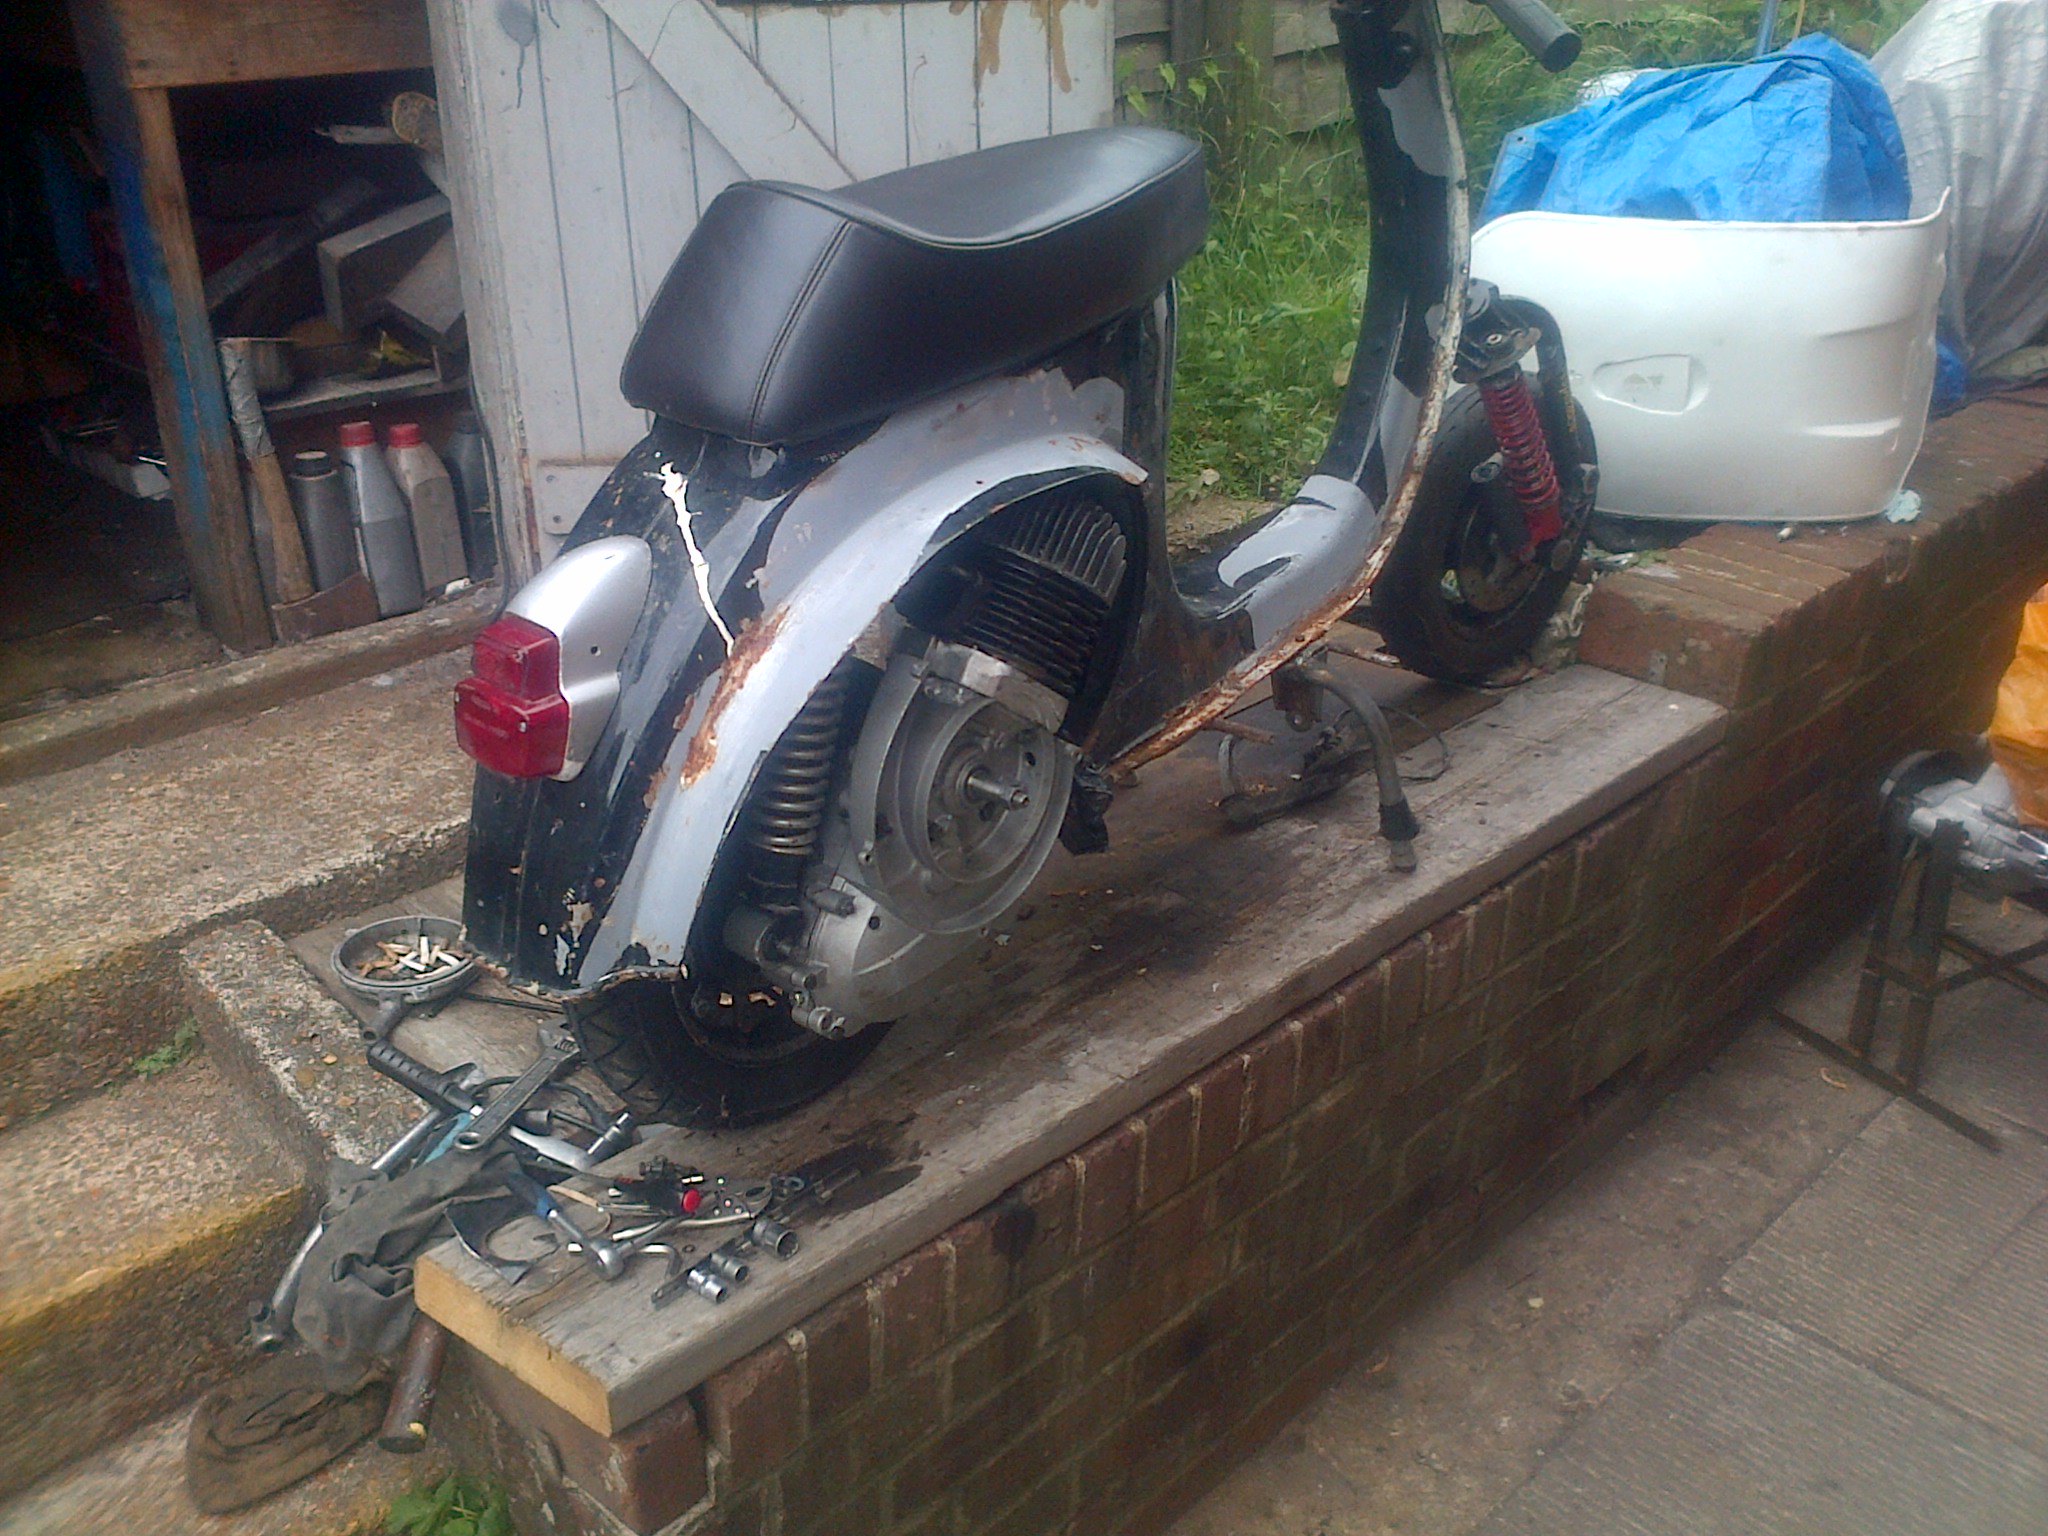 sunday 007 sunday 007 by henri briggs, on Flickr . cento i think rear light , metal base humpback seat , an the lump . 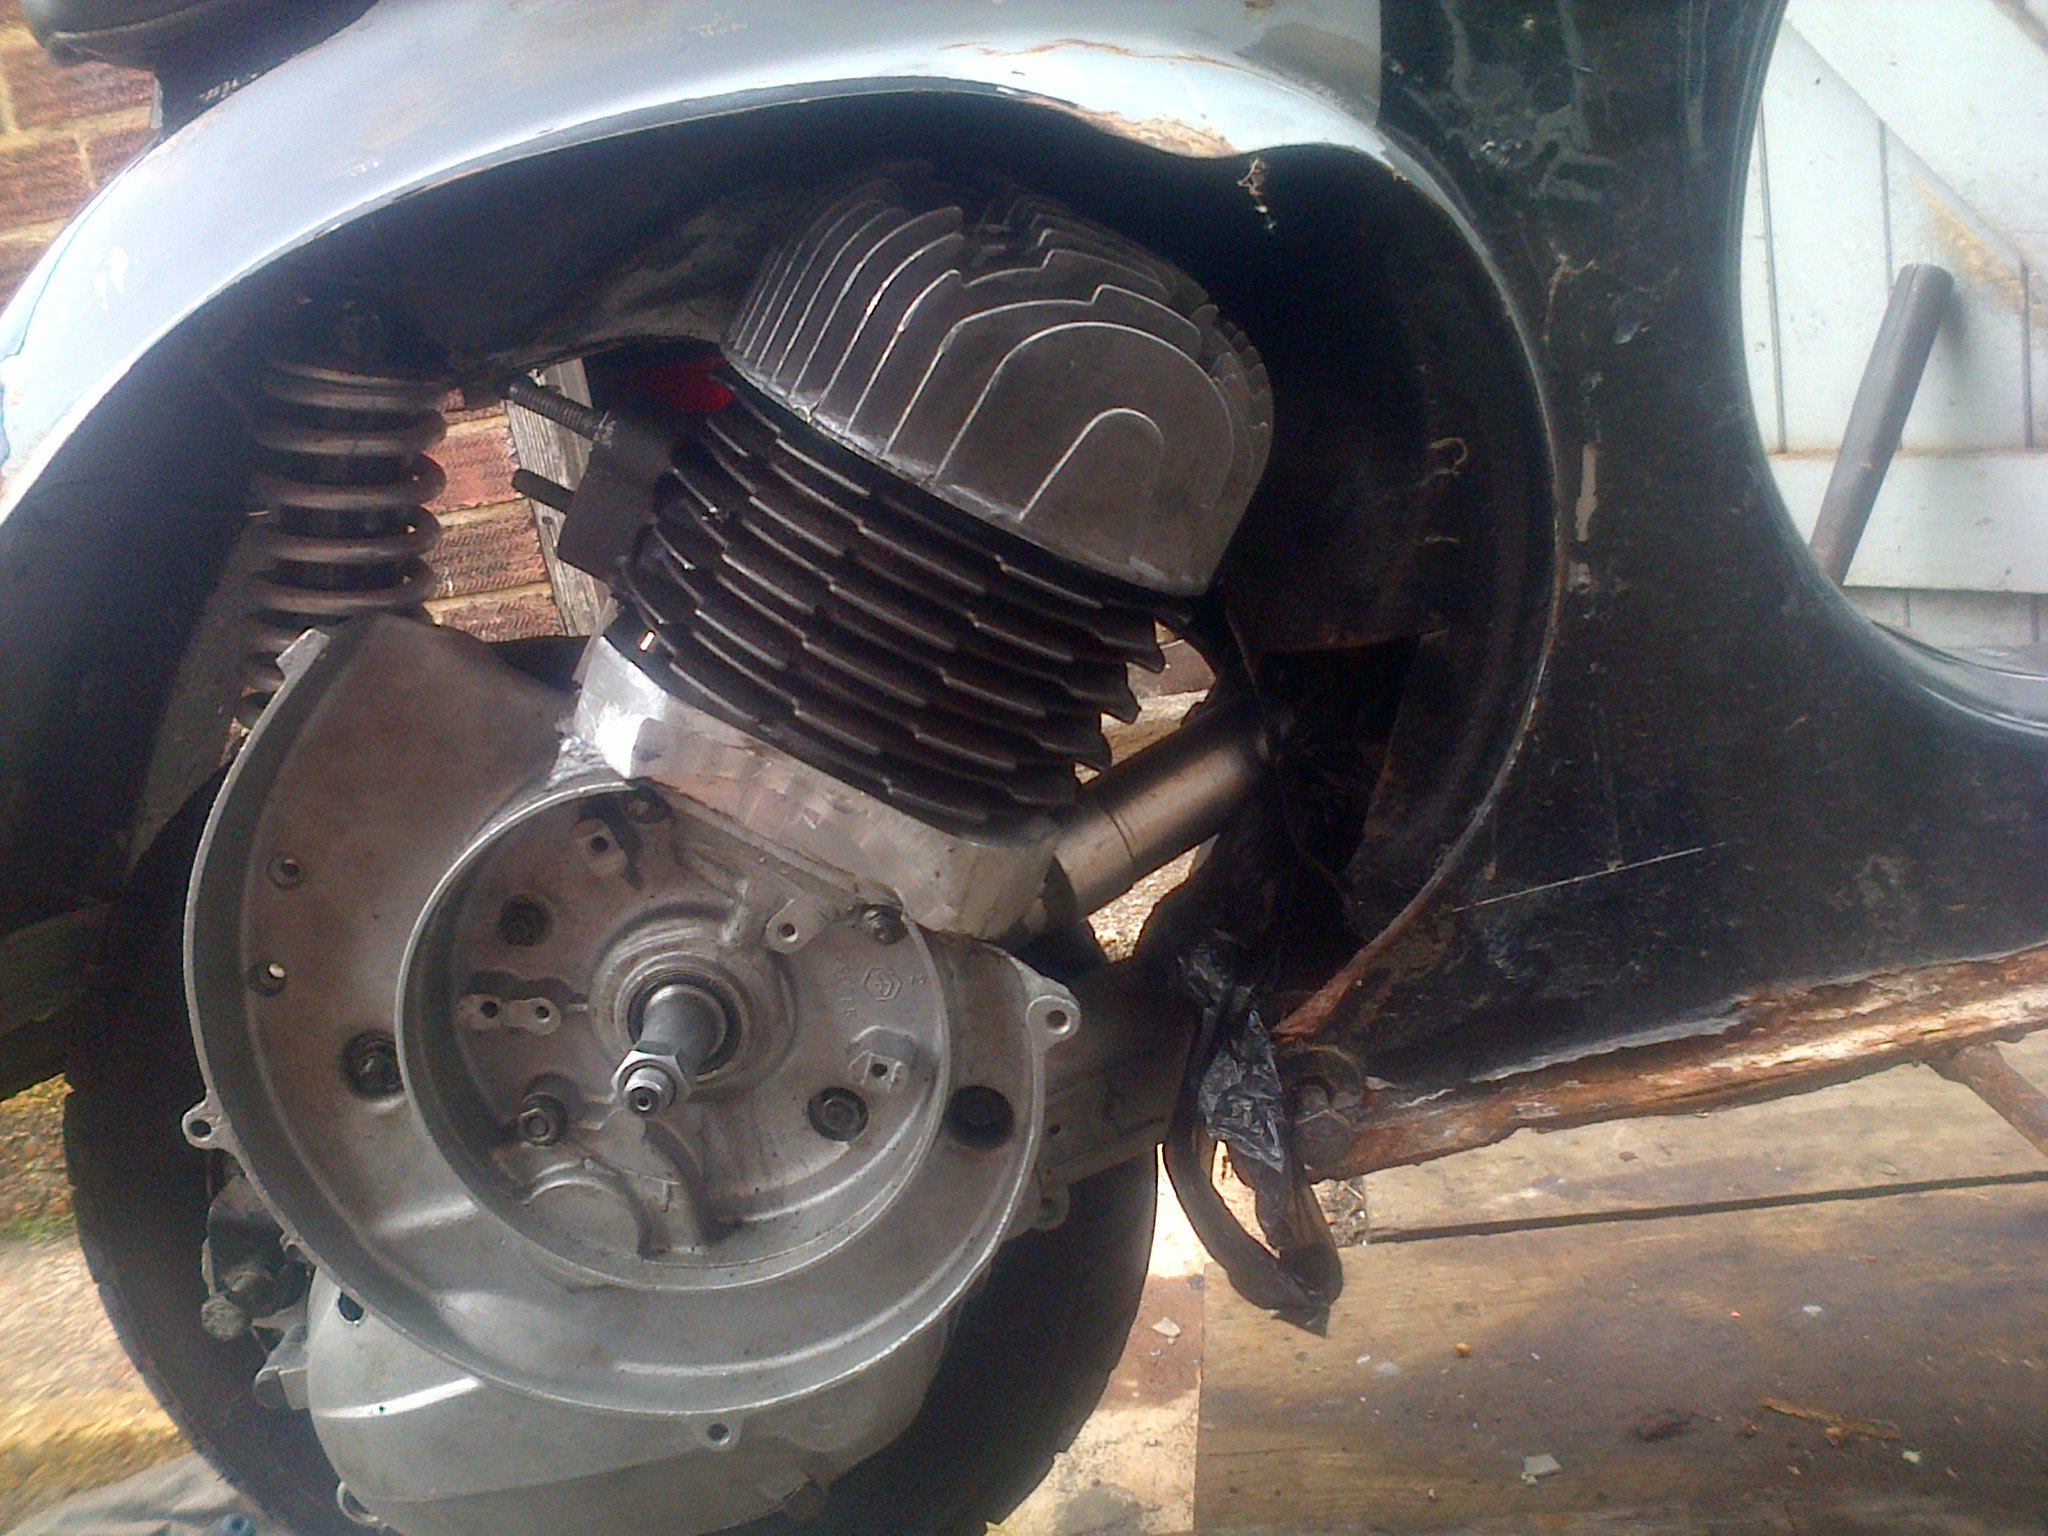 sunday 008 sunday 008 by henri briggs, on Flickr . big to-do list starting to form . move top shock mount back , reverse inlet so its out the bubble/by kicker , move inner bubble in about 1/2" , weld up frame hole for inlet, an make a cradle to weld into mounts to hold engine back in-line ,etc-etc . it goes on for pages . H |
|
|
|
Post by movin64 on Jun 15, 2020 11:25:57 GMT
Bloody hell mate, don't you ever take a break 😁
|
|
|
|
Post by henri on Jul 5, 2020 9:47:05 GMT
 v502 002 v502 002 by henri briggs, on Flickr 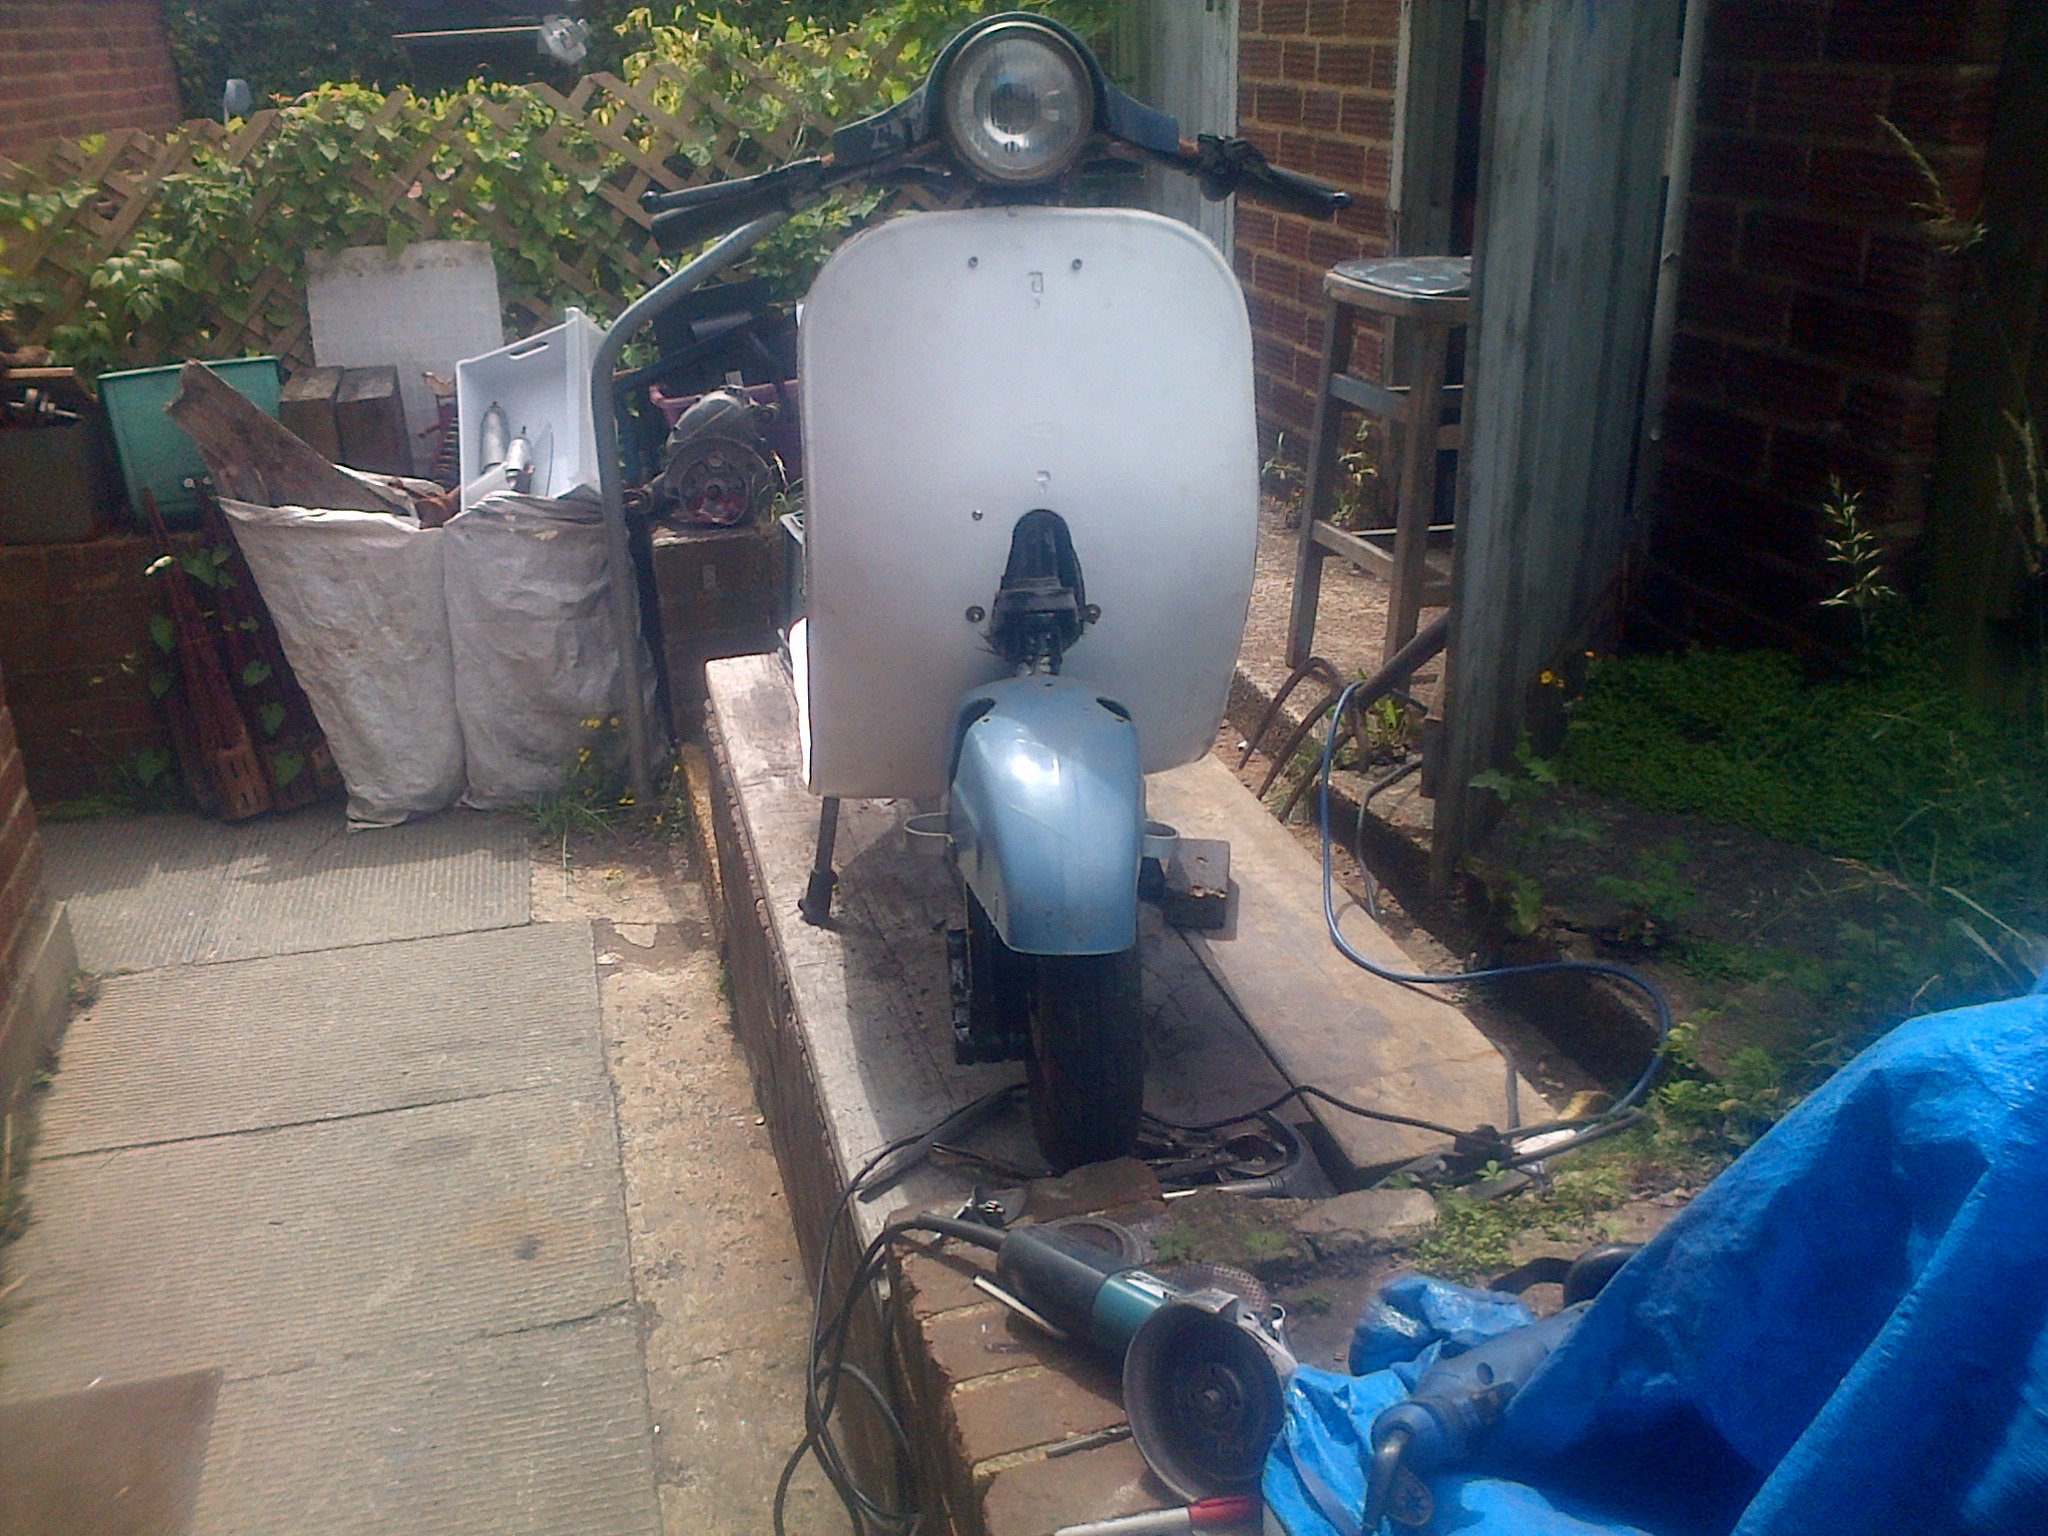 v502 001 v502 001 by henri briggs, on Flickr . trial fitting the glassfibre legshield i was given an checking stance an length of shock needed , an wether i can alter the 90SS muddy i had on twin leg forks to fit.next to fit rear px shock an mount extender an engine back in , need to swap out engine mounts for rubbers with a altered large frame tube as frames been drilled to take larger bolt . can measure up for mount cradle an start on exhaust fabrication work .H |
|
|
|
Post by henri on Sept 10, 2020 7:09:47 GMT
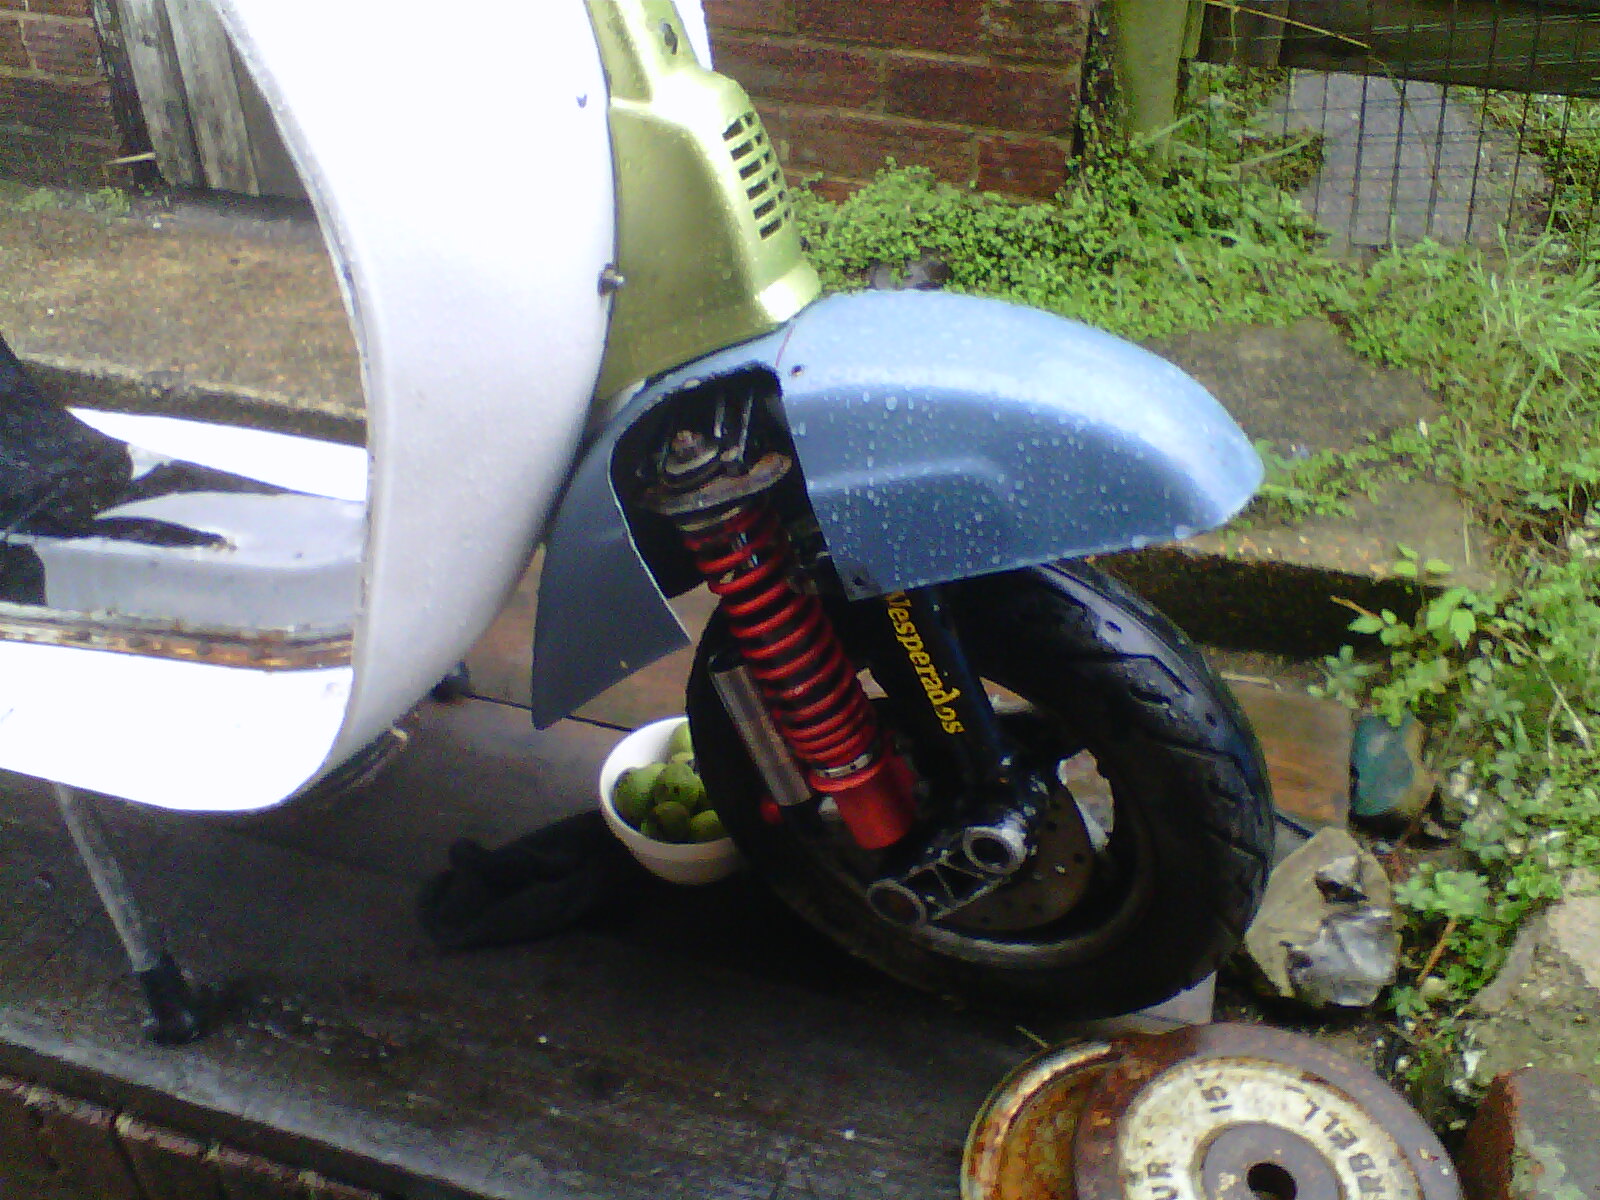 IMG-20200825-00094 IMG-20200825-00094 by henri briggs, on Flickr . scored a bitubo pk shock , so trial fitted it , didnt have the top bracket so i welded up a px one an re-drilled it to fit pk forks an have the correct offset .not going to be able to use a ss90 mudguard ,its just not wide enough to cover the wheel right .  IMG-20200903-00135 IMG-20200903-00135 by henri briggs, on Flickr . got this exhaust to try on it , a californian "race" pipe ,sort of franz's copy .it was cheap so i didnt mind taking the grinder an welder to it to match it to a t5 header . 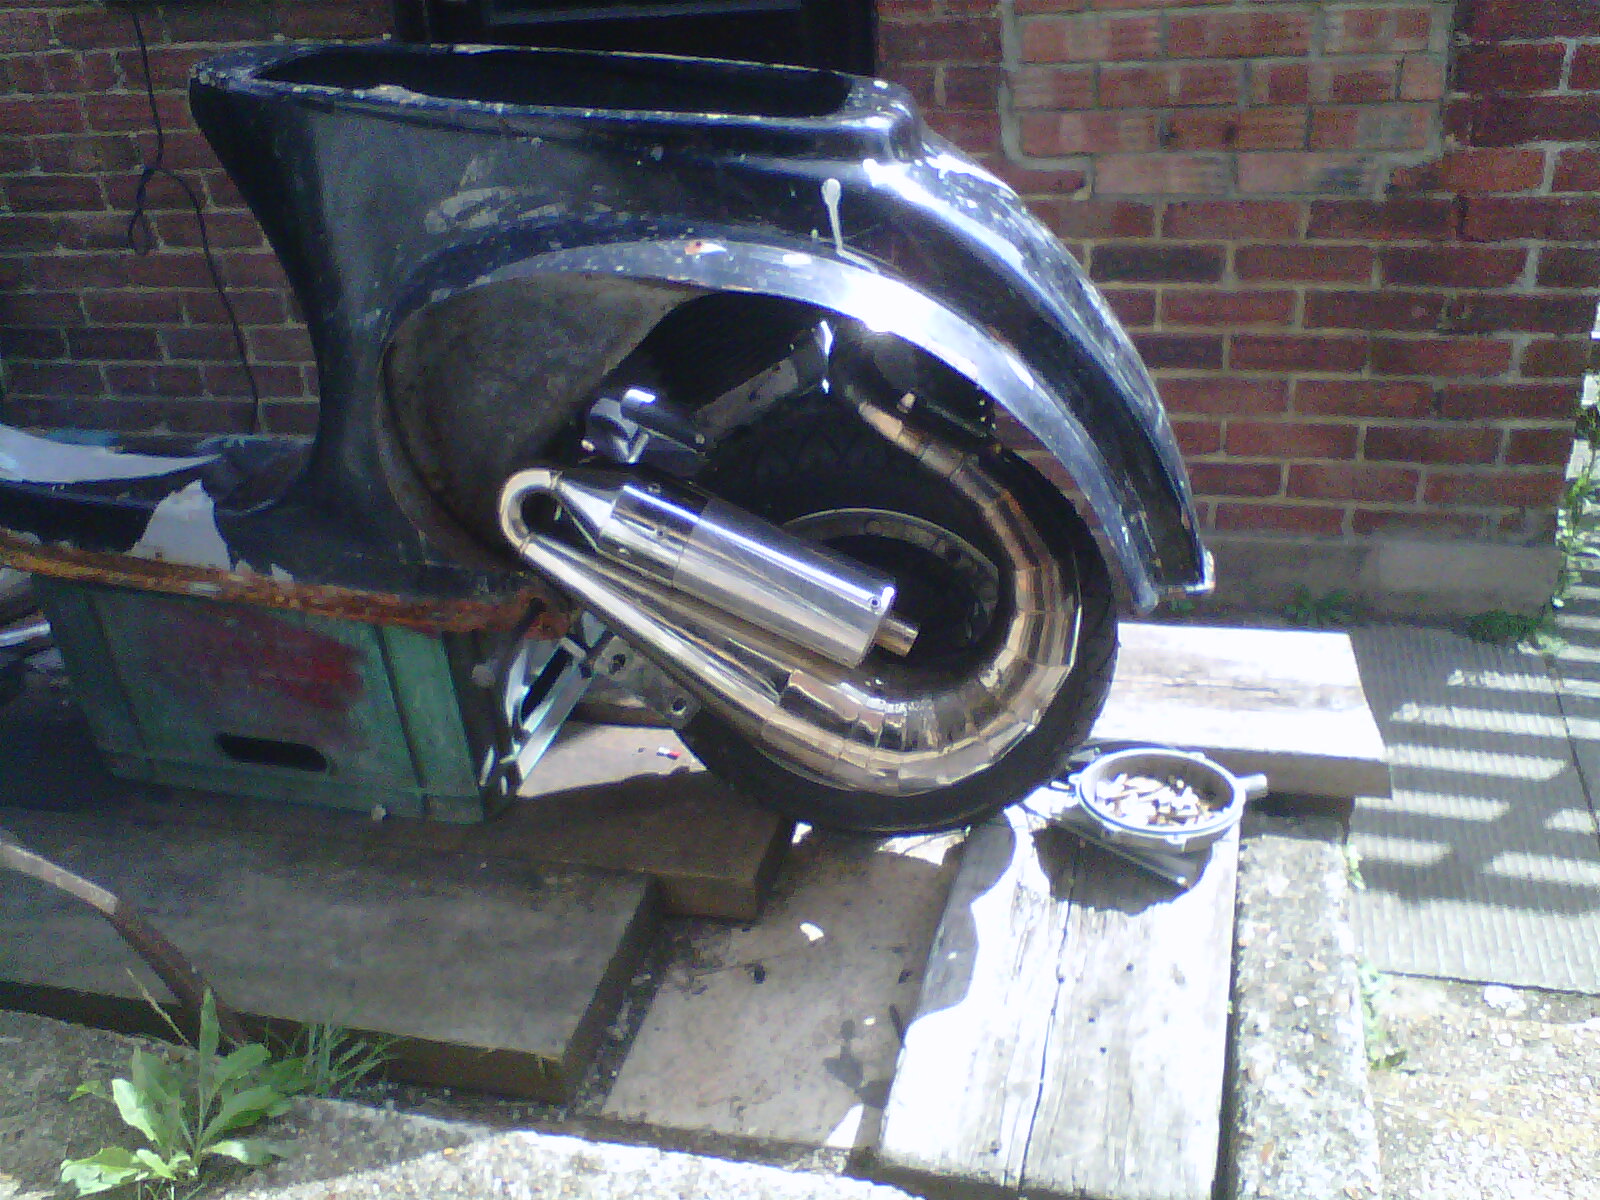 IMG-20200904-00138 IMG-20200904-00138 by henri briggs, on Flickr  IMG-20200904-00137 IMG-20200904-00137 by henri briggs, on Flickr . now with a shock re-location bracket it fits an doesnt rub on the shock ,an whilst welders out an about time to deal with the large holes cut into frame an mounts .  IMG-20200909-00151 IMG-20200909-00151 by henri briggs, on Flickr . fill the one cut for electrics/fuel??? , an weld a fat washer over the drilled out mounts .  IMG-20200909-00152 IMG-20200909-00152 by henri briggs, on Flickr . then put a re-enforcing edge around the enlarged inlet hole to stop it splitting ,with a out the bubble carb i'll make a screw fixed blanking plate for it .  IMG-20200909-00153 IMG-20200909-00153 by henri briggs, on Flickr . then another fat washer on exhaust side mount ,an weld 4mm wire along edges of bubbles were theve been cut to stiffen an stop splits . H |
|
|
|
Post by movin64 on Sept 10, 2020 7:42:44 GMT
You have been busy mate. Looking good 🙂
|
|
|
|
Post by tzsteve on Sept 11, 2020 17:06:43 GMT
that's a lot of work
|
|
|
|
Post by henri on Sept 13, 2020 11:28:59 GMT
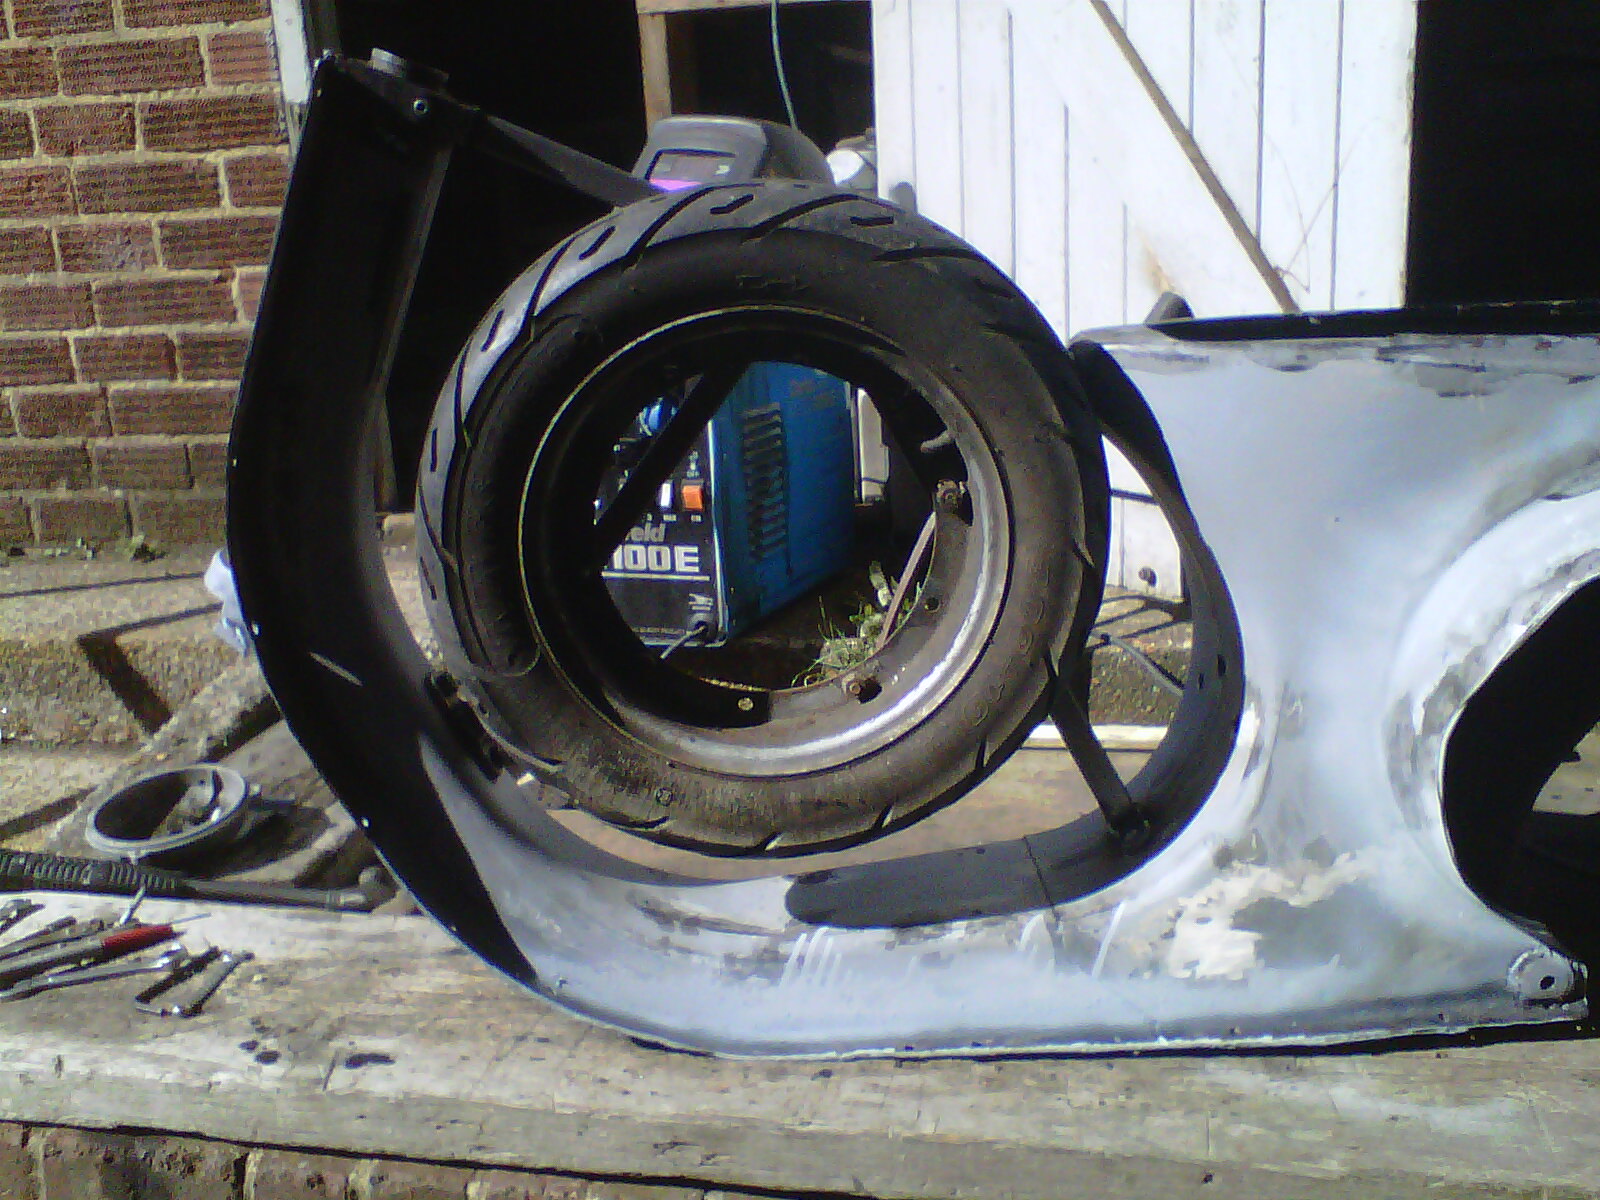
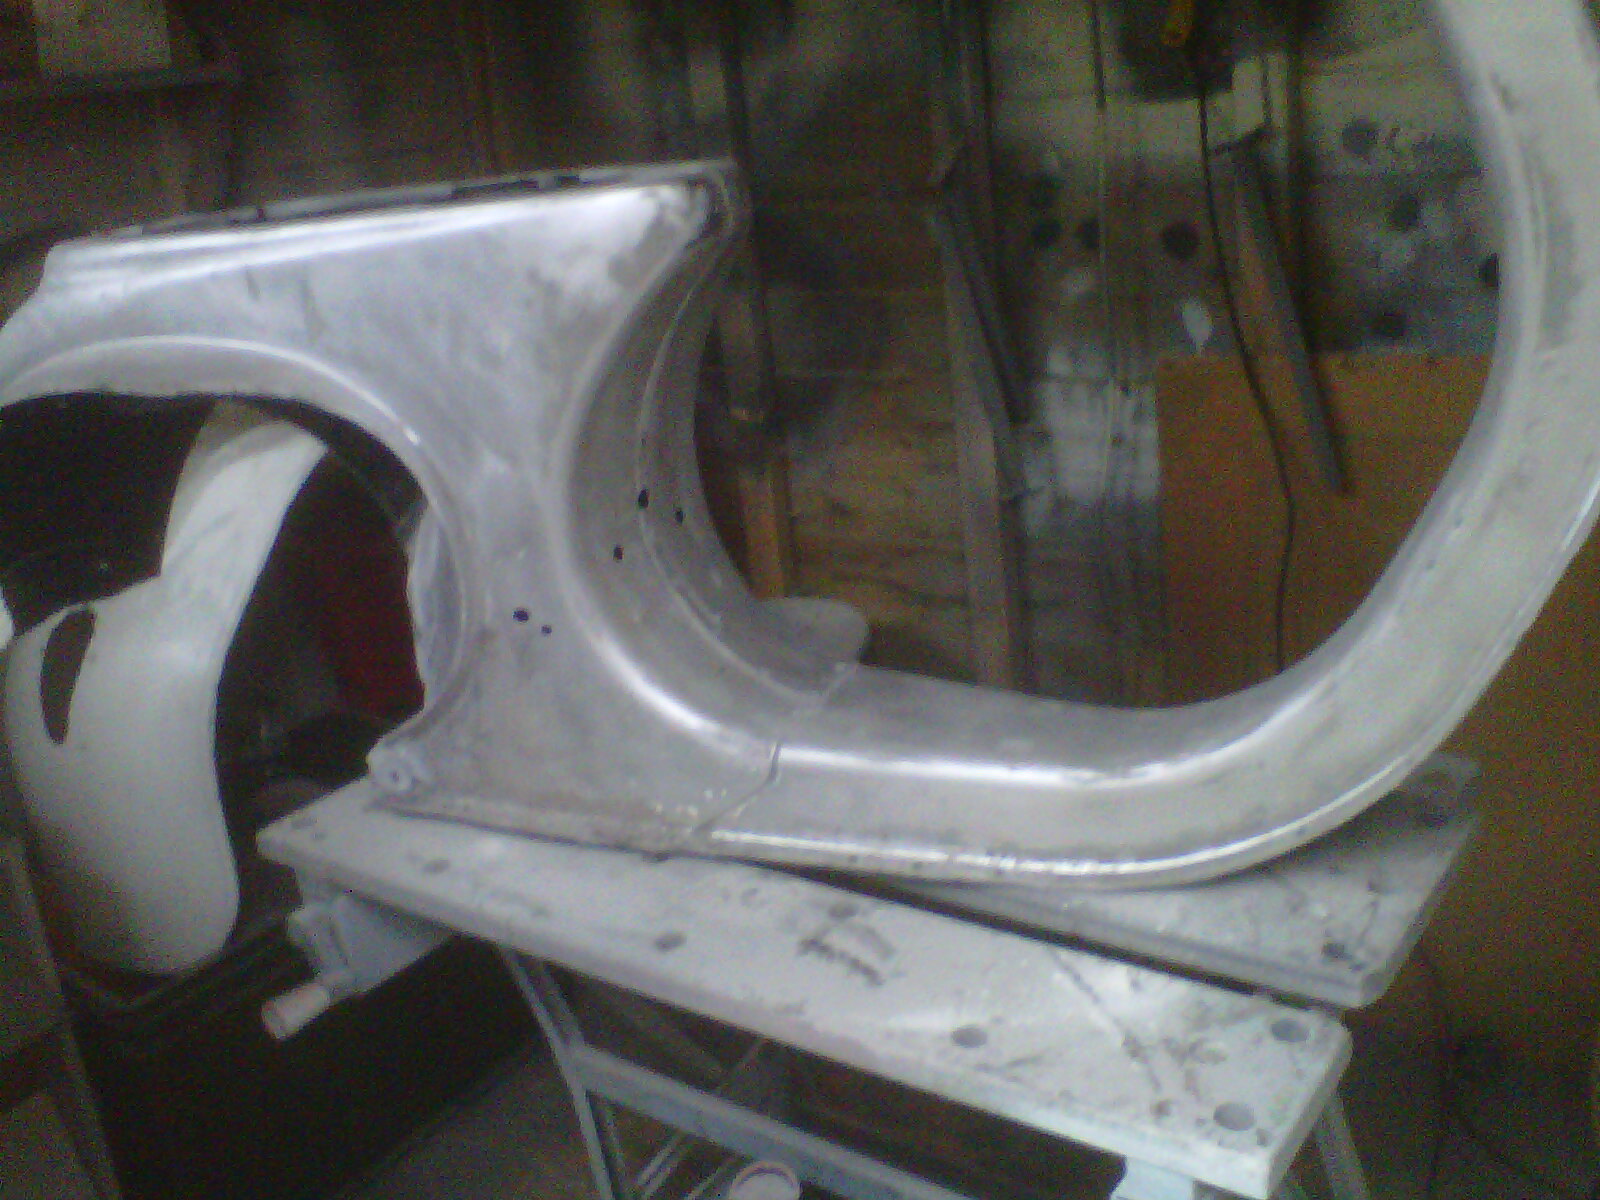
 IMG-20200912-00154 IMG-20200912-00154 by henri briggs, on Flickr . lx forks too long .  IMG-20200912-00155 IMG-20200912-00155 by henri briggs, on Flickr . so 64mm out of the middle , a old bearing race slimmed down to 5mm put on upside down . so new bearing race just fits on the shoulder fully an mudguard mount sits lower ,to give a better gap between muddy n horncast/frame .  IMG-20200912-00157 IMG-20200912-00157 by henri briggs, on Flickr . need to extend the steering stops on frame down 10mm or raise lump on fork 10mm now for them to line up right ,think i'll raise fork lump rather than alter frame .H |
|
|
|
Post by henri on Sept 28, 2020 12:25:18 GMT
|
|
|
|
Post by henri on Sept 29, 2020 6:29:36 GMT
 IMG-20200928-00189 IMG-20200928-00189 by henri briggs, on Flickr . an the final holes for petrol tap drilled an tap test fitted its ready to start prepping frame for paint , the not so fun bit .H |
|
|
|
Post by henri on Oct 23, 2020 6:27:20 GMT
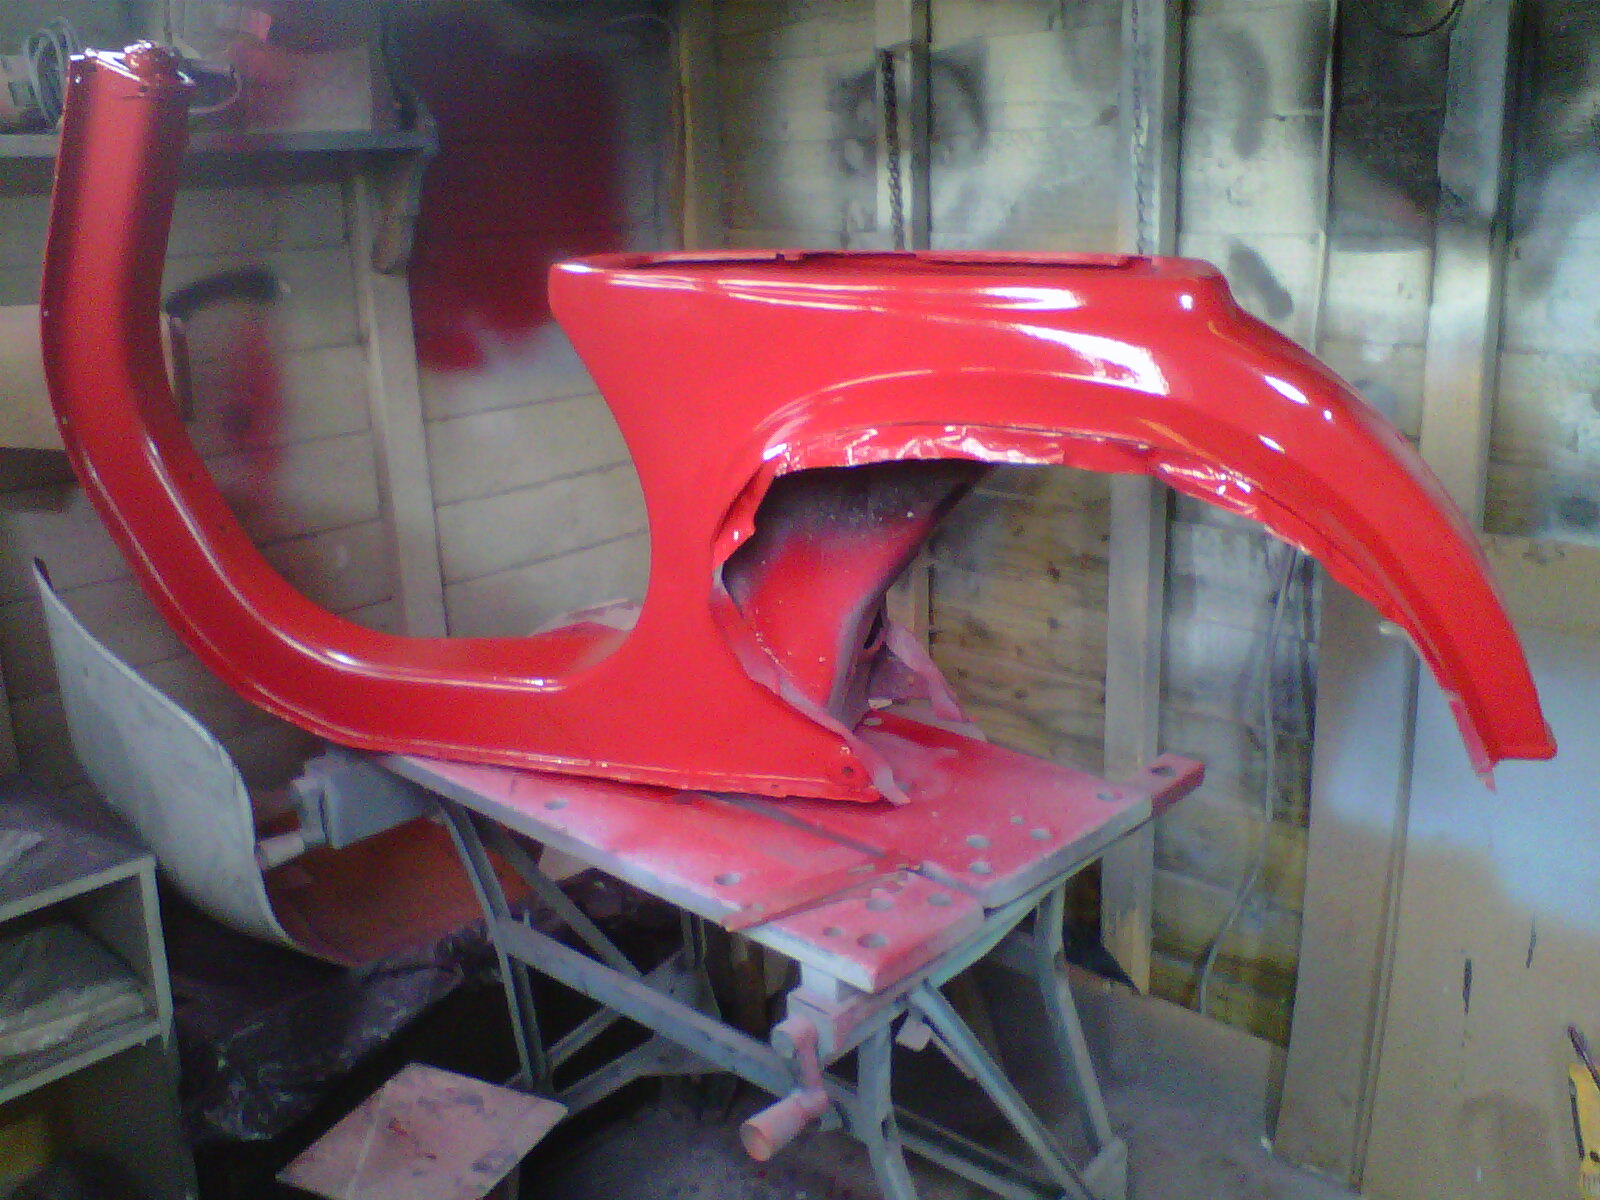
whilst paint on underneath an inside wheel well hardens ,a etch then primer ,stonechip with top coat of celly enamel combination ,i made a start on altering the t5 cowl to fit .  IMG-20201022-00282 IMG-20201022-00282 by henri briggs, on Flickr  IMG-20201022-00285 IMG-20201022-00285 by henri briggs, on Flickr . nxt steps to stick a heat gun up the inlet an use a infa-red thermometer to try n track air/heat flow ,intention being to get flow round to wheel side of barrel to aid even cooling . then see about extra outlets at front to release heat ,keeping flow loss to wheel side down ,to be honest its going to be guesstimation .  IMG-20201022-00284 IMG-20201022-00284 by henri briggs, on Flickr . an make a start on rust removal from tank an fitting a free flowing outlet , an a flush filler cap and remote breather . H |
|
|
|
Post by henri on Nov 1, 2020 10:13:05 GMT
|
|
|
|
Post by jedihunter on Nov 1, 2020 15:12:53 GMT
Nice work H!
As an "essential" worker, There's been no time to work on my scoots. Had to live vicariously, keep em coming! J.
|
|
|
|
Post by henri on Jan 10, 2021 12:28:33 GMT
 IMG-20201216-00454 IMG-20201216-00454 by henri briggs, on Flickr . my 1st attempt at tig brass brazing ,were the tap sits was thin and split on the tank ,so i brazed a large washer on .  IMG-20201216-00455 IMG-20201216-00455 by henri briggs, on Flickr . cleaned back ok , you can see were the excess ran down onto colder metal an balled up tho .  IMG-20201216-00456 IMG-20201216-00456 by henri briggs, on Flickr . now to get on with de-rusting the inside .  IMG-20201216-00457 IMG-20201216-00457 by henri briggs, on Flickr . get it set up for electrolysis , some soda crystals ,fill with warm water an hook it up to a battery charger .  IMG-20201217-00464 IMG-20201217-00464 by henri briggs, on Flickr . this is what the anode looks like after a few hours ,collecting rust nicely .  IMG-20201223-00478 IMG-20201223-00478 by henri briggs, on Flickr . an whilst tank cooks off for a day or so convert a old tap into just a straight through faster flowing union . with the external tap it doesnt need to shut so basically joined the main an reserve feeds straight to the outlet permanently .  IMG-20201223-00479 IMG-20201223-00479 by henri briggs, on Flickr . cut the top off a px auto-lube tank i'd all ready altered to take a flush filler cap . an weld it on the smallframe tank , next is to seal it with por15 to be sure it wont leak from any tiny pinholes or porous welds . the key switch was a lockable killswitch mounted in the old oil filler tube ,an not connected to anything ,an just there to fill the hole now . thinking of making up a decal/sticker for it , off/armed ,but cant decide to label it "ejector seat" or "self-destruct" yet . H |
|
harleyracer59
PK 50
 it was like that when I got there....
Posts: 20 
|
Post by harleyracer59 on Jan 10, 2021 13:57:37 GMT
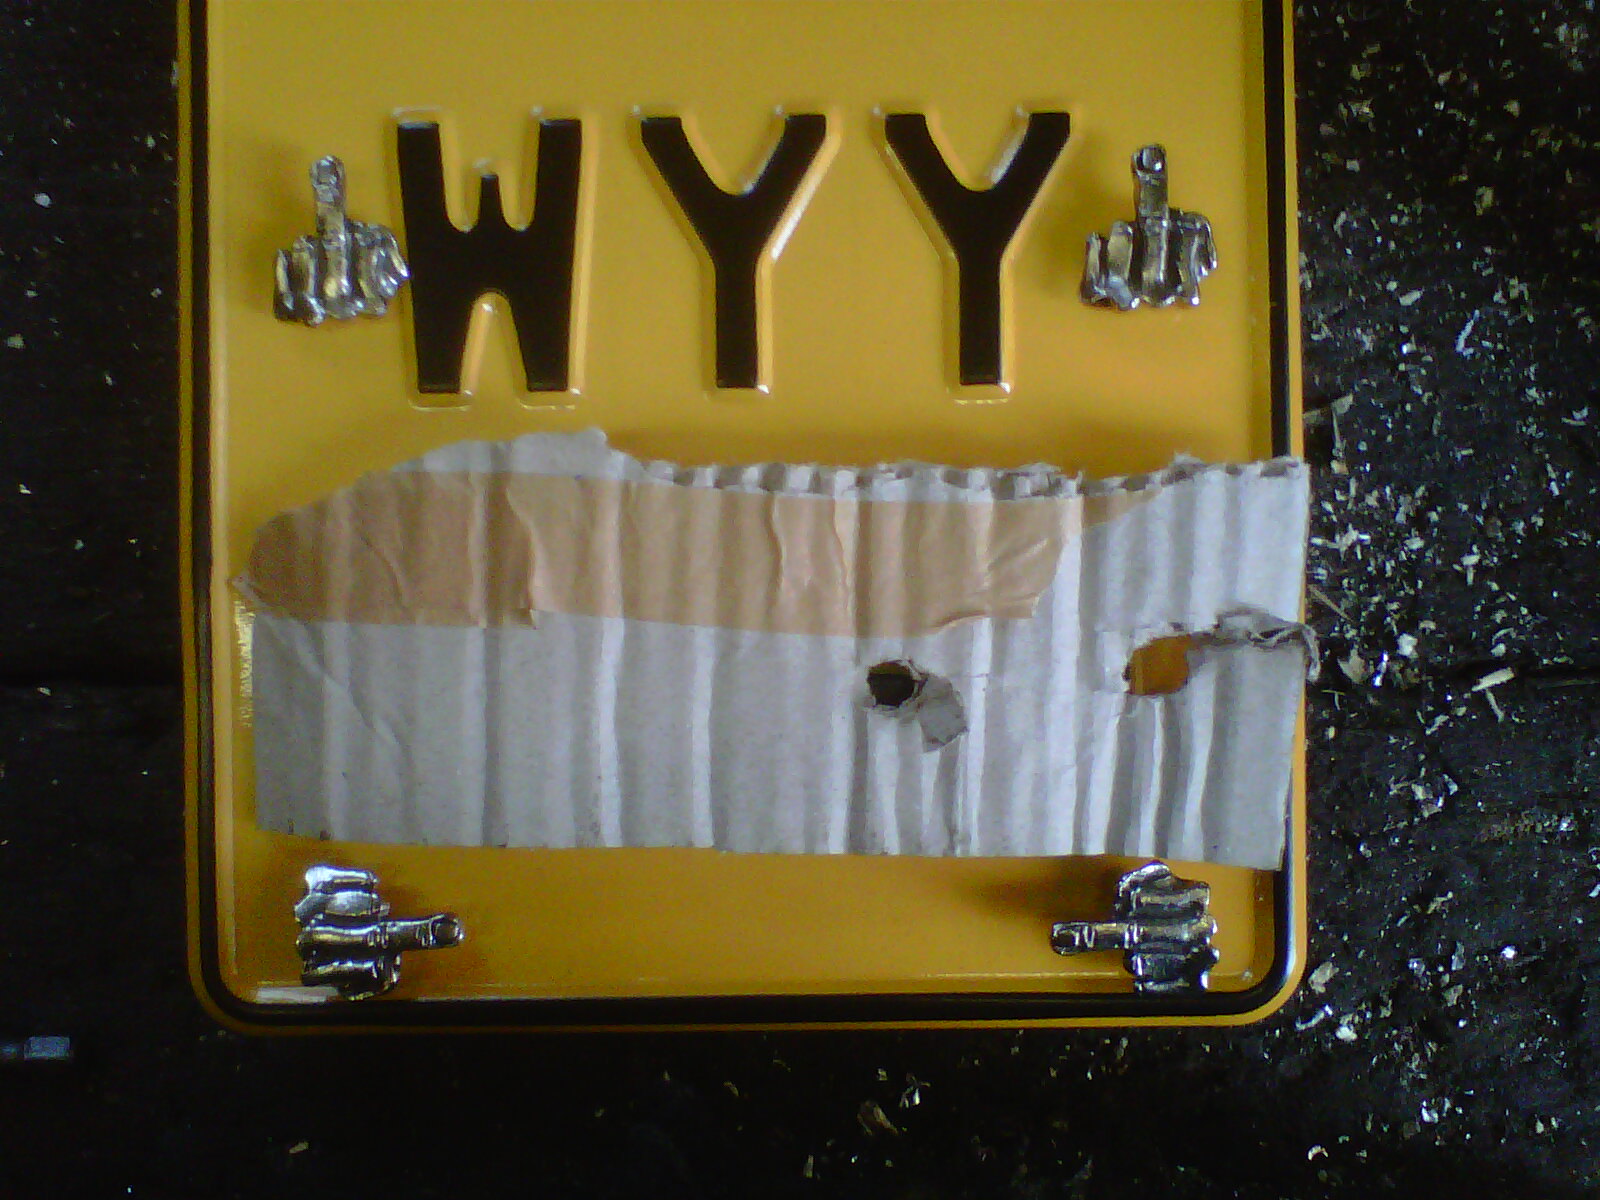
cool build. i like your license plate bolts. where did you find them at?
|
|
|
|
Post by henri on Jan 10, 2021 15:13:25 GMT
ebay mate , came from poland i think .https://www.ebay.co.uk/itm/2-Mittelfinger-Schrauben-Kennzeichen-Stammes-motorrad-chopper-Totenkopf-Skull/223989221896 . bulgaria actually .H
|
|
|
|
Post by tzsteve on Jan 11, 2021 16:42:41 GMT
For the rust treatment I would go for phosphoric acid,
I've always use 85 percent from flea bay ,,
but a chemist lecture I know said you only need to use15 percent
I have been told it can be jellified with xanthane but I have never tried that
But the phos acid works a treat
|
|
|
|
Post by tzsteve on Jan 11, 2021 16:43:57 GMT
Good progress
|
|
|
|
Post by triffid on Jan 28, 2021 16:19:32 GMT
to my shame i havent been on this forum for a while, top work H
|
|
|
|
Post by tzsteve on Jan 29, 2021 17:55:45 GMT
|
|
|
|
Post by henri on Feb 5, 2021 10:15:08 GMT
|
|